|
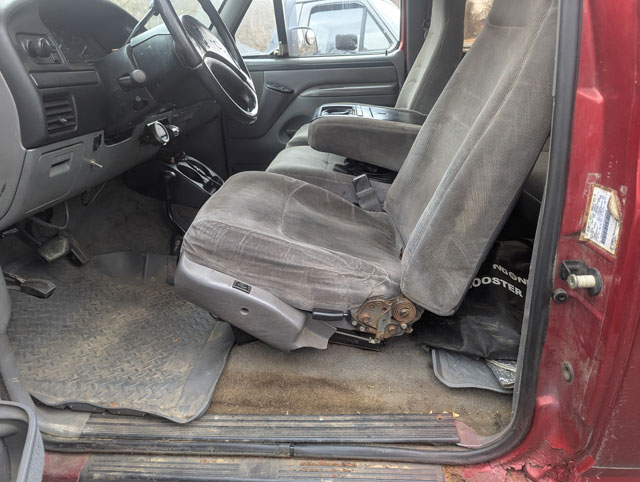
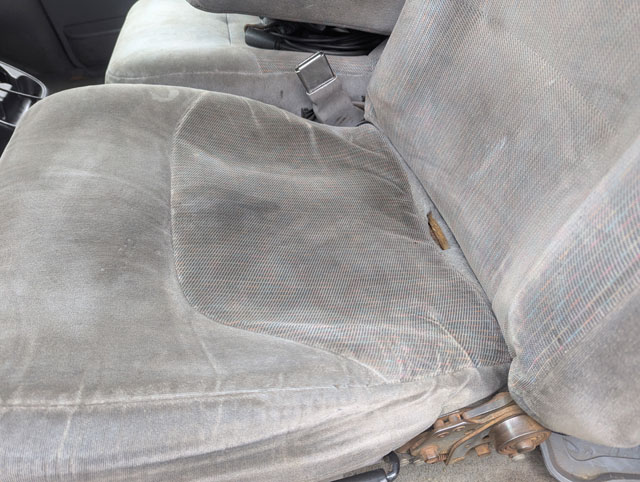
Got the F250 in the driveway for a much needed upgrade 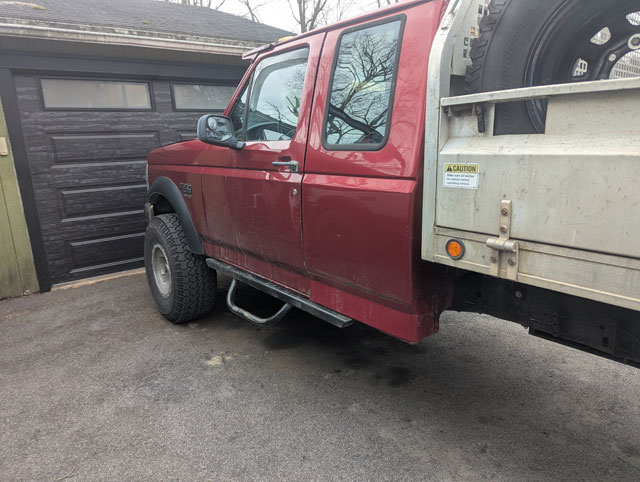 The drive seat is whooped. Side panel broken, seat cushion shot, lumber bag turned to dust and fell out of the seat years ago.
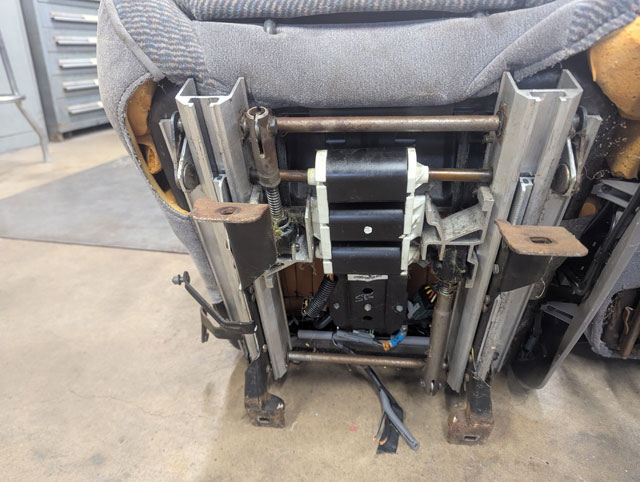
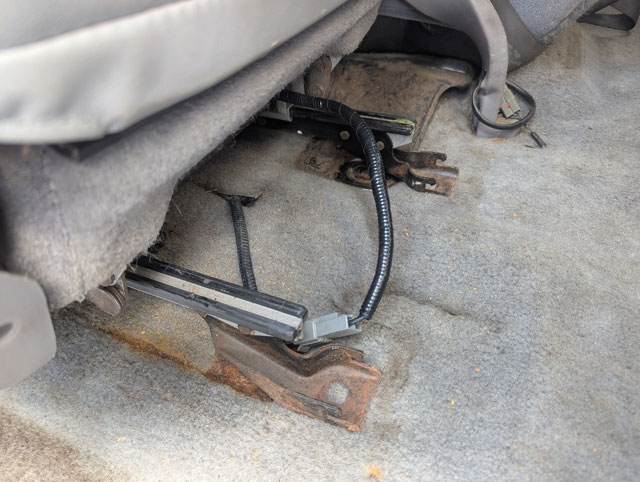
Its long overdue for replacement. So lets get that seat out 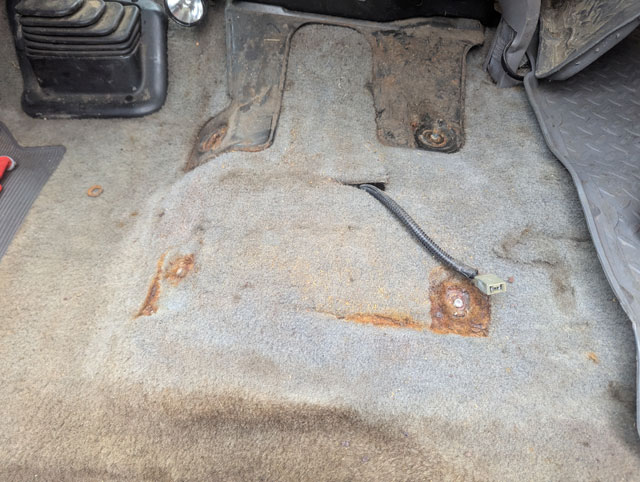 Broke both outer bolts off, but the seat is out 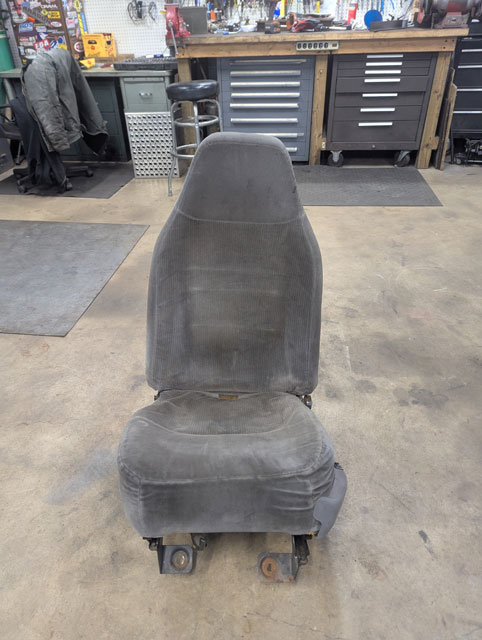 ...and here it is, next to the explorer seat i bought to replace it almost a year ago! It looks even worse next to the replacement seat 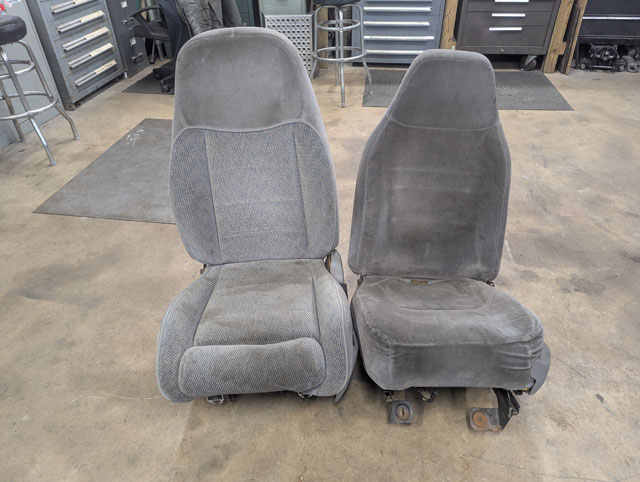 So lets compare the seat bases. The explorer seat is full power everything whereas the F250 seat only had a power lumbar bag so its quite different under there 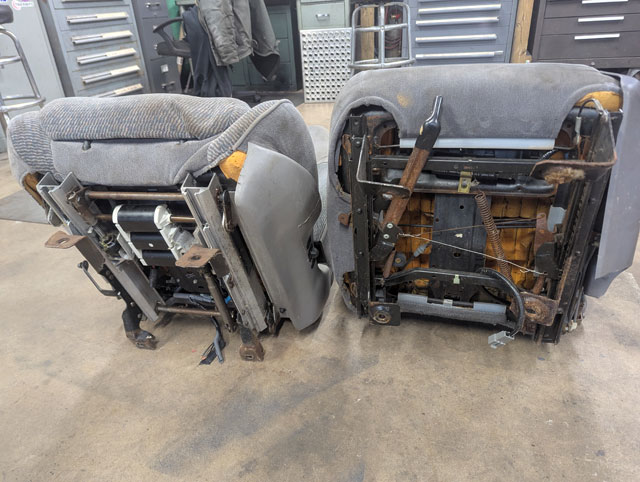 Closeup of the two:
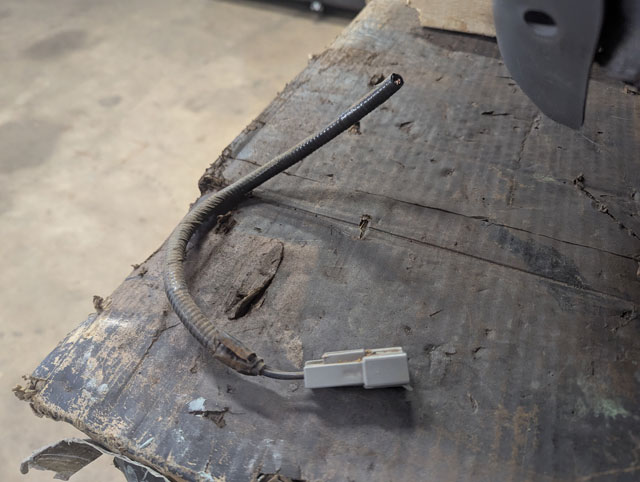
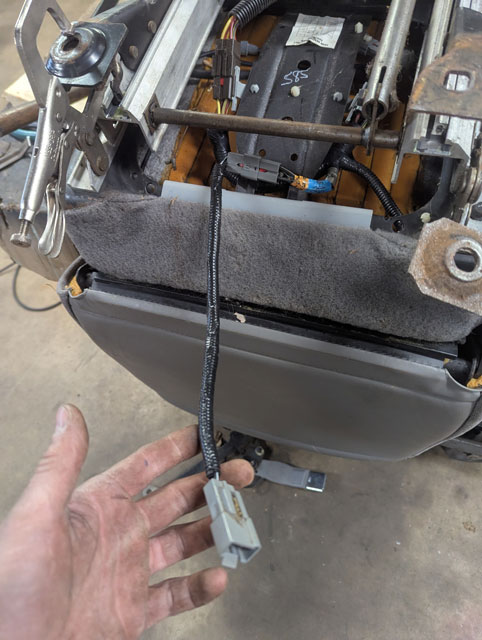
Not sure how challenging this is gonna be, but its gonna be easier if i can move the seat. So that means weve got to fix the wiring 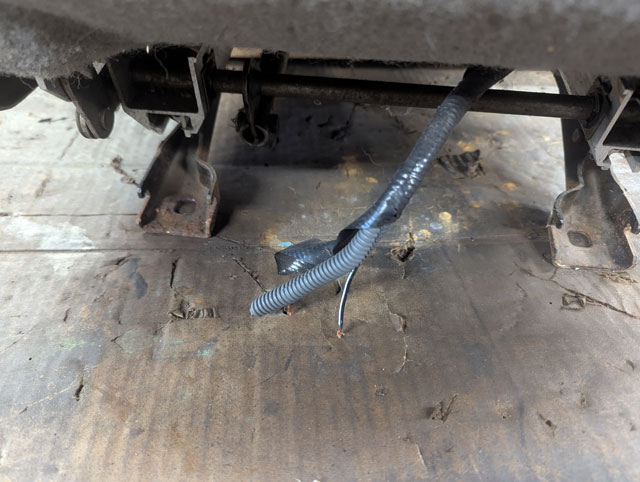 This is a simple enough fix; i just cut the plug off my original seat and spliced it onto the explorer seat
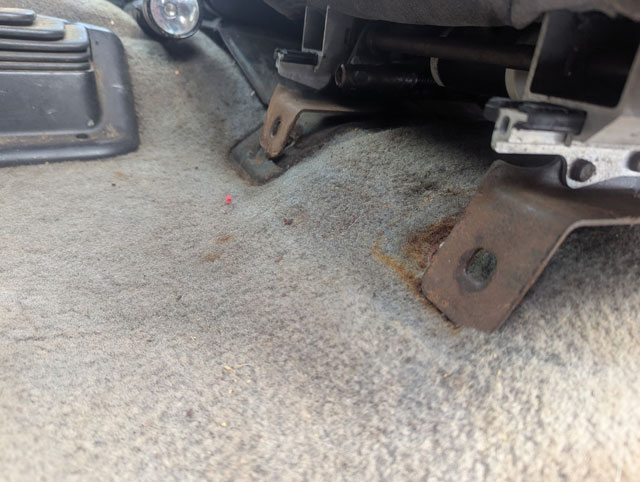
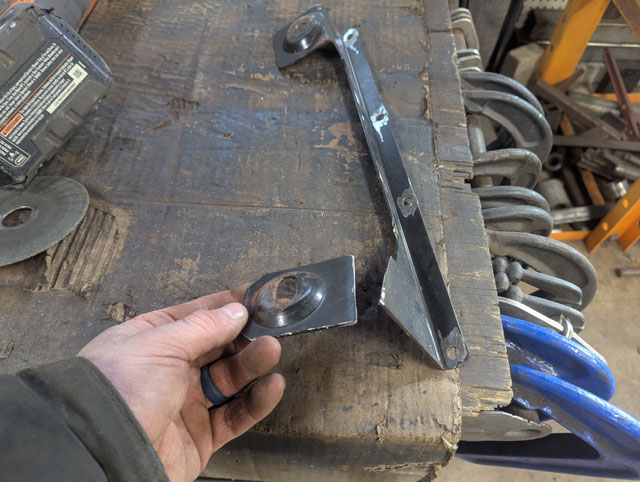
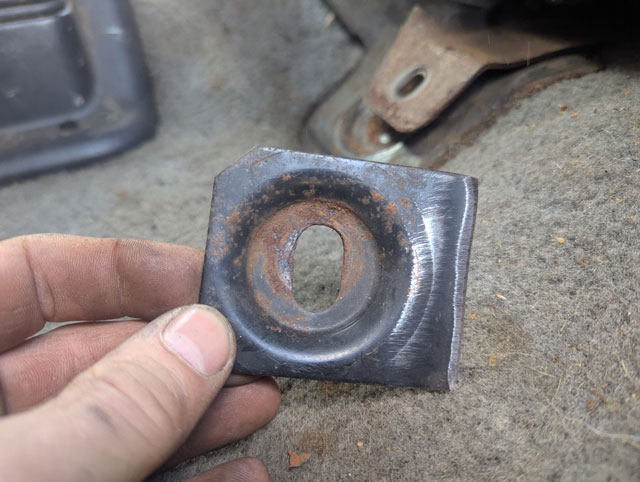
Next thing is to remove the mount for the fixed half of the seatbelt. Im planning on reusing the original mount in the truck 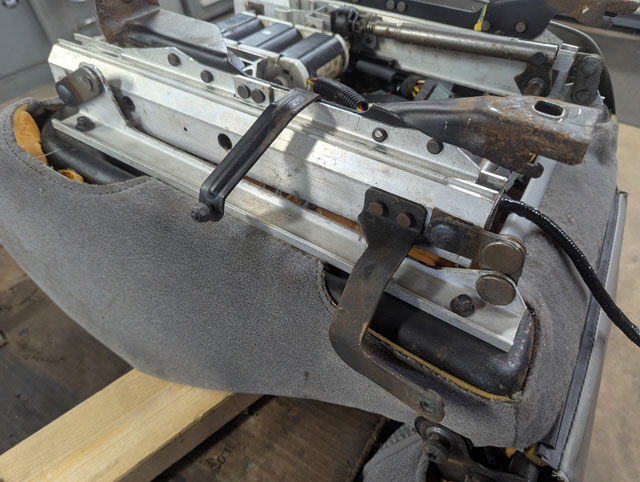 Ok, much better 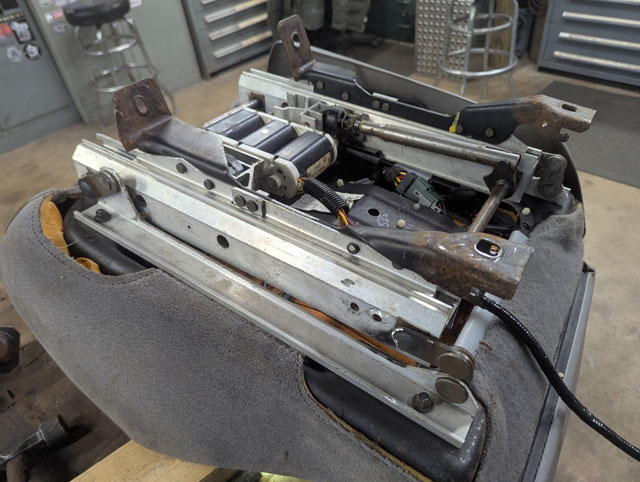 I cut the rivets and removed the seat base off the original seat, so i could see more easily how different they are  At first glance, they look like theyre way off 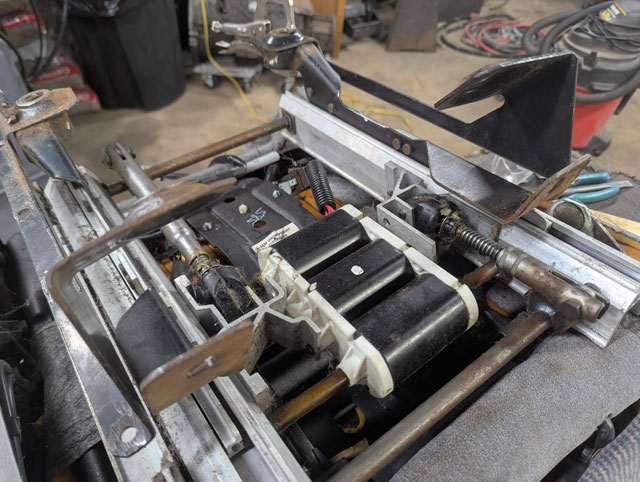 I figured theres not much use in speculating, lets just set the seat in the truck 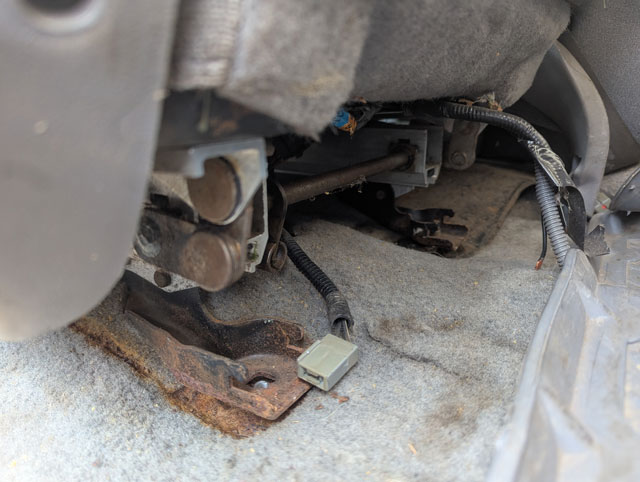 Interestingly, with the rear right hole slipped over the locating stud, the rear mounts are surprisingly close to working with only some minor work to the rear left hole 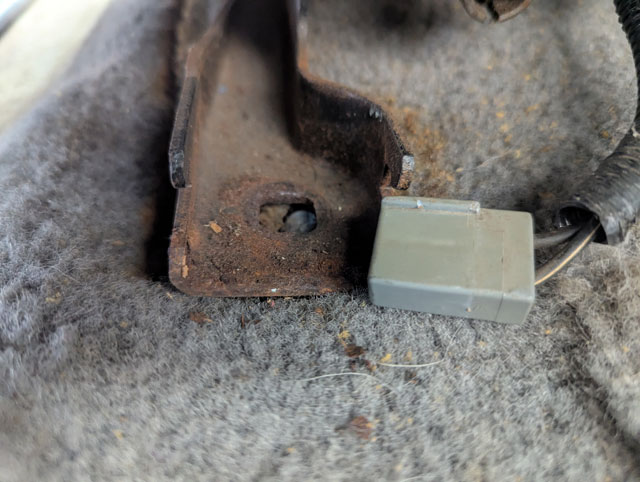 up front isnt so great though 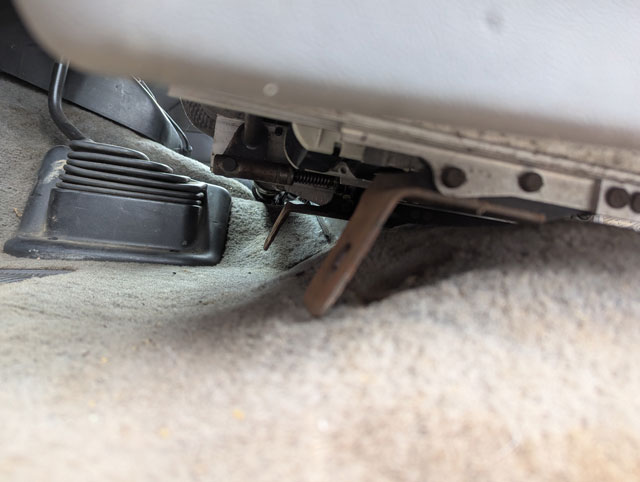 Looking at it, the seat has a ton of adjustment forward/backward
This also looks like itll be a lot easier to mount the seat too
So i went back to the original seat base and cut one of the mounting tabs off
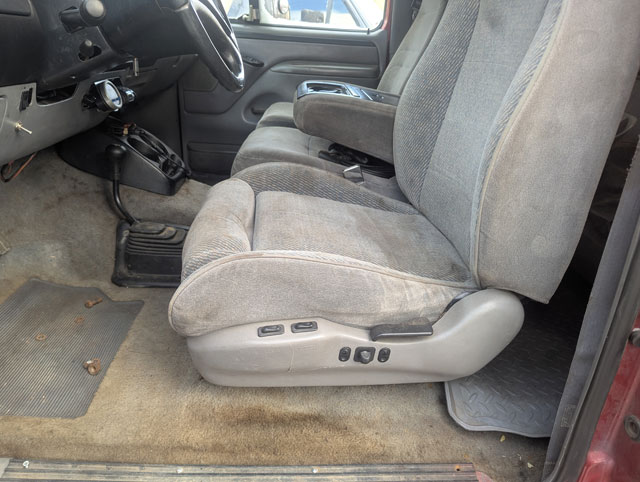
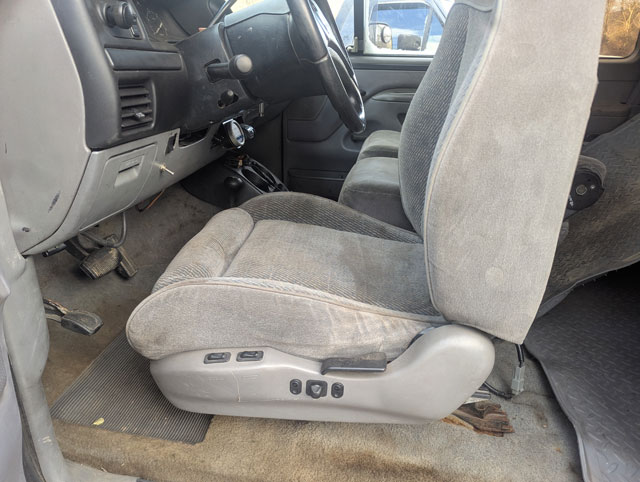
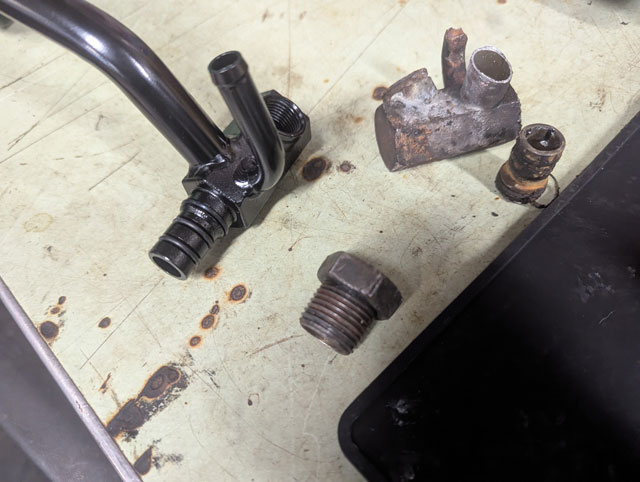
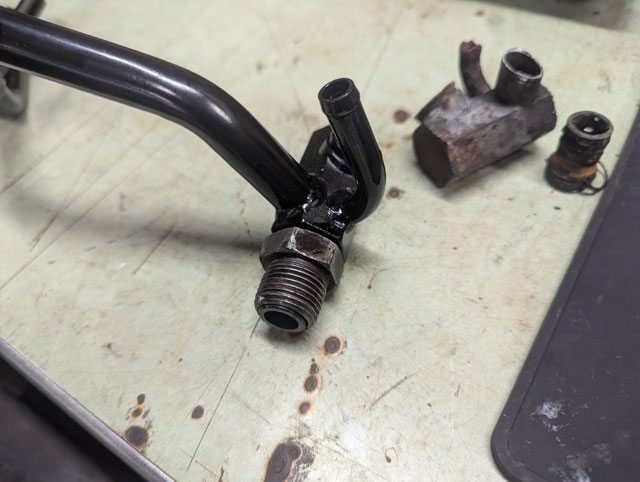
The rough idea, this actually looks like itll be pretty easy to do 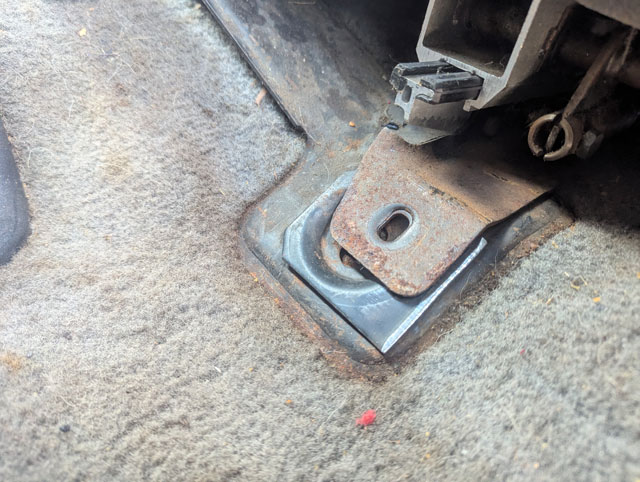 Trimmed a little bit of material off the explorer seat base  ...and then welded that tab onto the frame 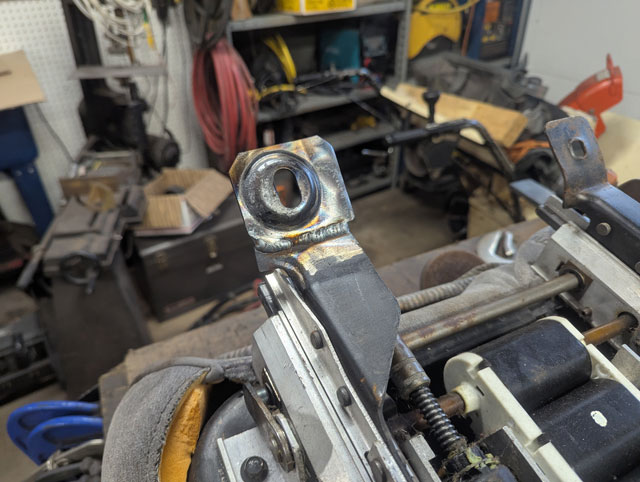 ...and with that done....the seat is in! 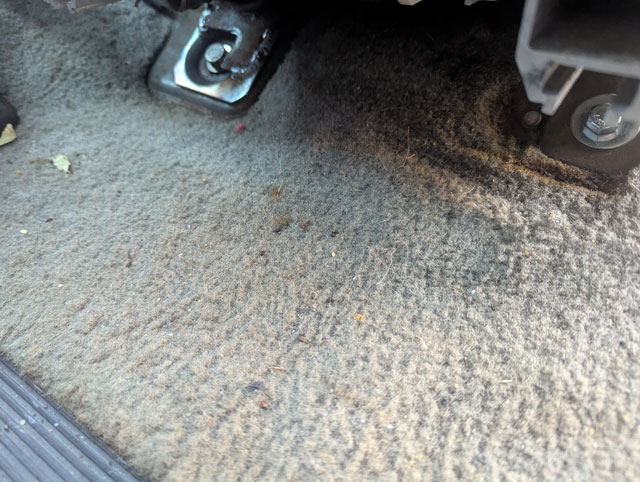 The other 3 mounts laded flat on the floor, so i simply drilled new holes and bolted the seat down in place 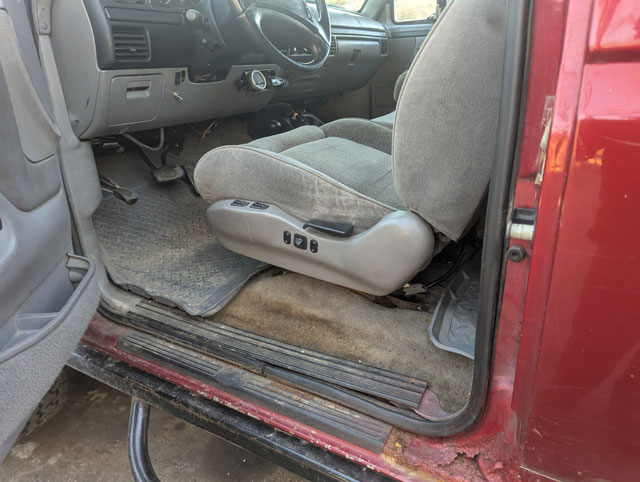 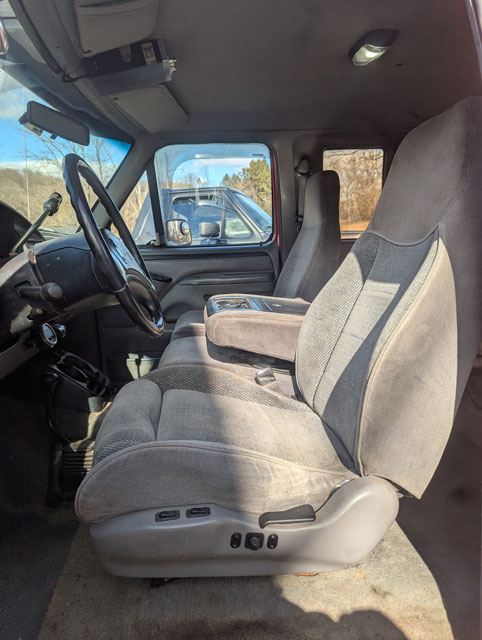 Super comfy, and having all those adjusts is pretty sweet! The seat matches the center jump seat pretty well; i think once i get the passenger seat swapped in it will be hard to tell i changed out the seats at all. The new coolant manifold showed up last night 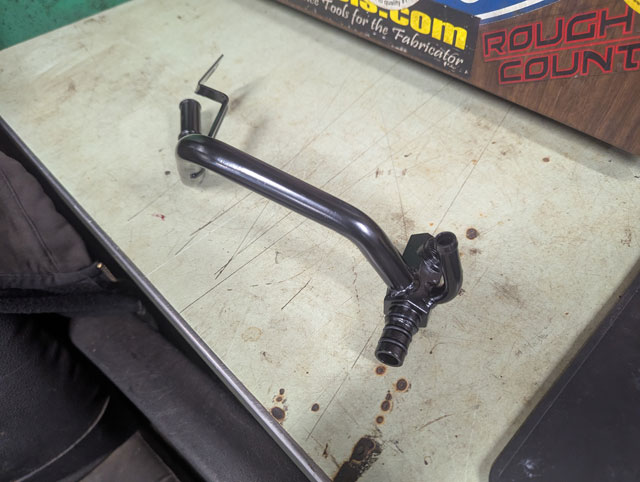 Wasnt expecting it to come w/o the threaded fitting, so i had recover that from the old manifold
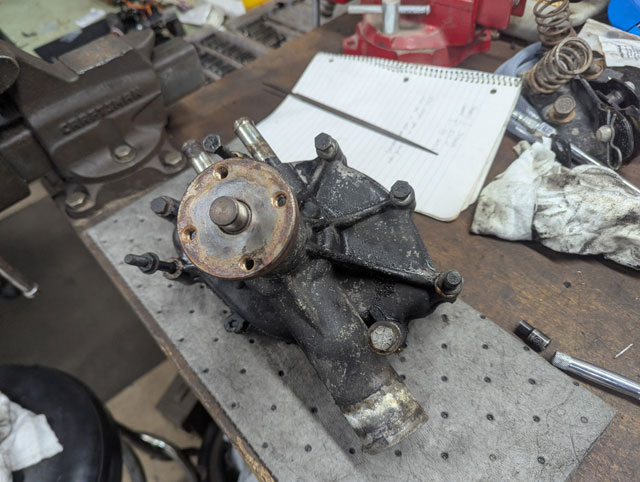
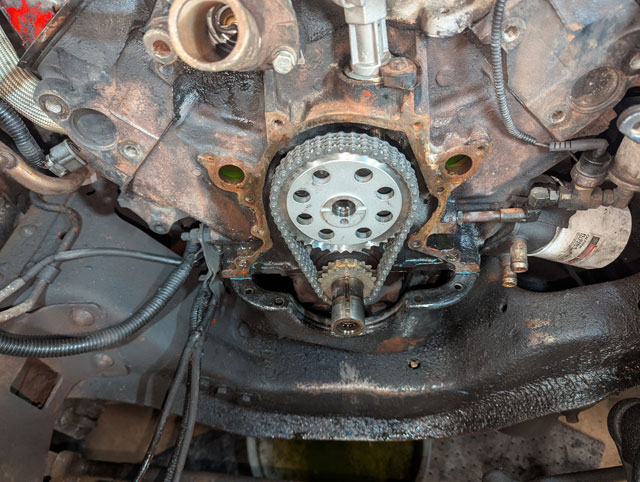
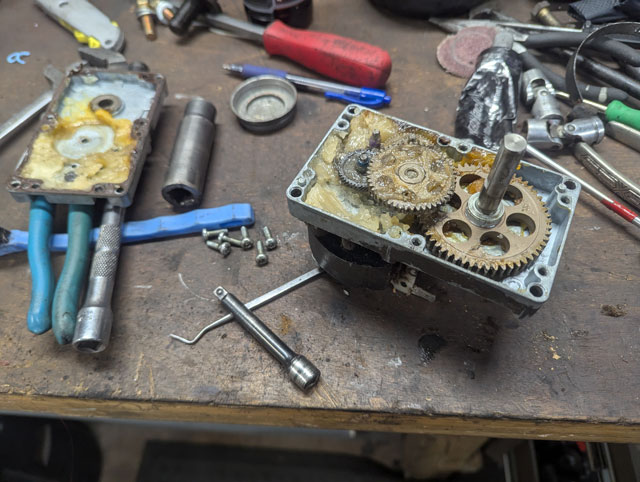
...installed...  ...and finally done! 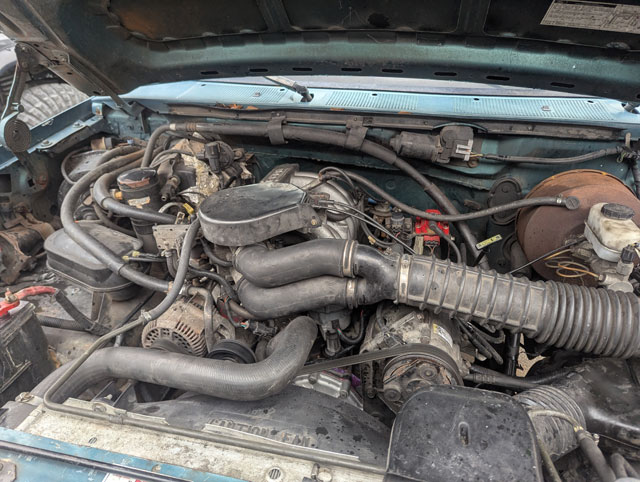 Me and the little dude took it to the carwash to get the road salt off, just in time for it to snow again tonight and all next week 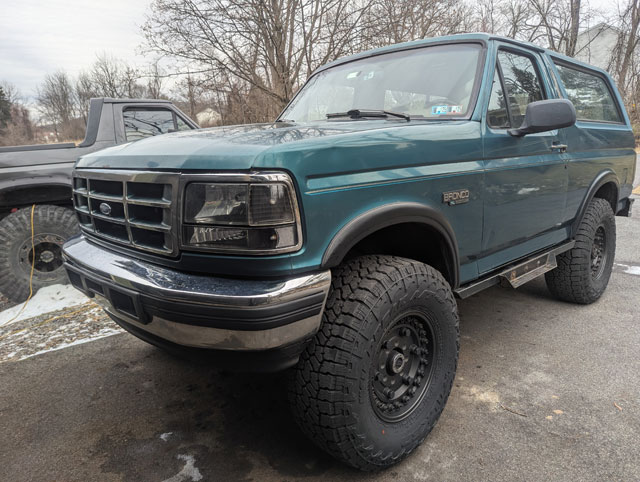 ...oh yeah, and i still havent found my damn ratchet!! Intake off 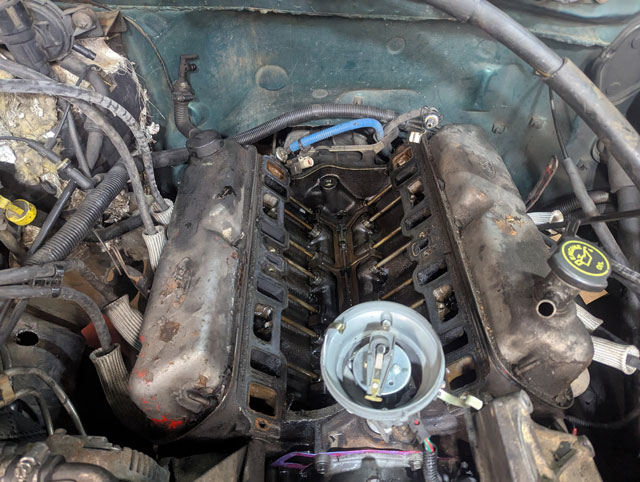 intake on 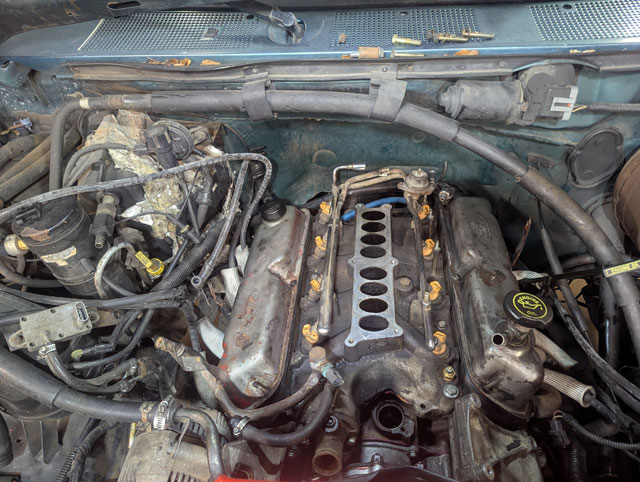 stove fixed 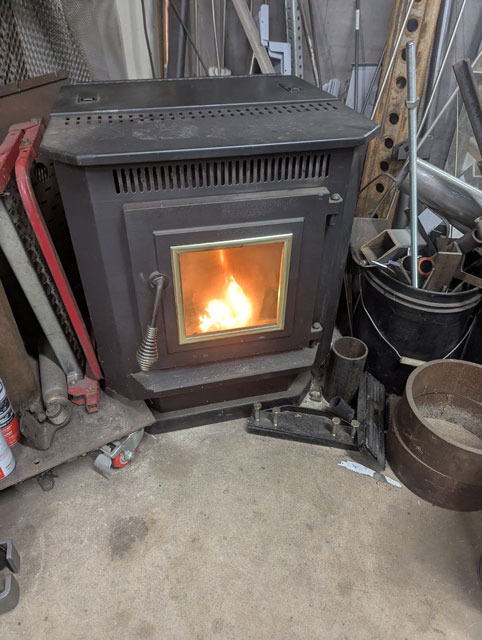 ...and engine back together! 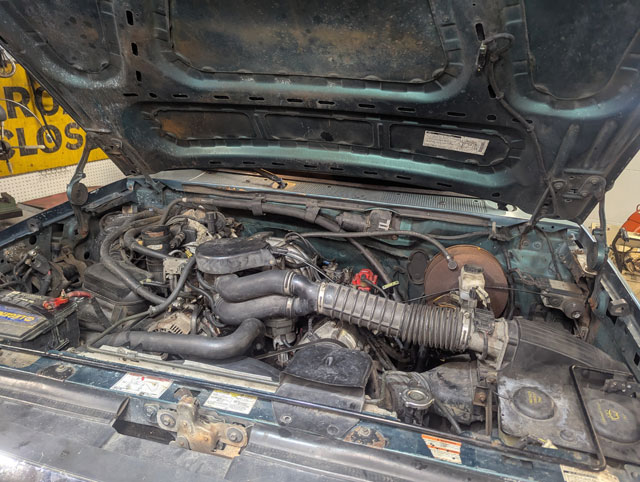 ...or not 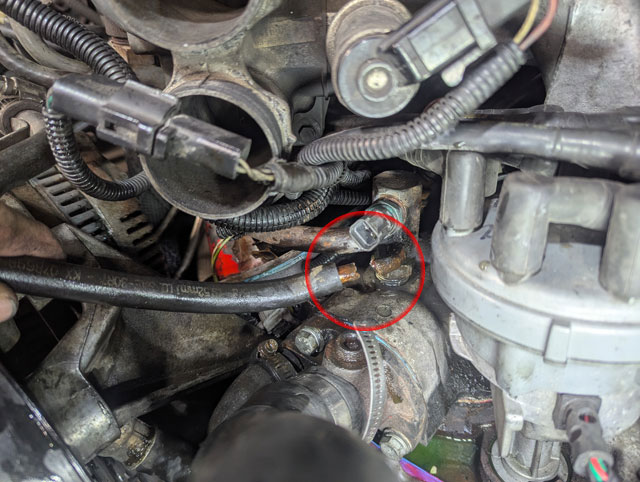 Stem rotted out and snapped off in my hand. Cant get one til Friday, and the plenum and distributor will have to come back off to replace it. Still dont know where my ratchet is either. Green one is back in the garage again. Timing cover started leaking at the coolant feedthru to the block 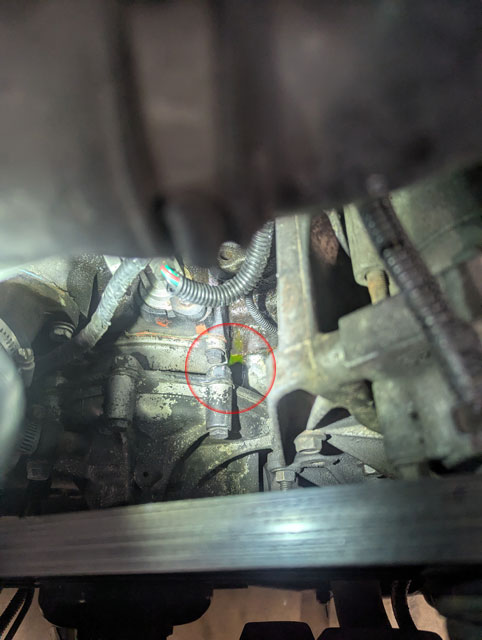 Figured its been ~110k since i had the timing cover off last, so id throw a pump & chain at it while i was in there
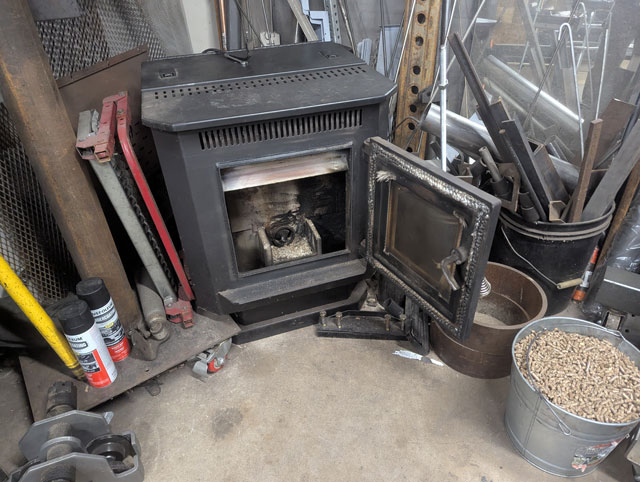
Going back together 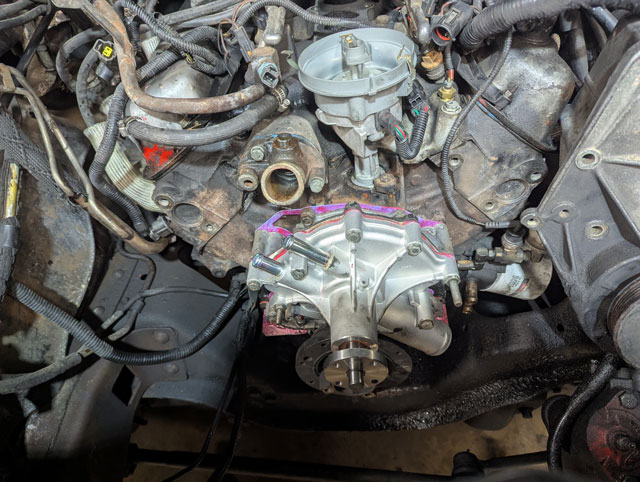 It was at this point that the drive motor for the lower augur in the pellet stove died
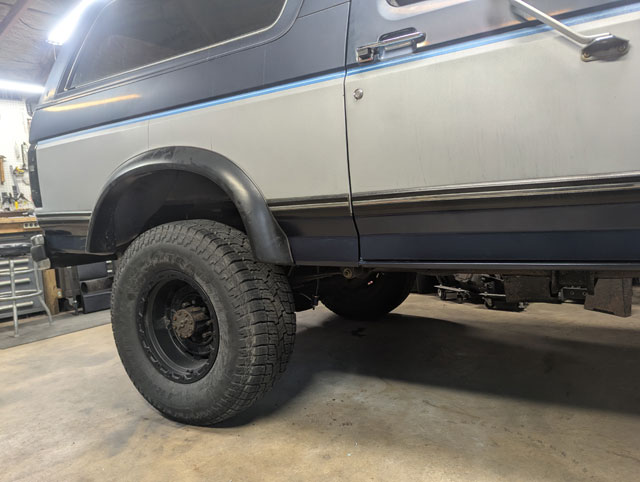
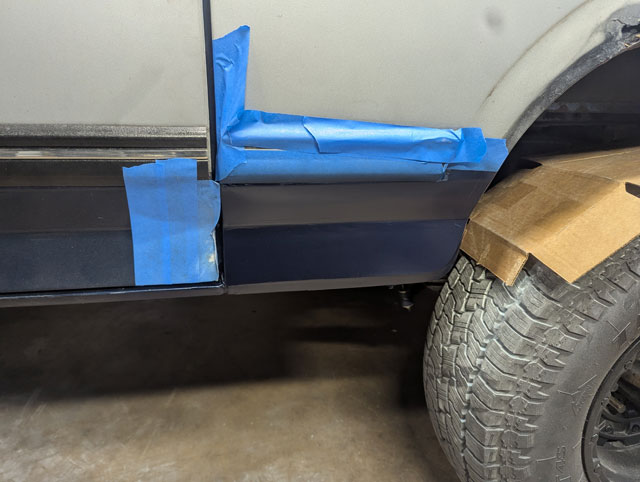
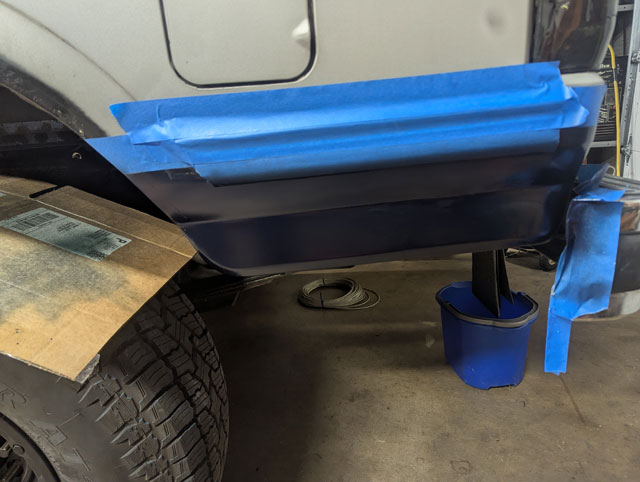
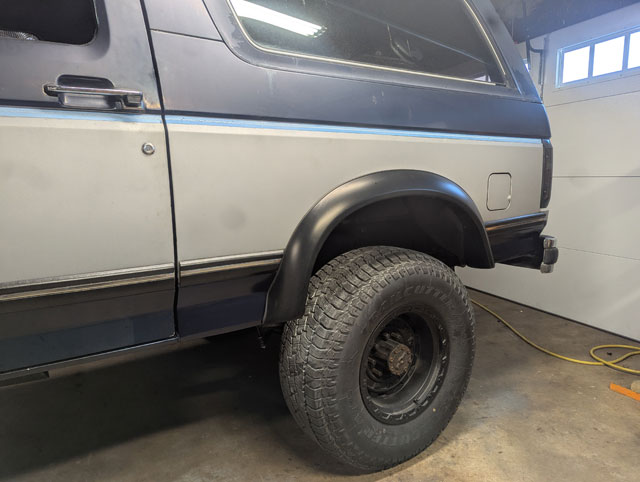
Still waiting on parts to fix that, but moving on, i finished putting the cooling system back together and decided to pressure test it before going any further. Then i found a leak on the passenger side of the intake where it meets the head. So as of this morning the intake is off:  Tomorrow im going to clean up all the surfaces are start putting it back together. Spent a good half hour today looking for my 1/4" ratchet w/ 7/16 deep socket that i apparently misplaced yesterday. Gone forever it seems. Already put 40k miles on the Thunderers! They were decent for a cheap mud terrain, but as the tread got pretty low their rain/snow performance suffered. So its time for a new set of tires. Enter one set of Falken Wildpeak AT4ws! 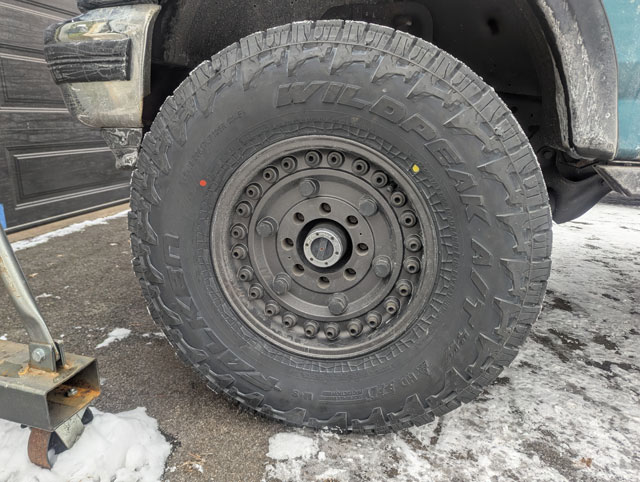 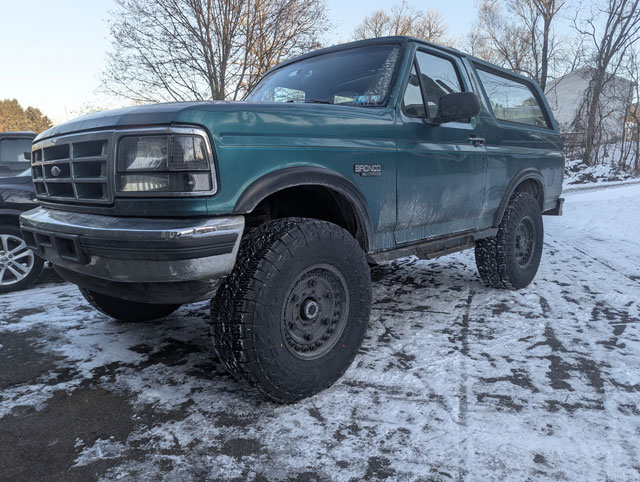 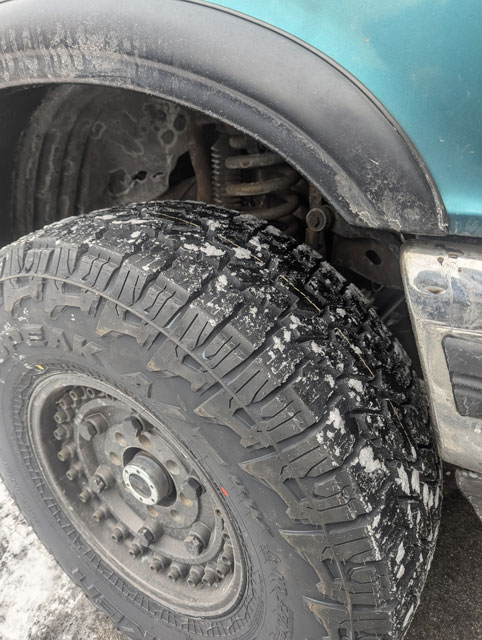  With a 60k mileage rating, and 235k on the clock, if we get the advertised mileage out of these tires, we'll be pretty close to 300k miles by the time we need a new set. Time will tell! First up, had to remove the disintegrating rear window seal 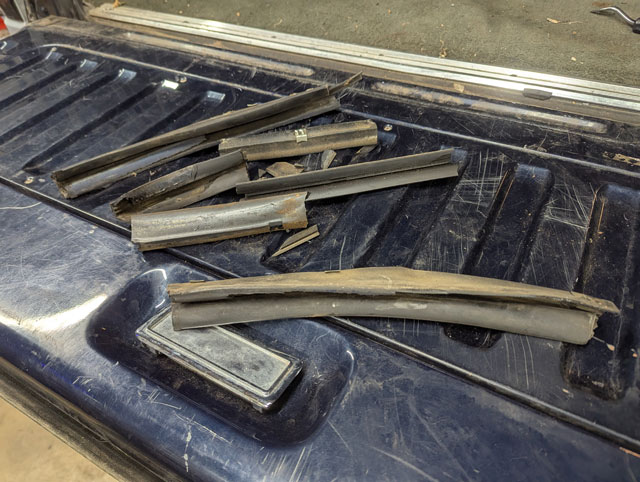 New seal: 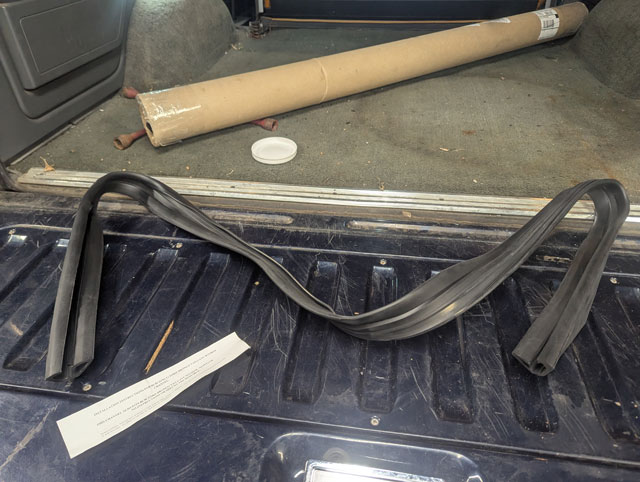 ...and installed!  Ok, back to the main project. 3rd patch panel made  ...tacked... 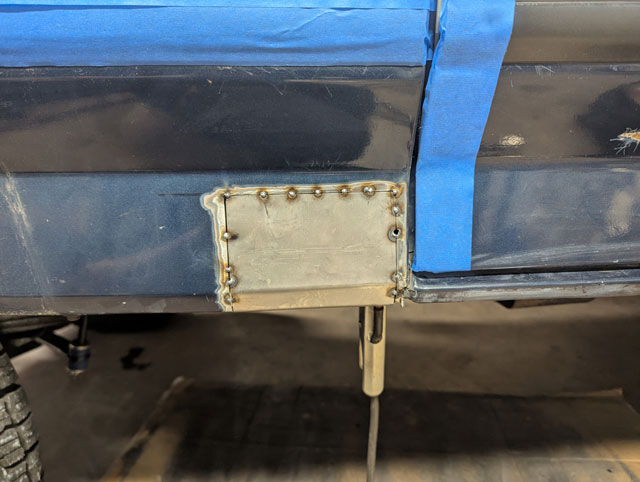 i was in the zone, so now its all welded, ground, and the first round of body filler applied 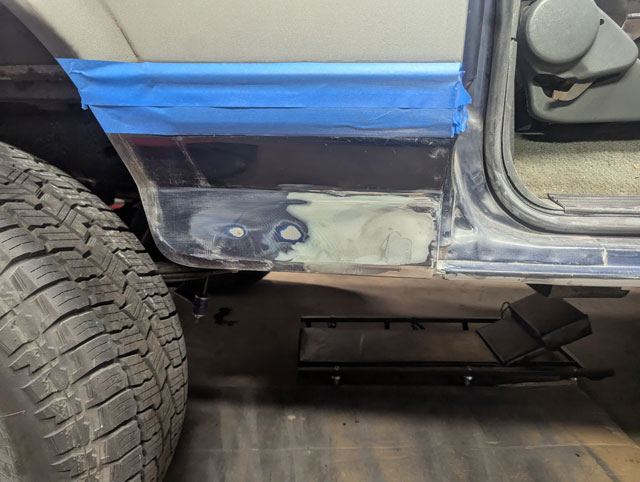 Just slapped some primer on it, so we'll see how it looks tomorrow, maybe ill be able to get some paint on it! Finally got paint, and some time to lay it down:
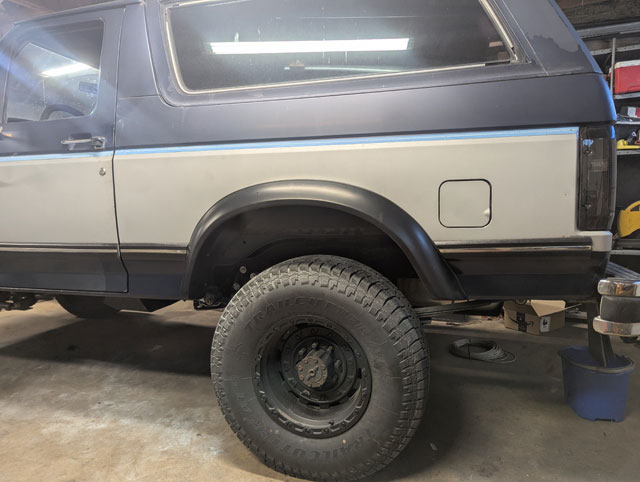
So this side is now done!
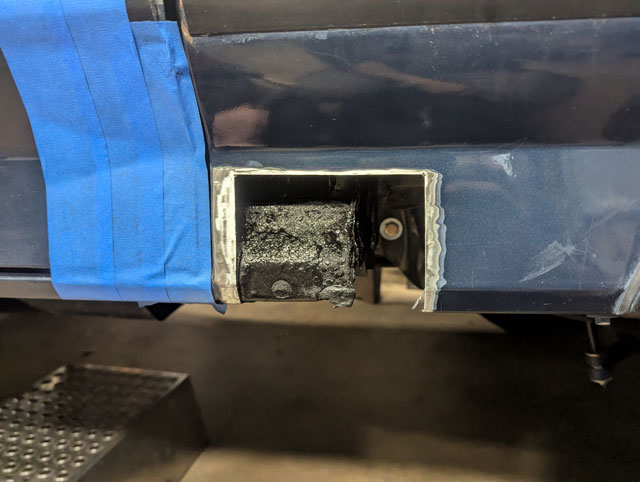
One last ting i wanted to do before turning it around, is replacing this very flat door seal 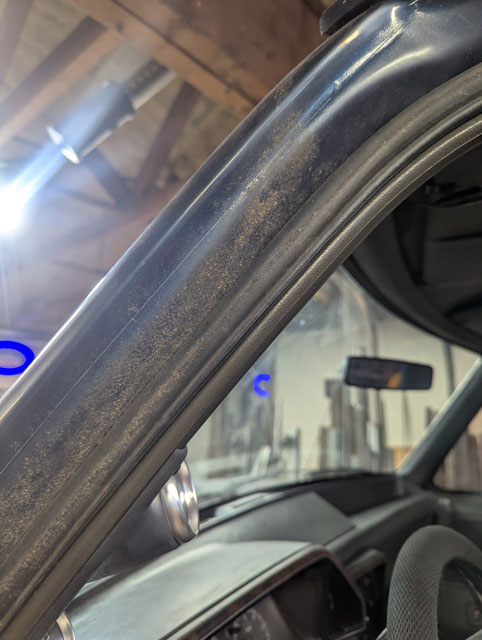 Ordered a set of door seals from Dennis Carpenter 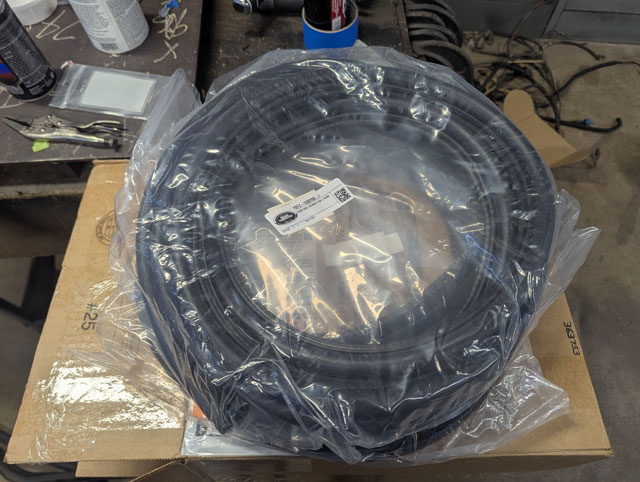 Replaced the door seal, and then turned the bronco around in the garage. Went to put the tailgate down, and the upper glass door seal fell out! Turns out it was so old it turned to plastic and was crumbling in my hand. So now ive got rear window seals on order 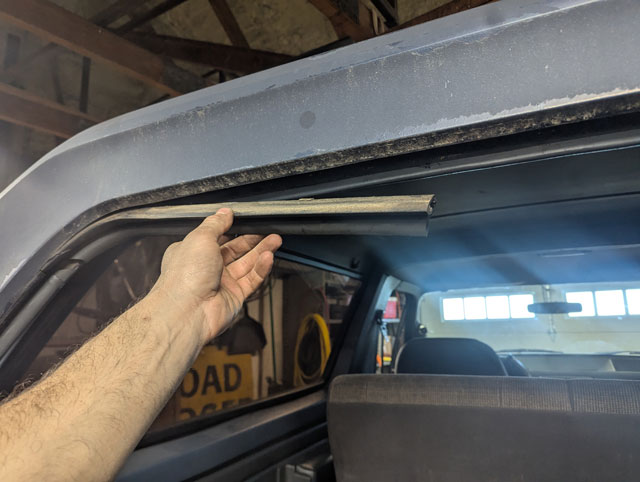 But enough distractions. Weve got one more rough spot in the body to deal with: 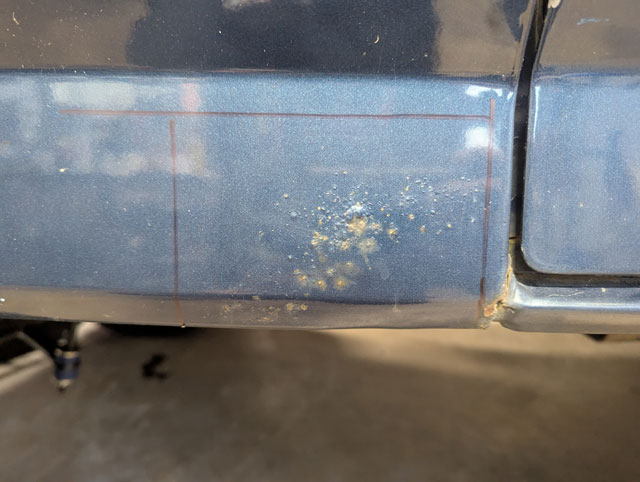 All cut out and prepped: 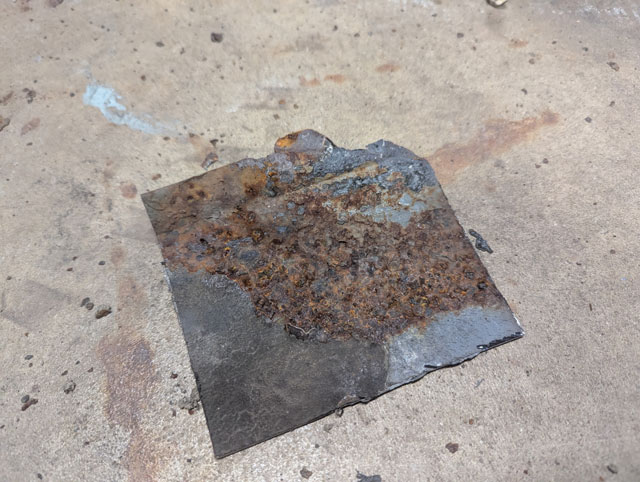 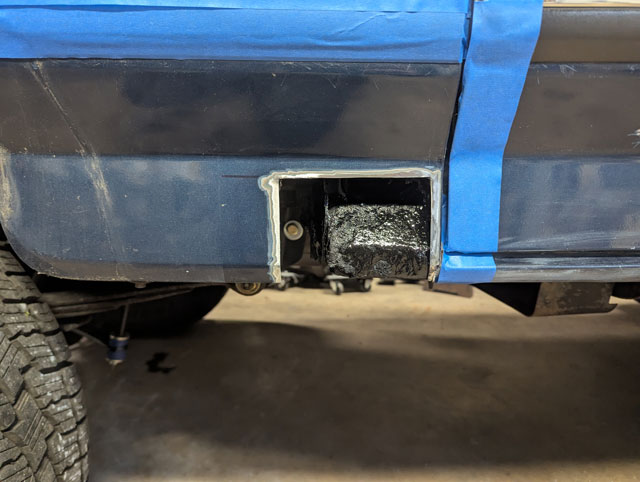 Hopefully this week i can get this patch done, along with the rear window seals, and then i can finally move on to rebuilding that ZF i bought way back when! The first patch panel is now welded in 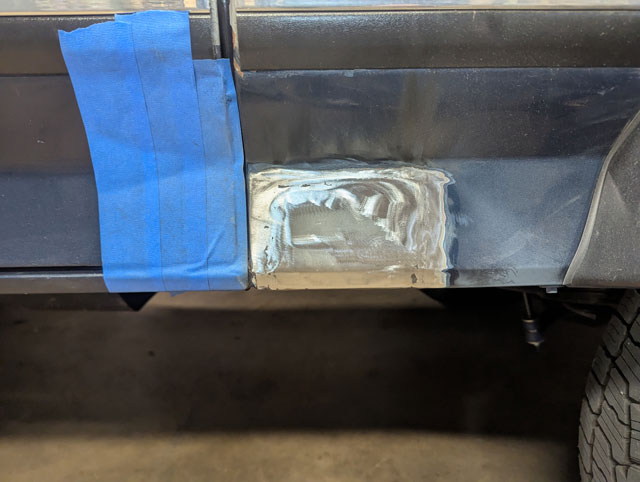 Moving to the other side of the wheel arch, we have to deal with this as well 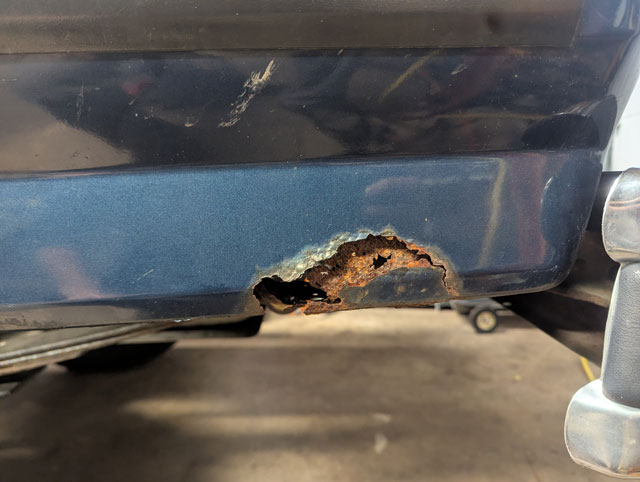 Cut open to expose the typical corner rot 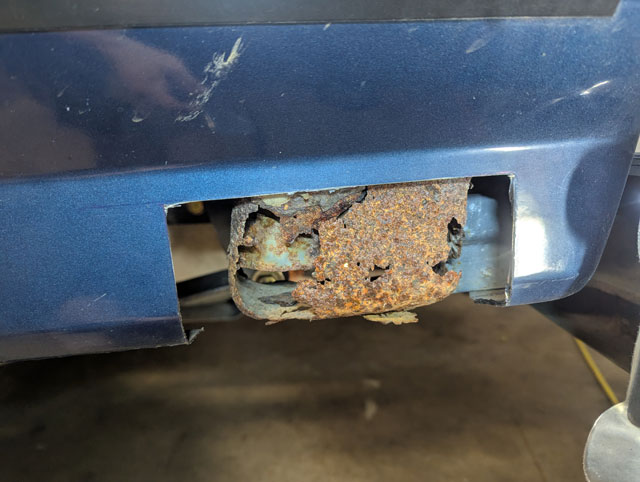 I cut that crusty piece out to expose nice clean steel for the main structure, so we caught it in time (pic missing) Bending up the next patch panel... 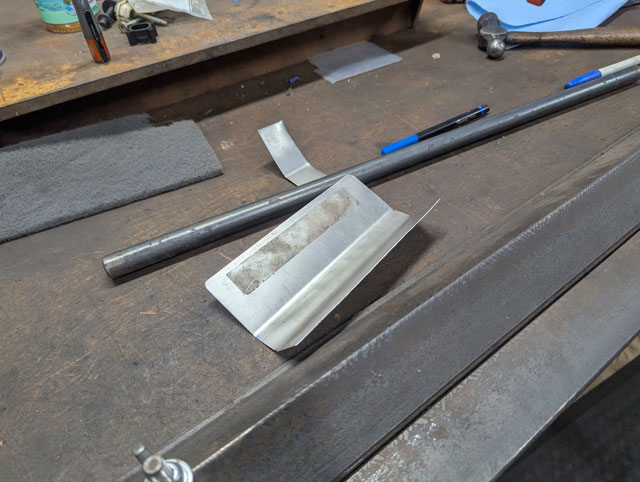 ...and its in! 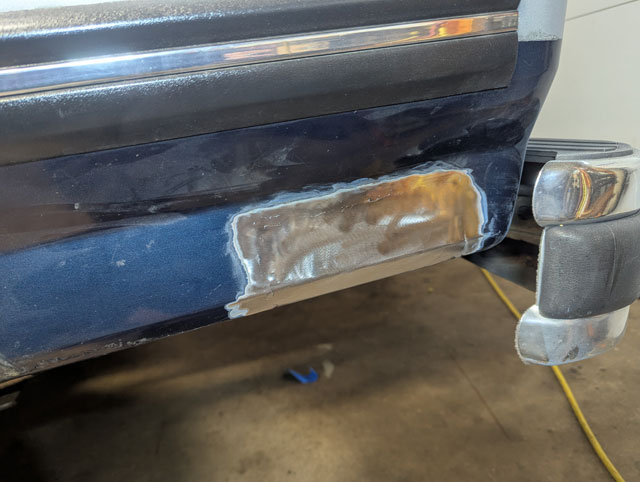 Still waiting on paint, so im going to get these prepped and primed so once the paint shows up i can just paint em and move on to the other side of the bronco. Back at it 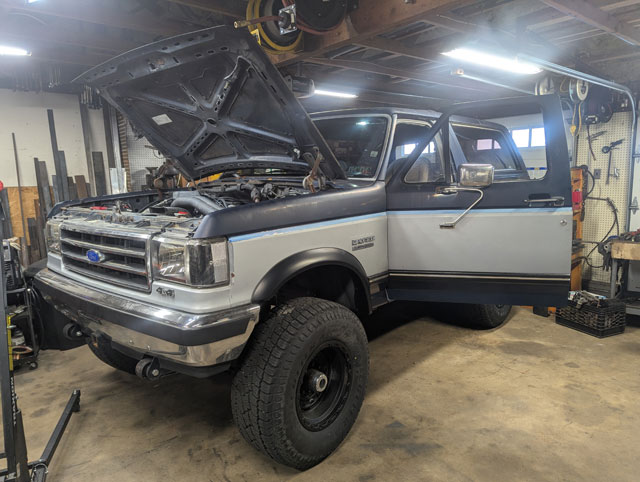 With the column in the 96 bronco fixed, we can now get back to the real reason we pulled the 90 into the garage...body work! First up weve got to fix this spot 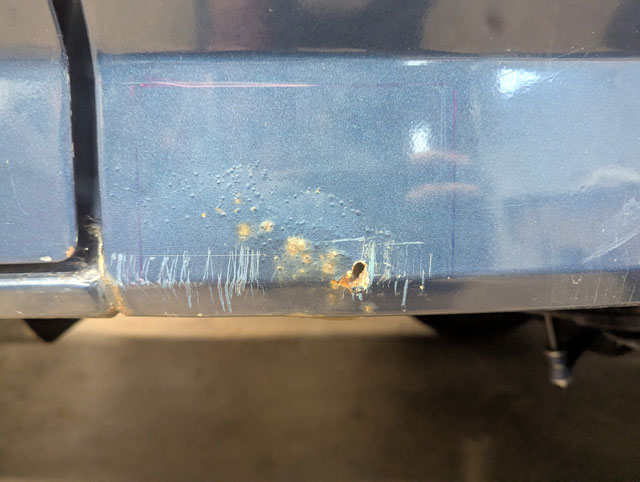 The offending material 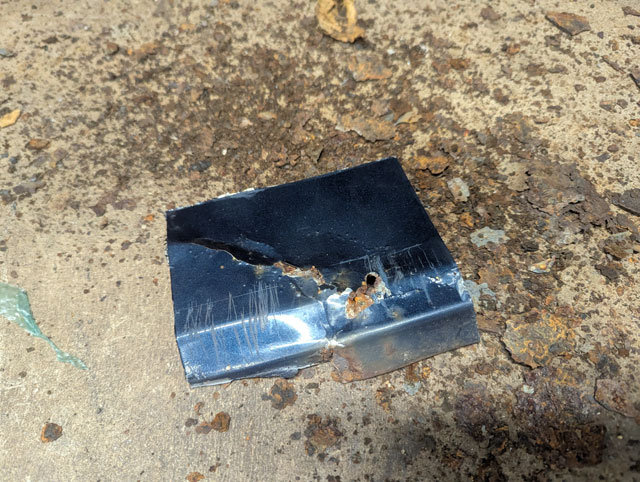 And the hole, cleaned and prepped for a patch panel
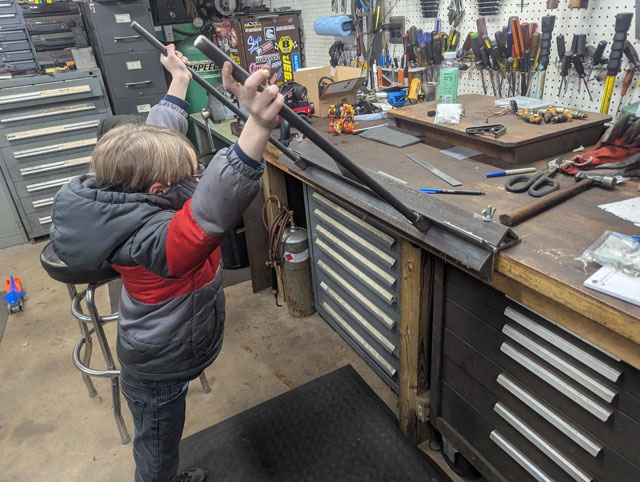
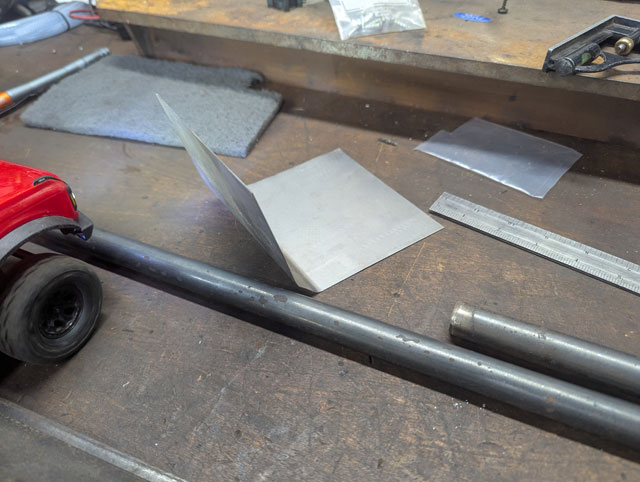
The little dude helped me set up the sheetmetal brake 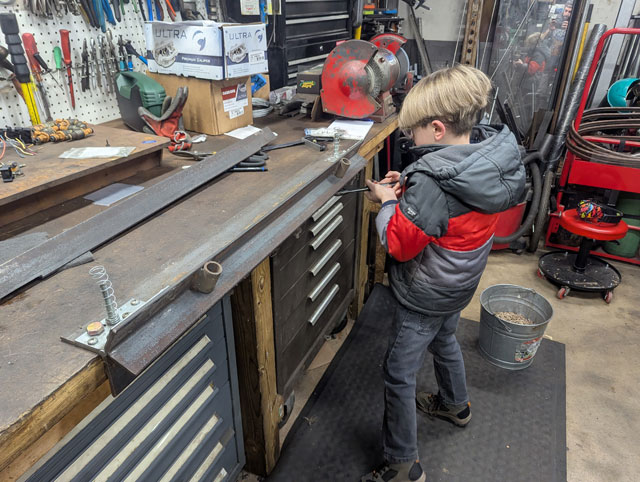 ...and bent his first piece of steel!
|