|
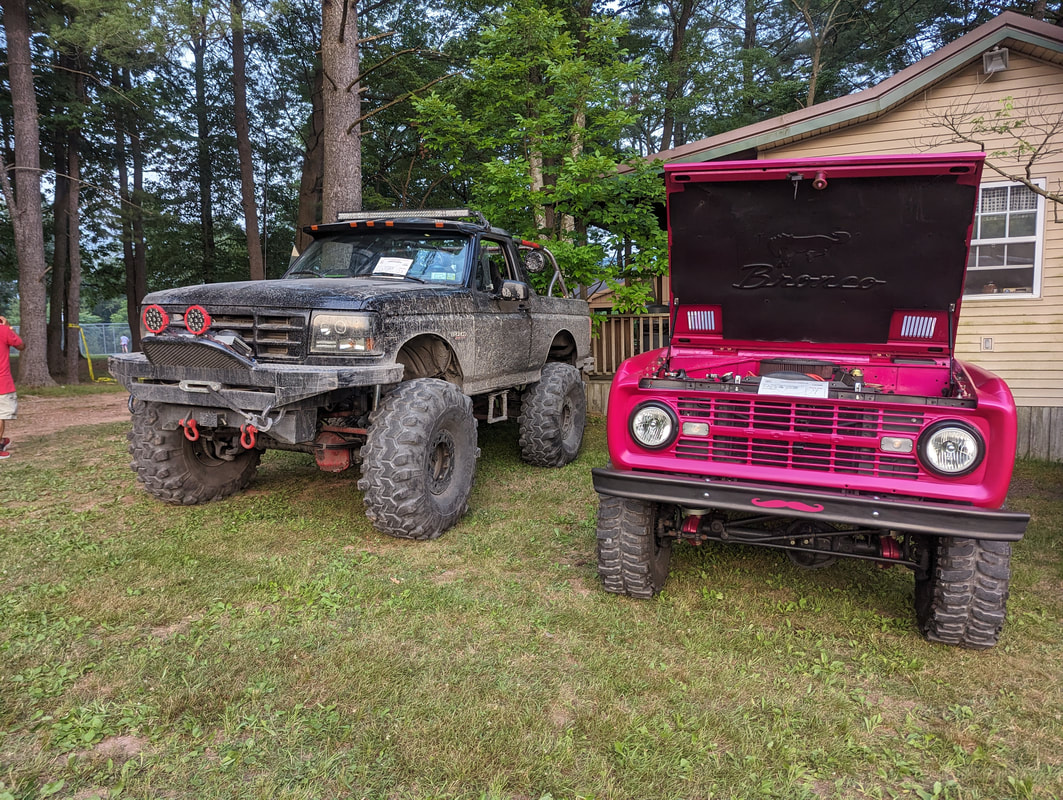
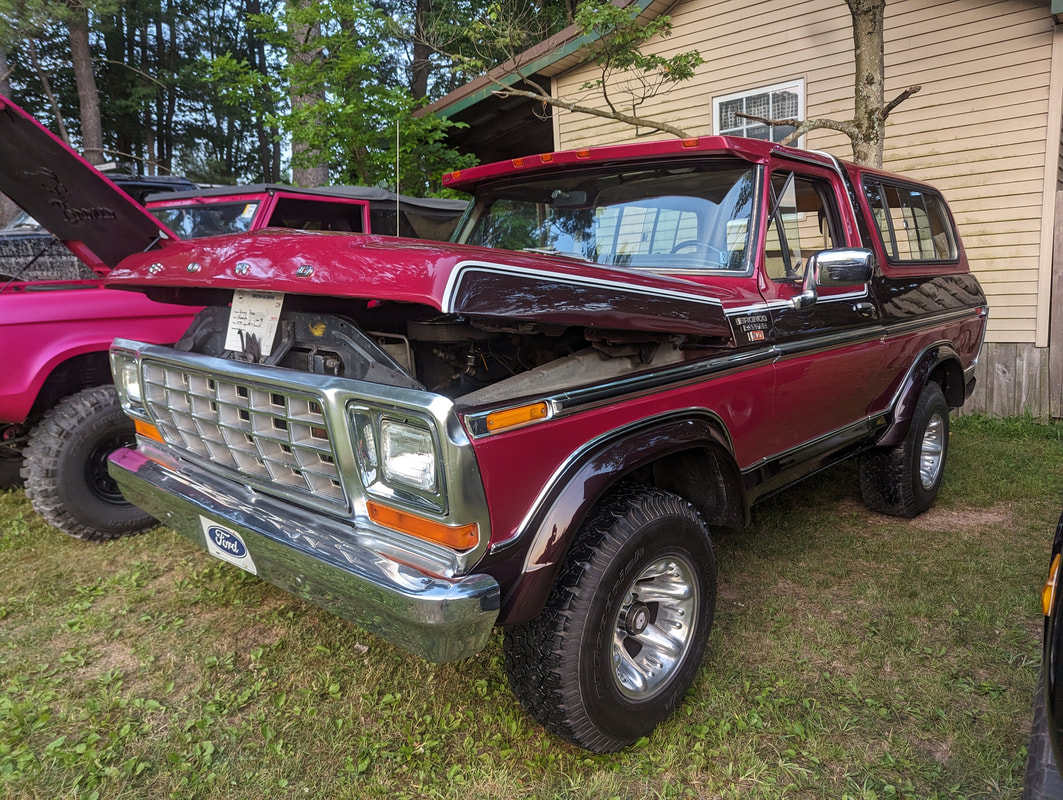
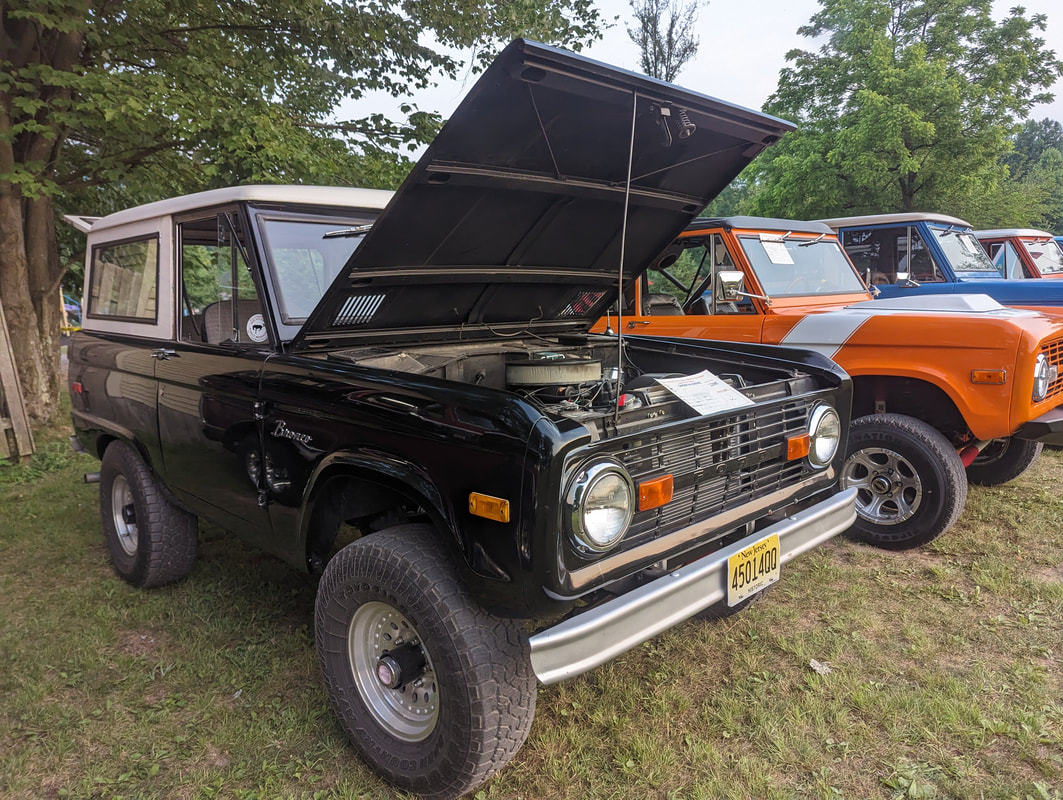
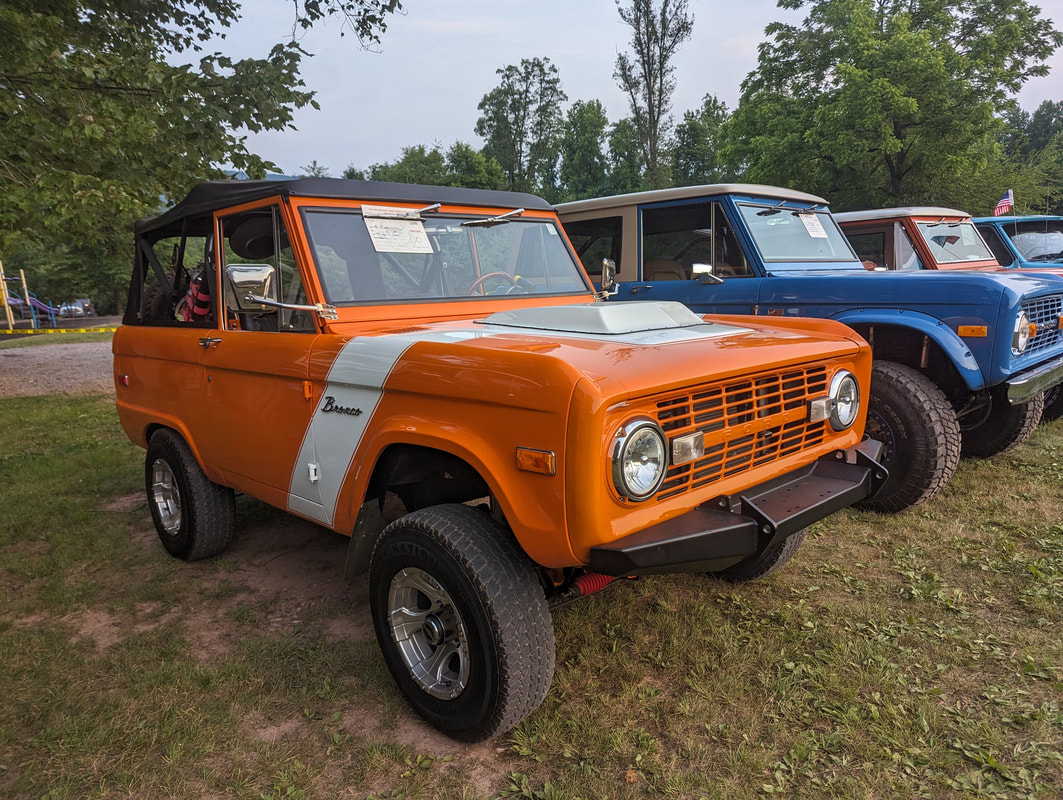
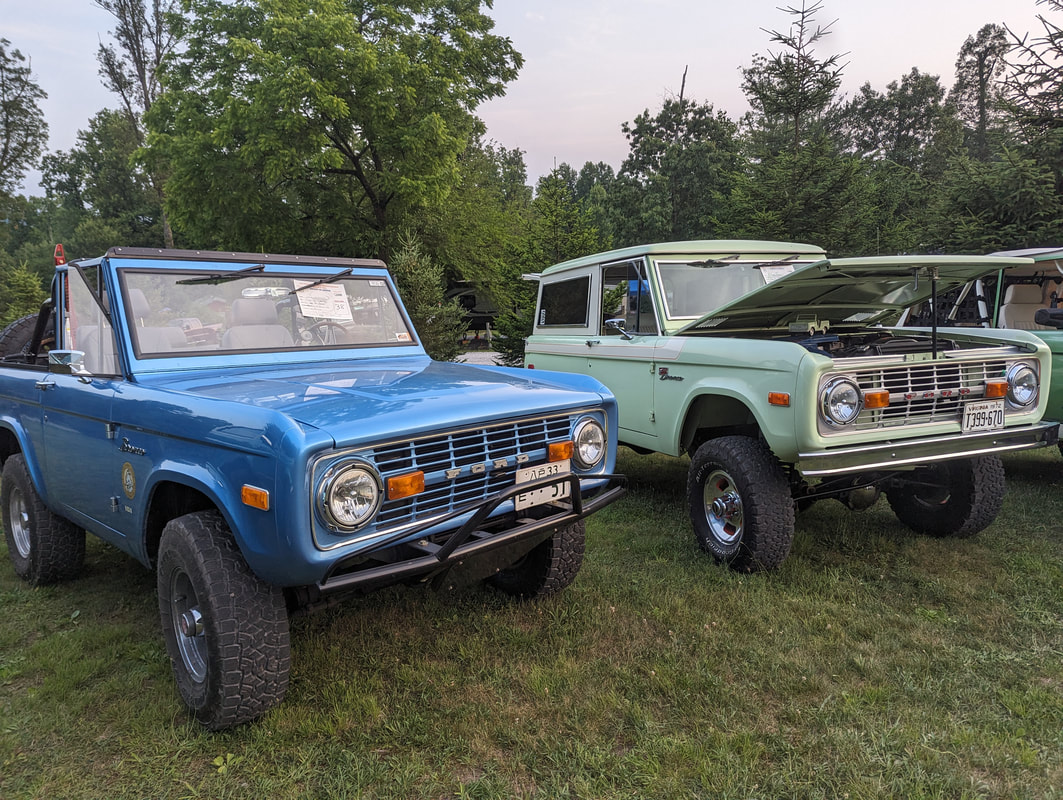
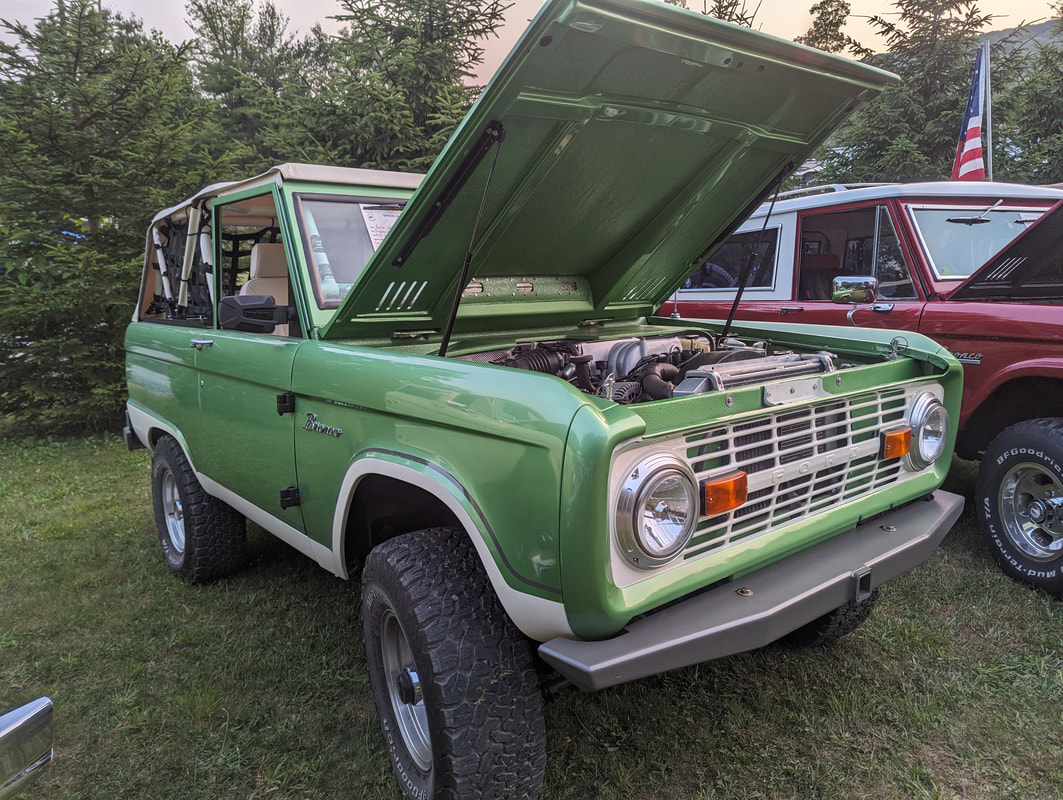
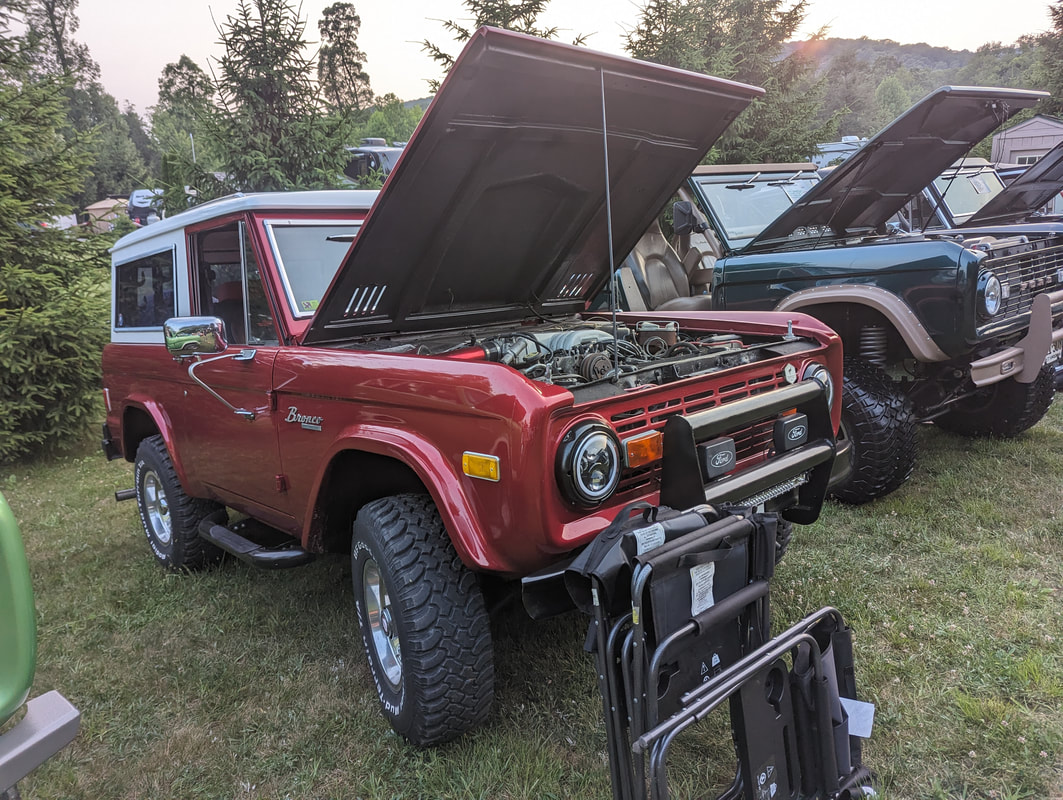
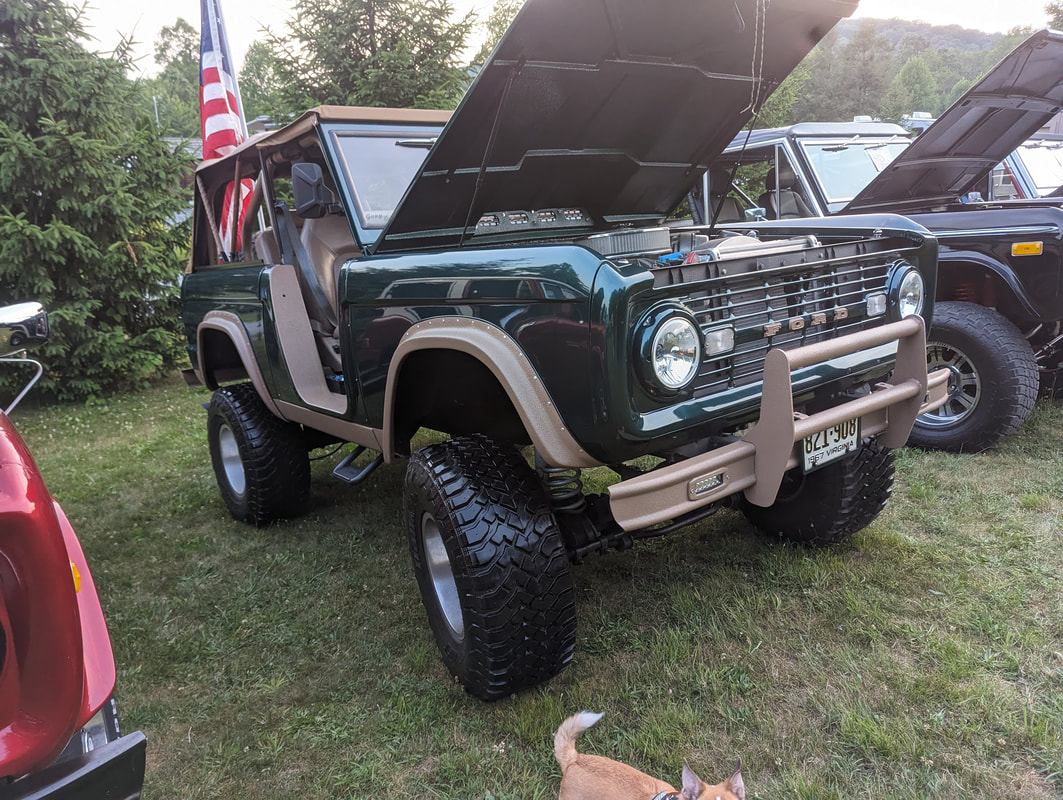
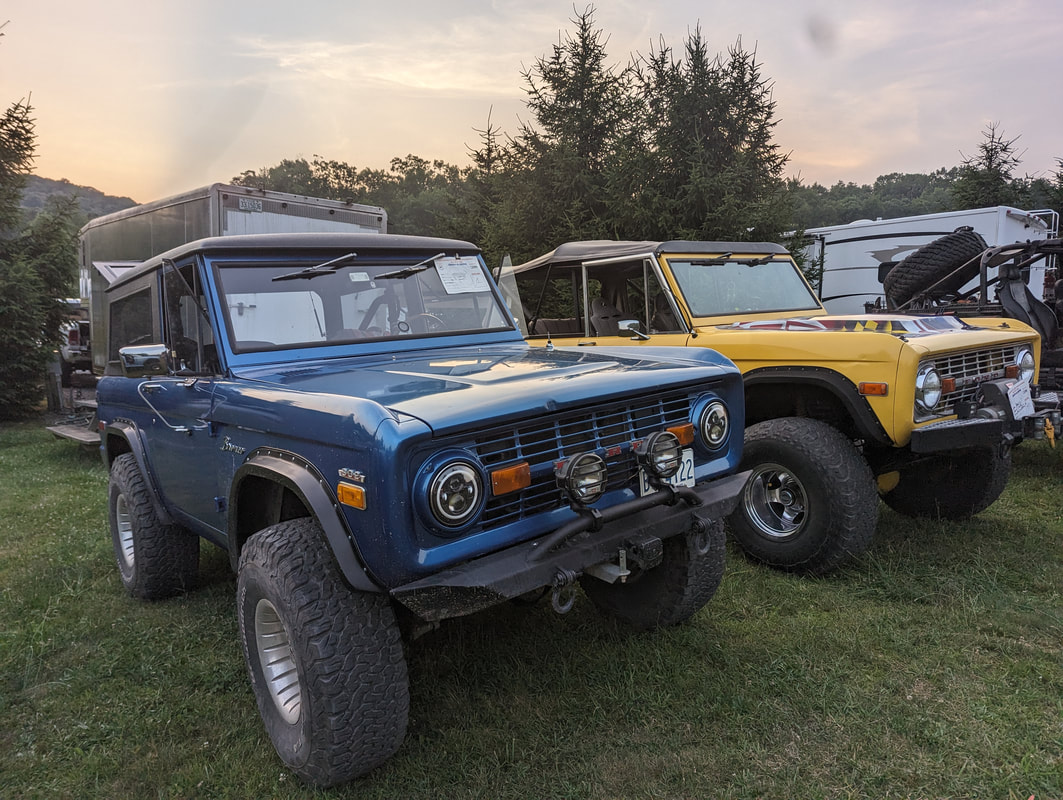
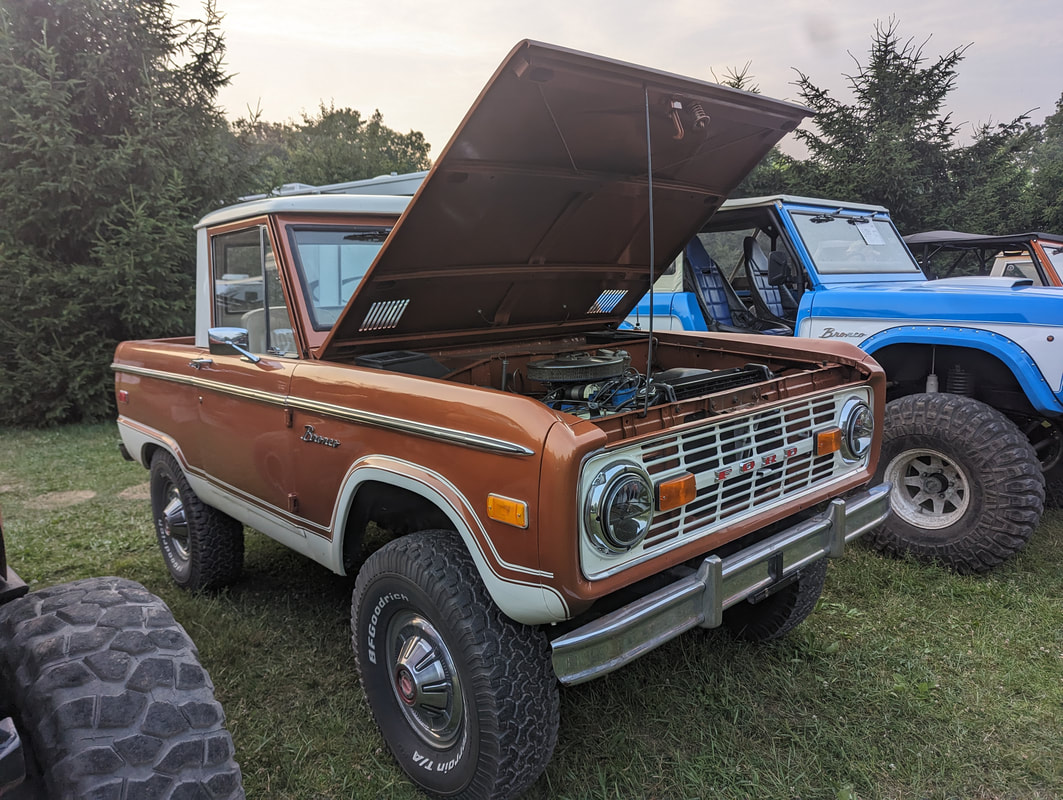
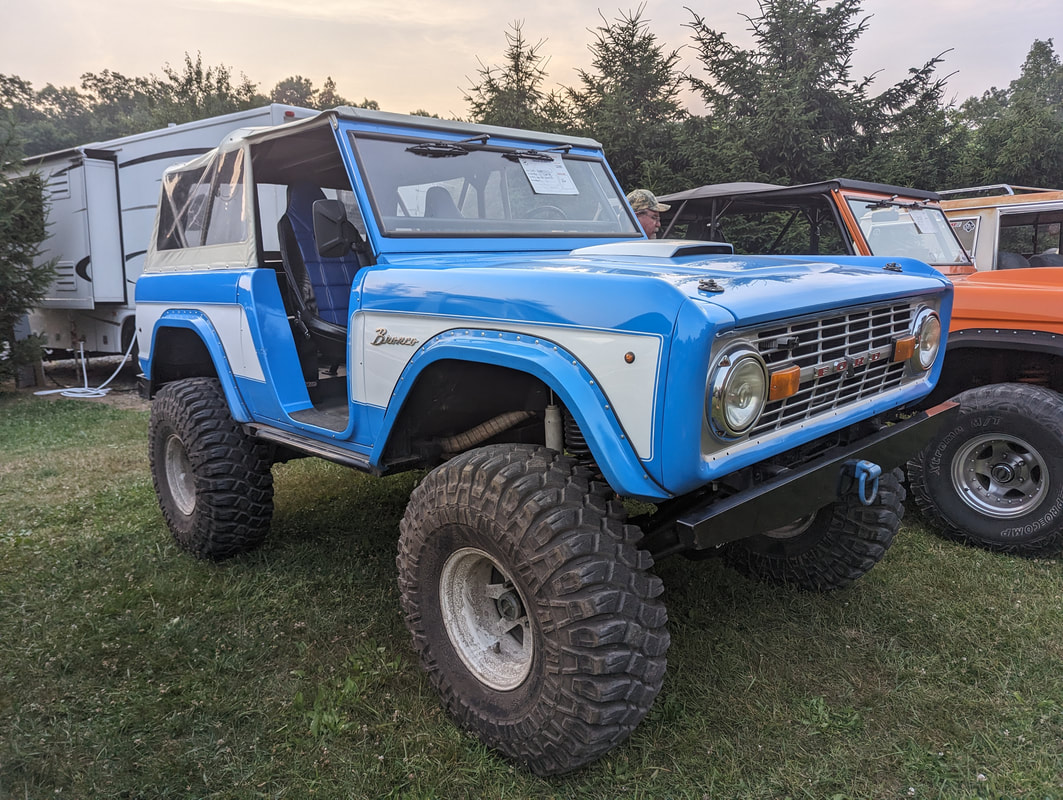
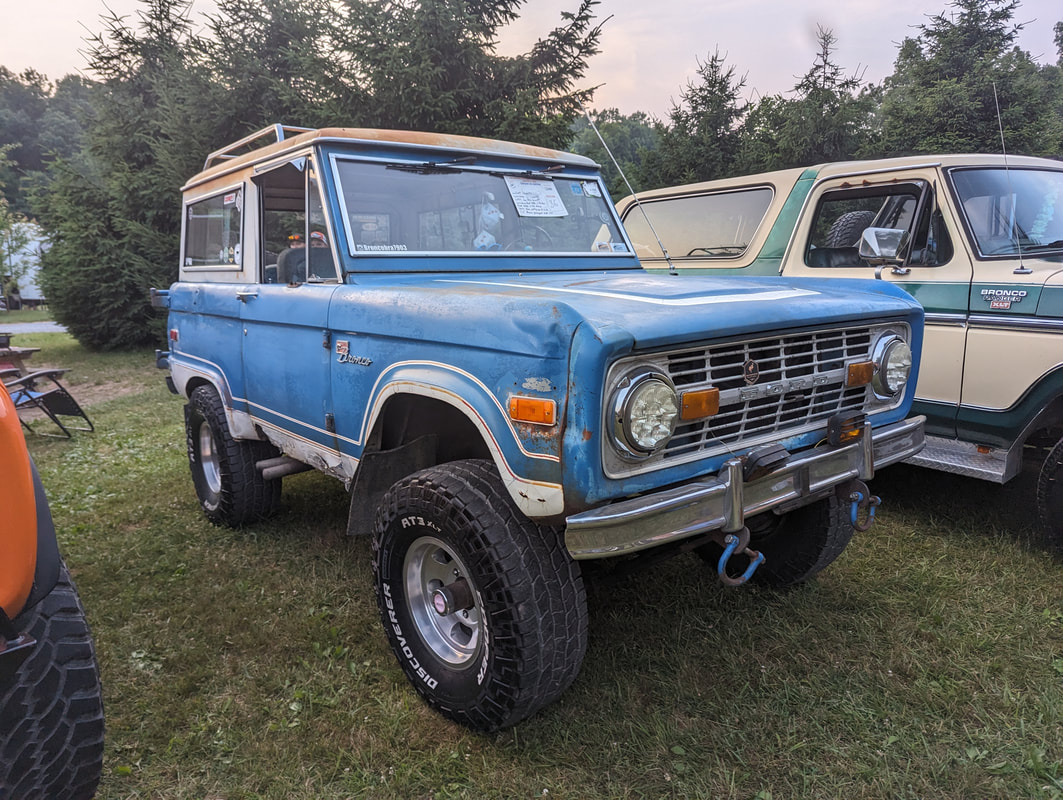
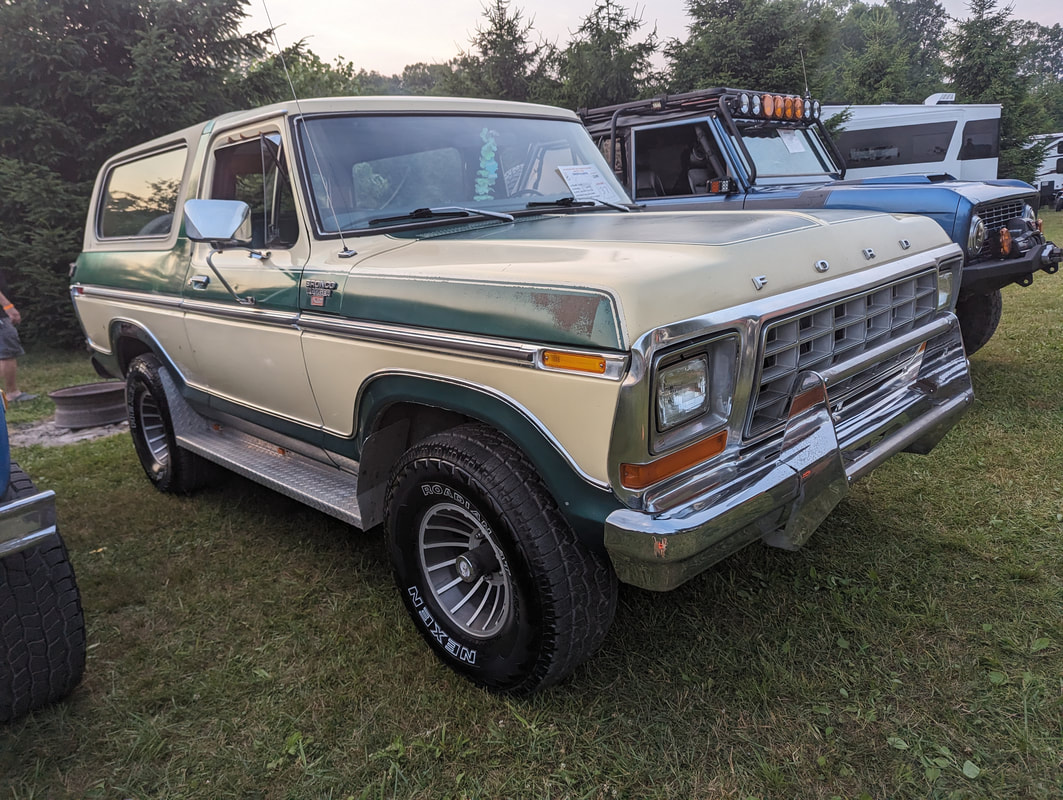
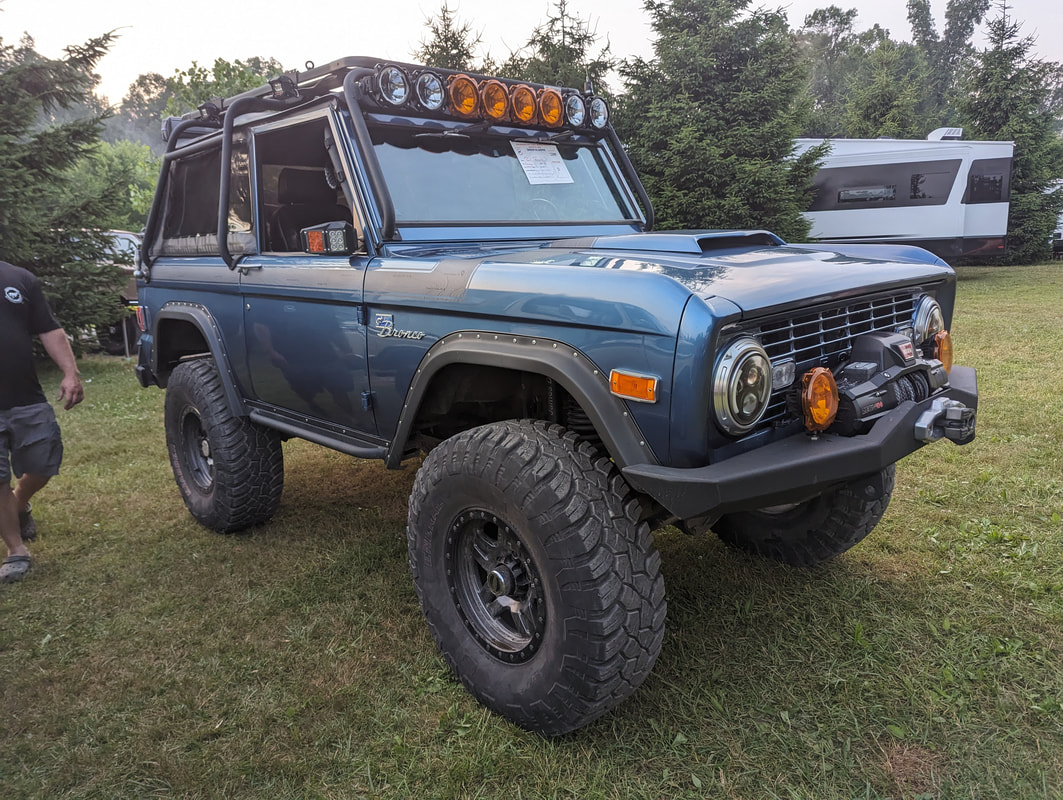
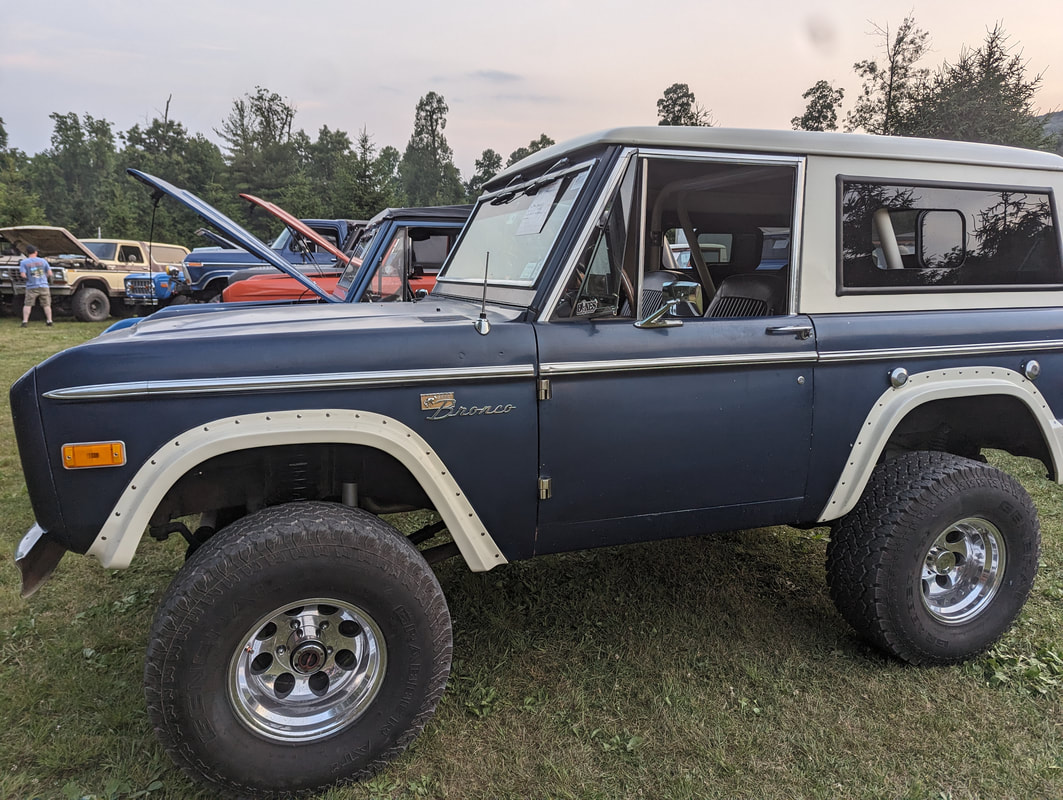
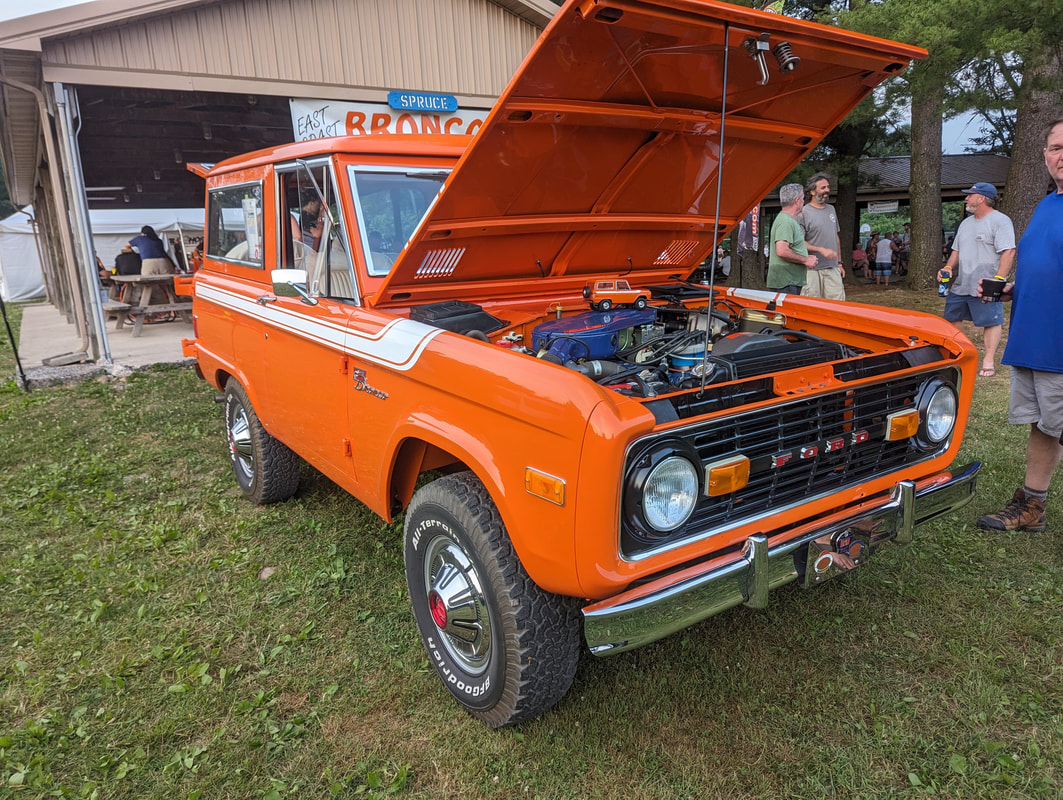
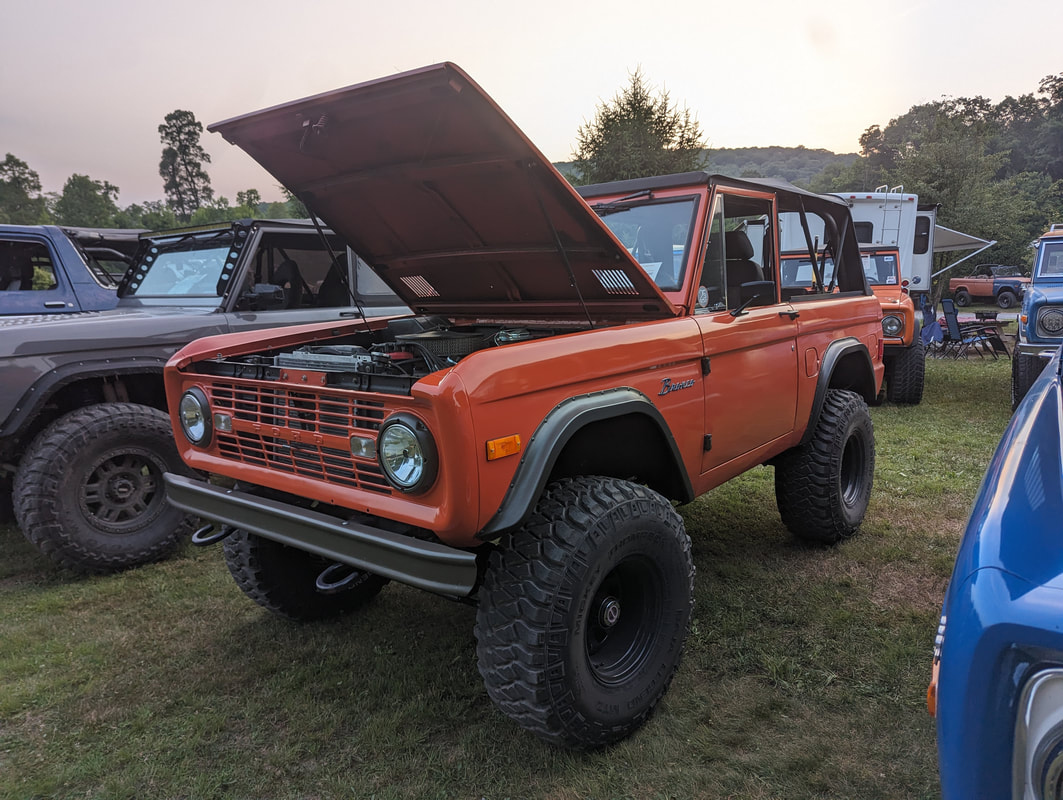
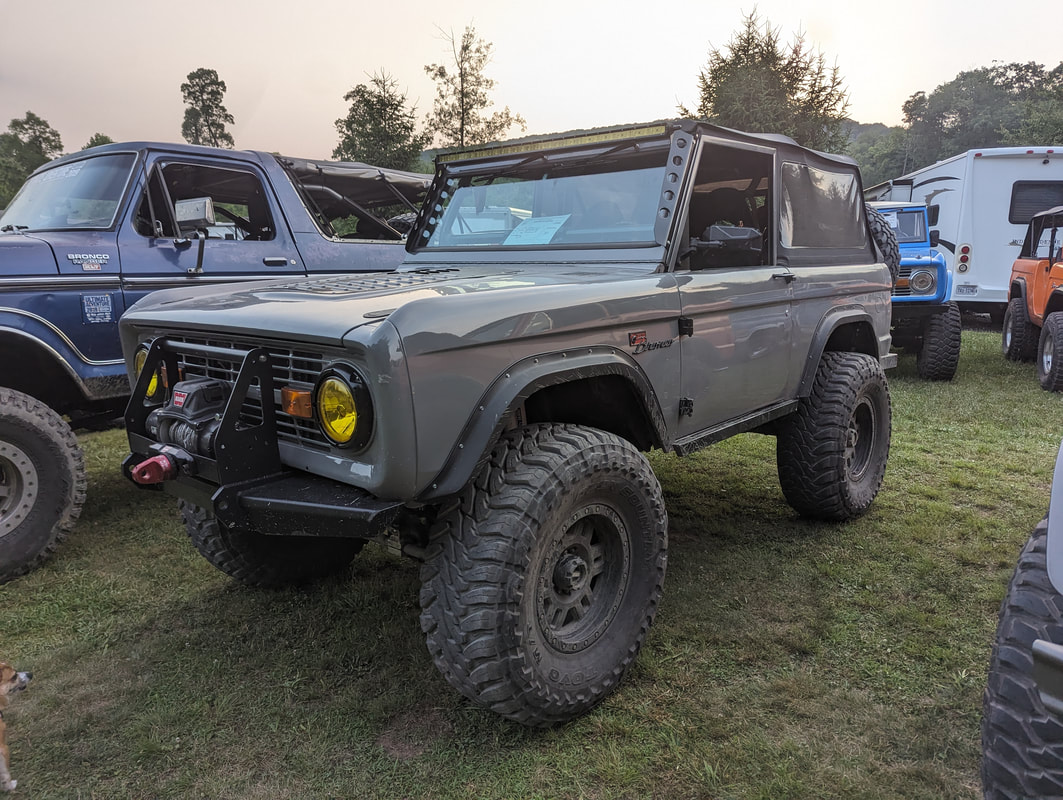
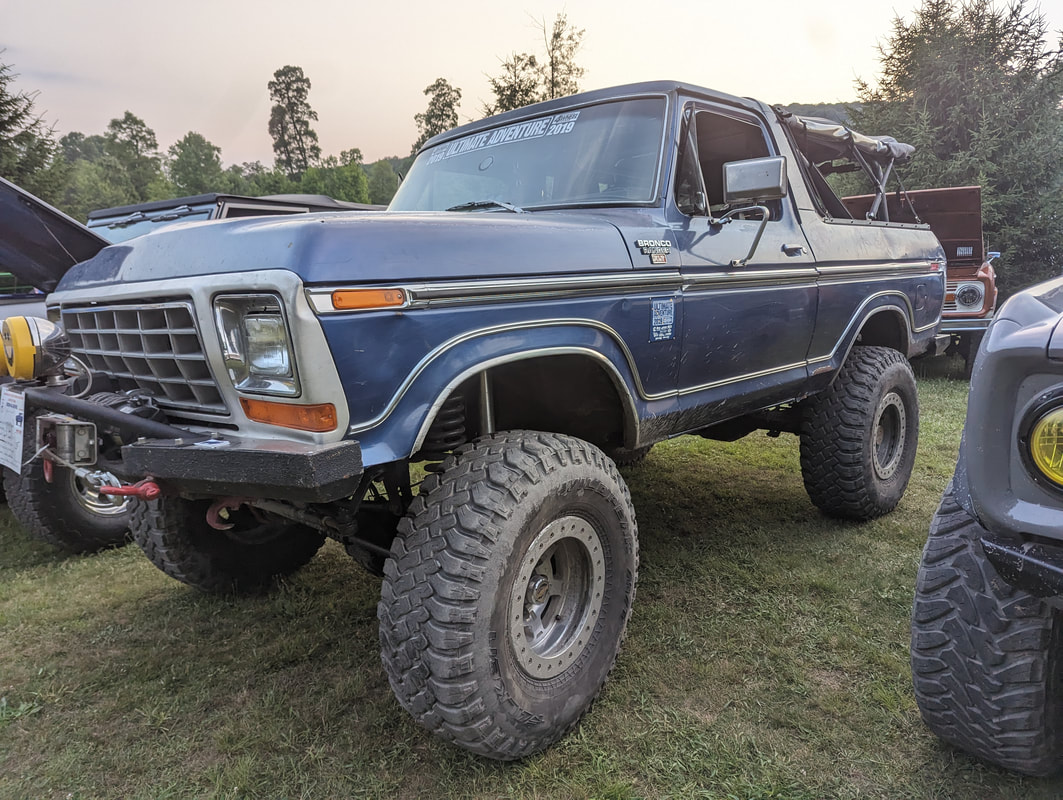
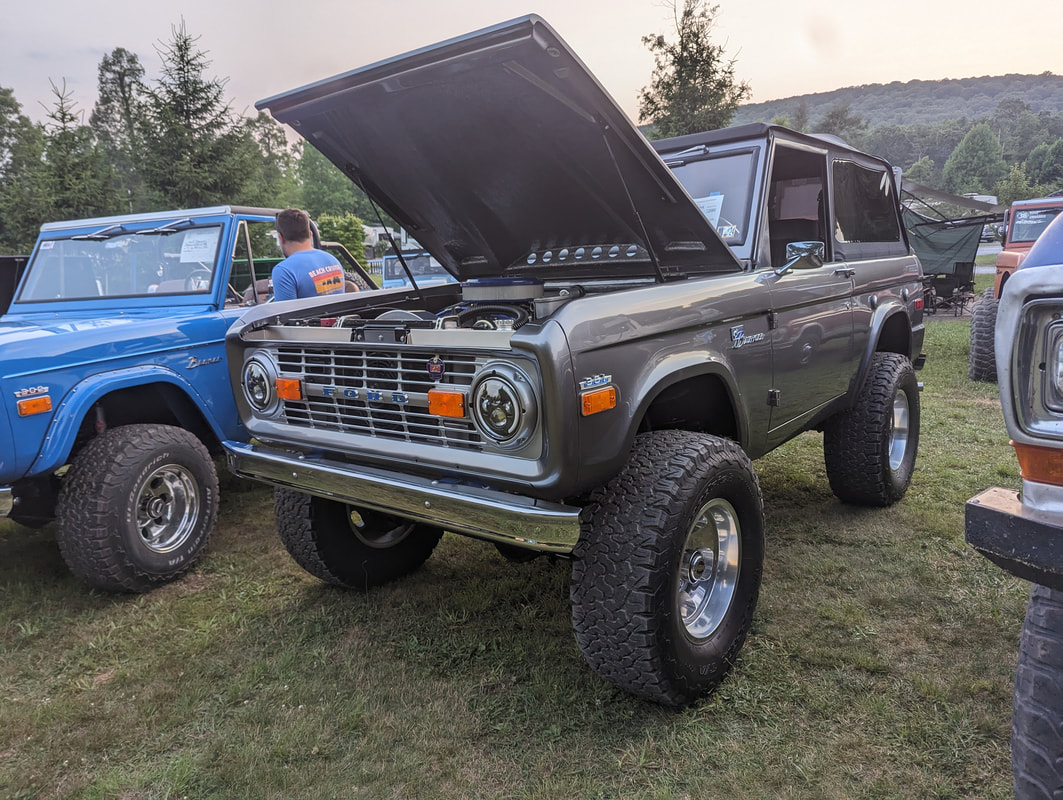
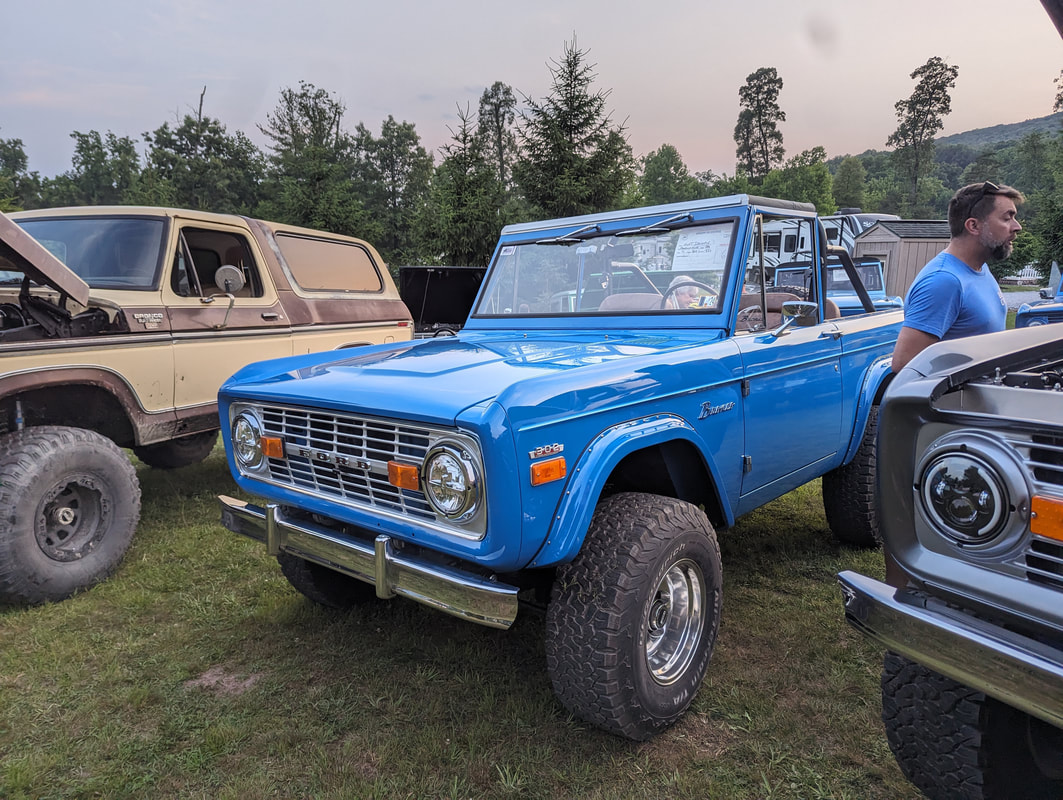
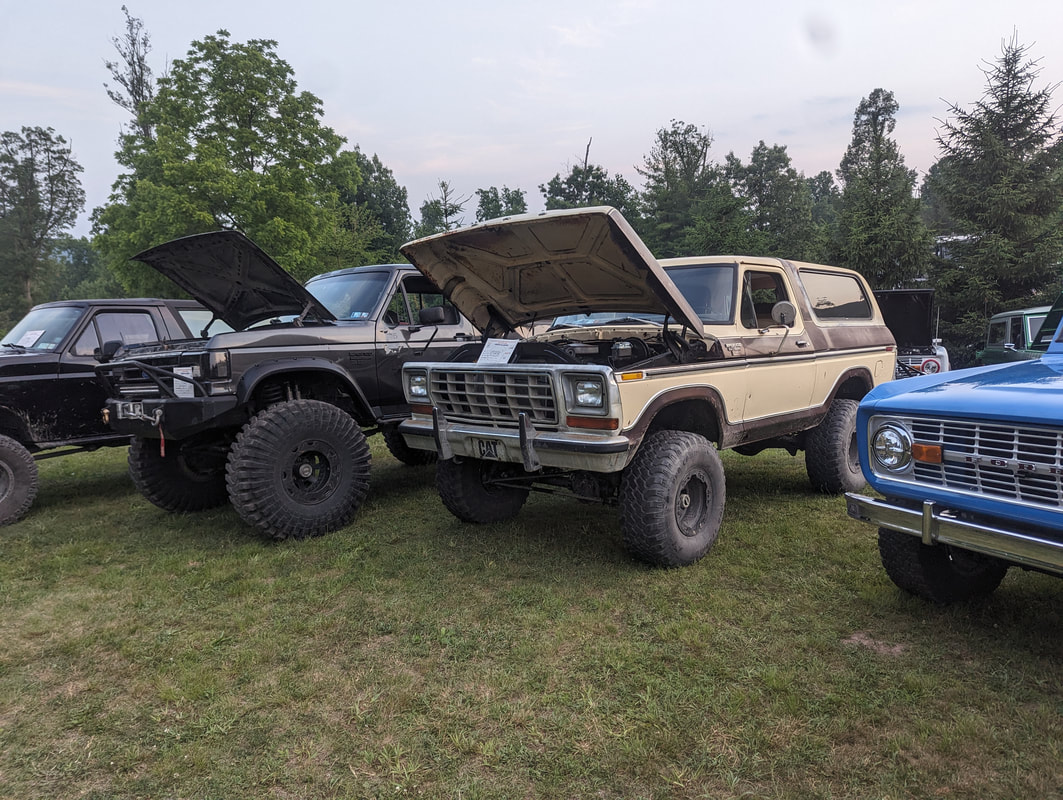
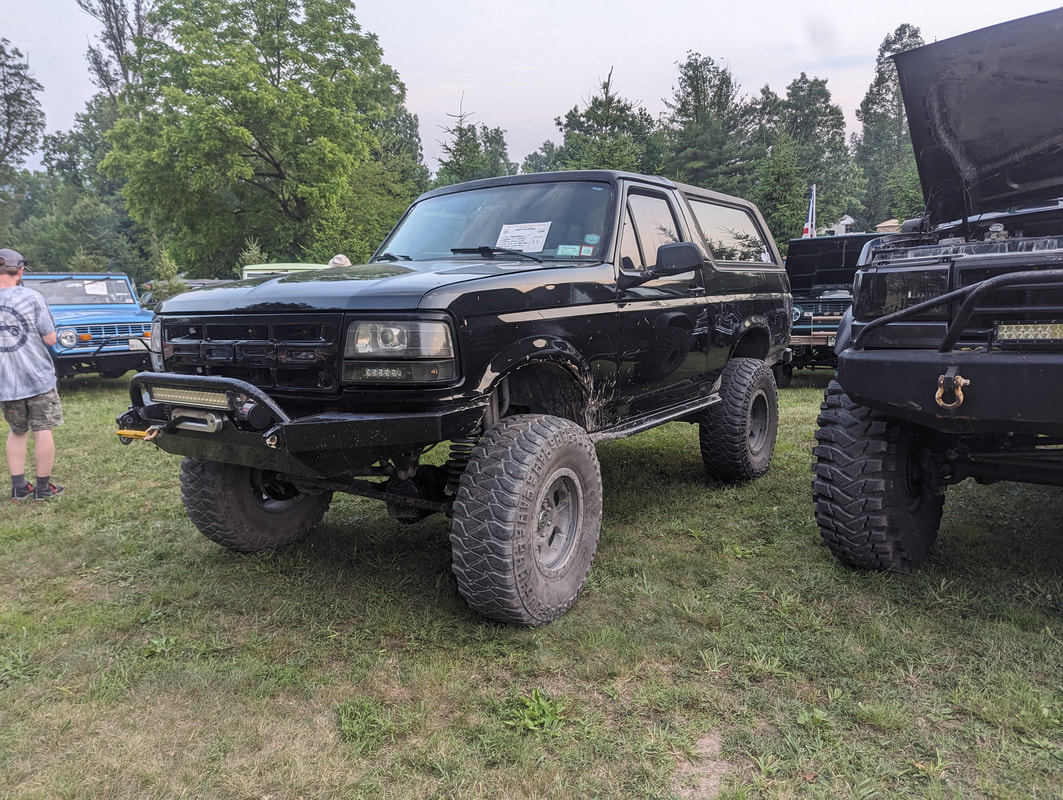
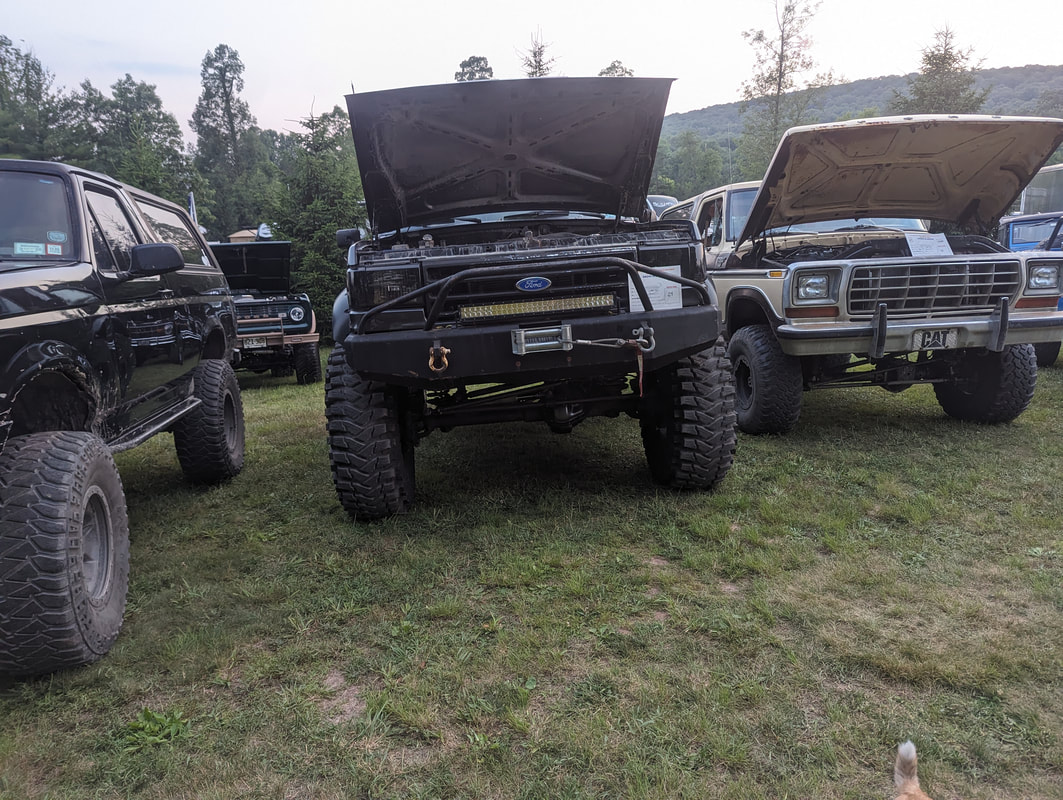
Photo dump from the truck show during the 2024 East Coast Bronco Roundup at Twin Grove Campground in Pine Grove, PA. Click for full-res pics! Ok first off, having a backup camera on the diesel is a game changer: 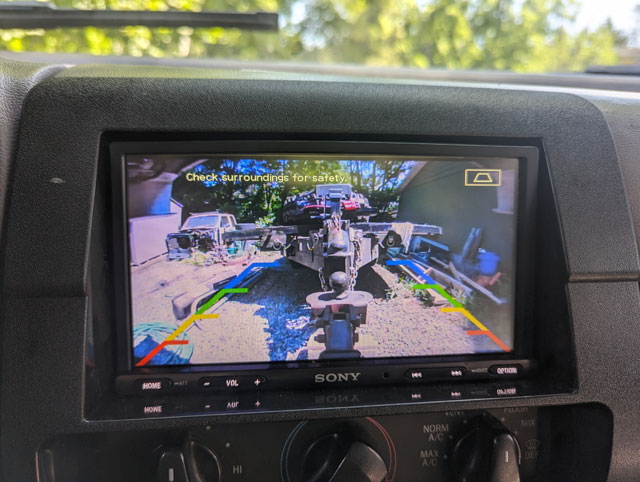 Tomorrow we leave for the ECBR, so i was doing my pre-trip inspection of the trucks & trailer
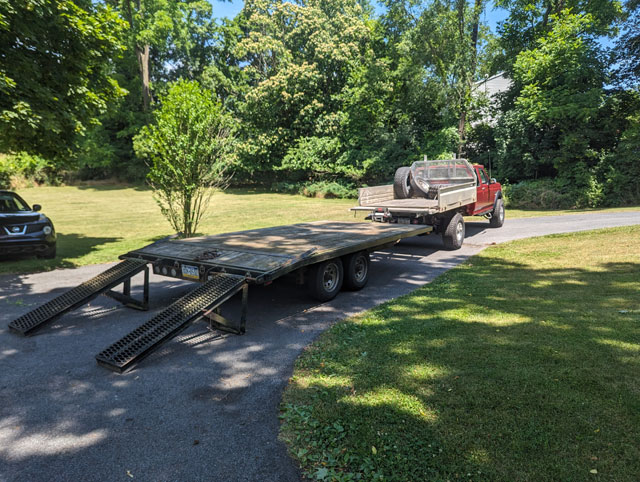
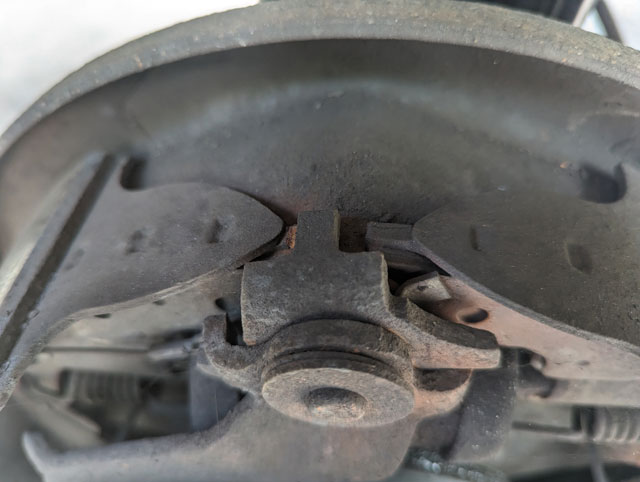
That's when i saw it. A broken main leaf! 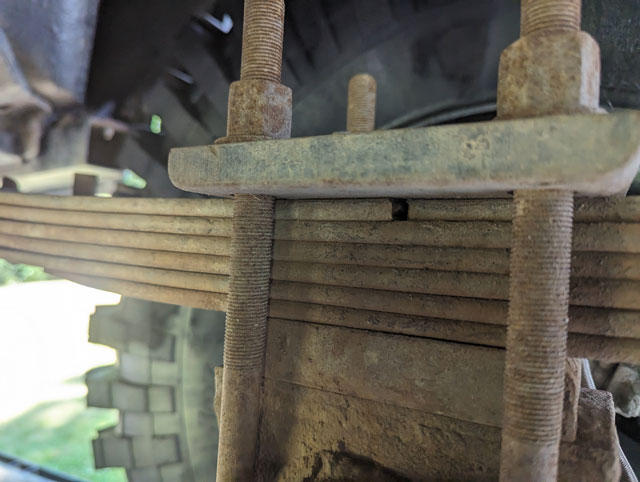 No time to delay, so i tore into it right away. This doesnt look like it broke yesterday. 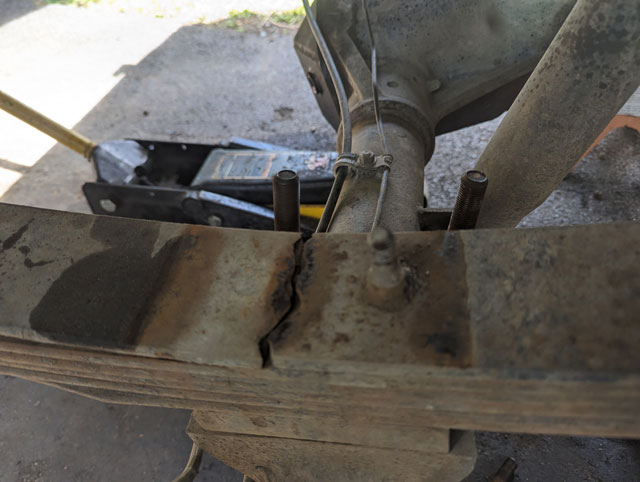 Spring pack out 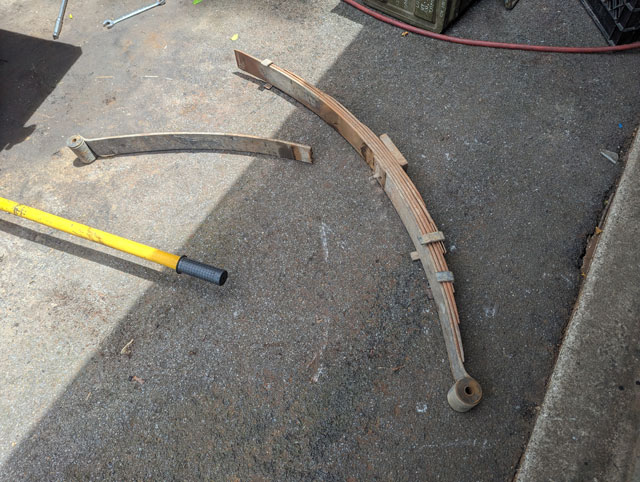 ...and the broken main removed 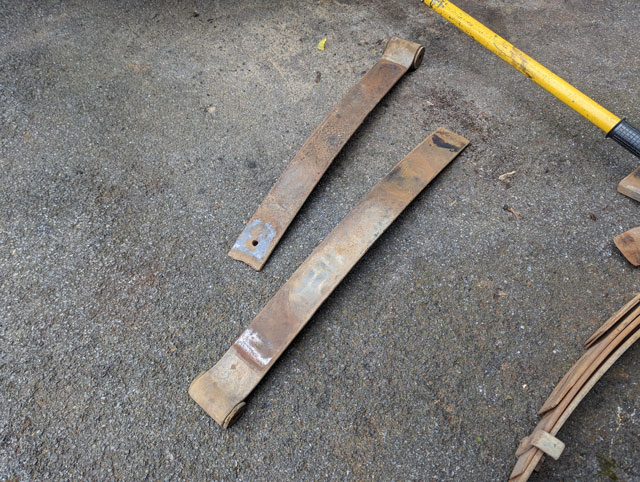 Fortunately i saved the leafs from the '90 bronco i bought (that tub is now gray, and on my frame). They were built super dumb, but the mains looked good, and the PO had replaced the bushings shortly before i bought his project 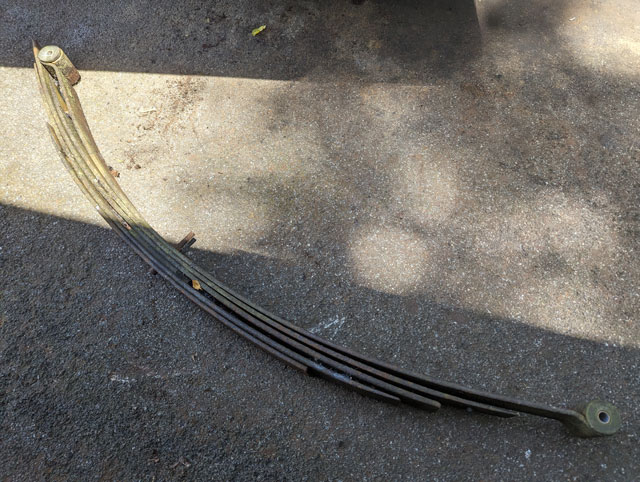 I broke that pack down plus mine, wire wheeled all the leafs, and put that main into my pack: 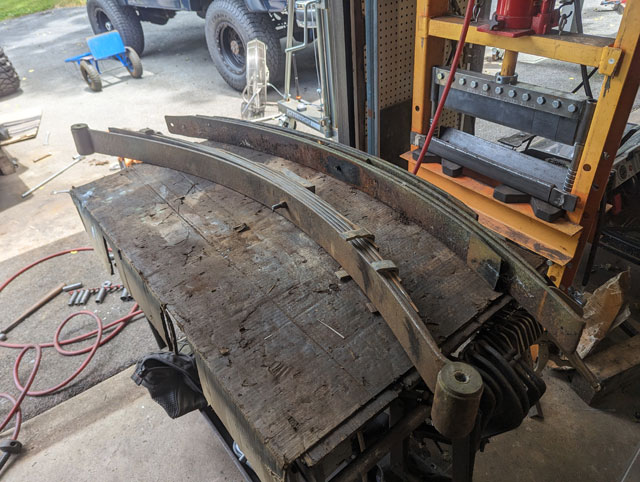 ...and reinstalled! 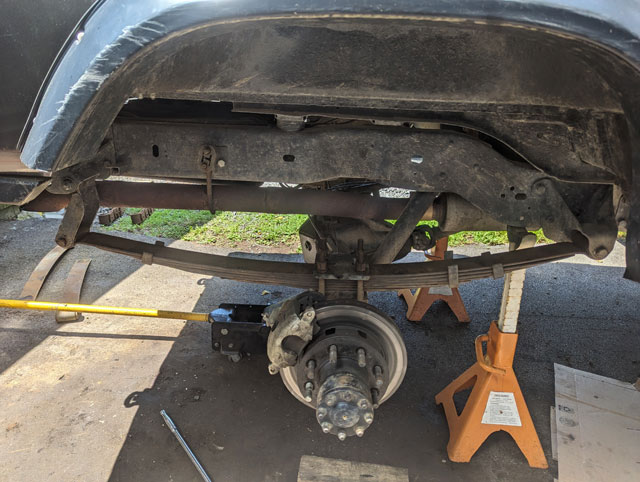 ...all done and ready to go!  ...and all loaded up on the trailer! 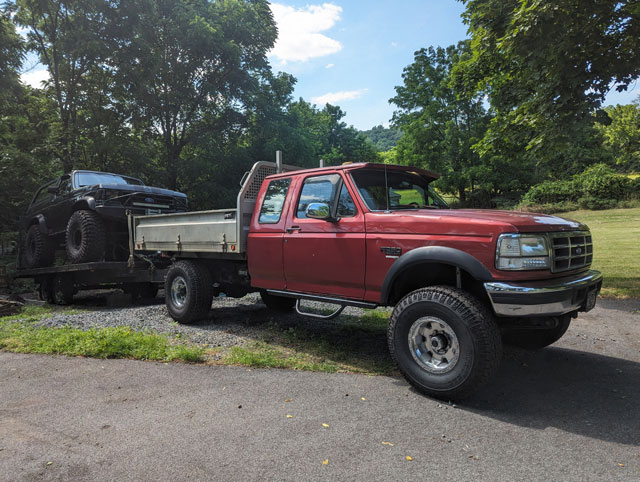 This will be the true test of the SD spring upgrade on the diesel. First impressions are that the rear springs are going to carry the weight just fine; with the bronco on the trailer behind me im just starting to engage the helper springs 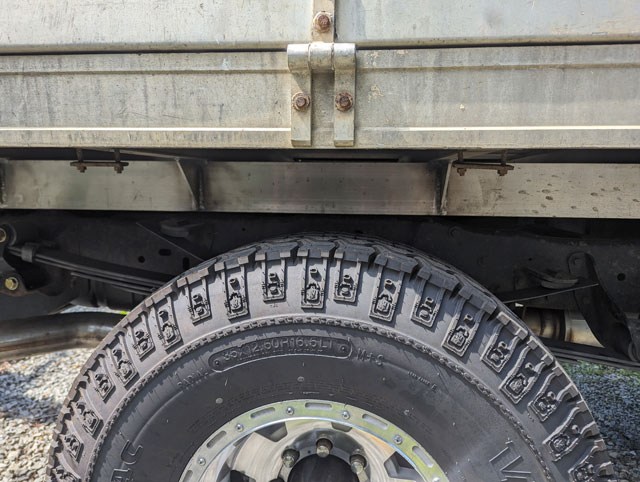 We'll find out how well it tows tomorrow! While the rear was apart and i was waiting on swaybar bushings, i decided to inspect the rear brakes 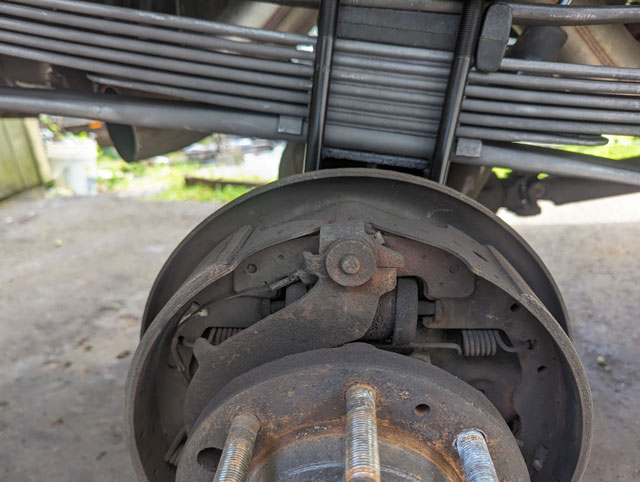 Shoes & wheel cylinders looks good, but theres still an issue
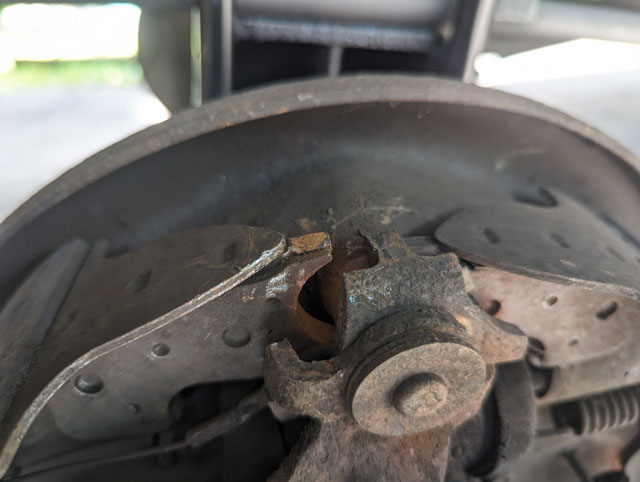
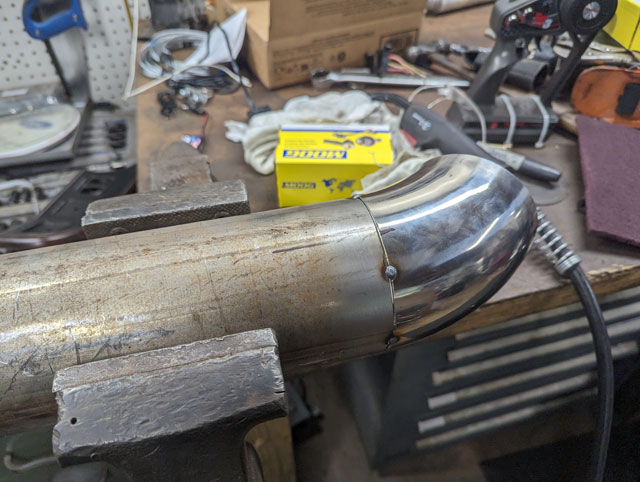
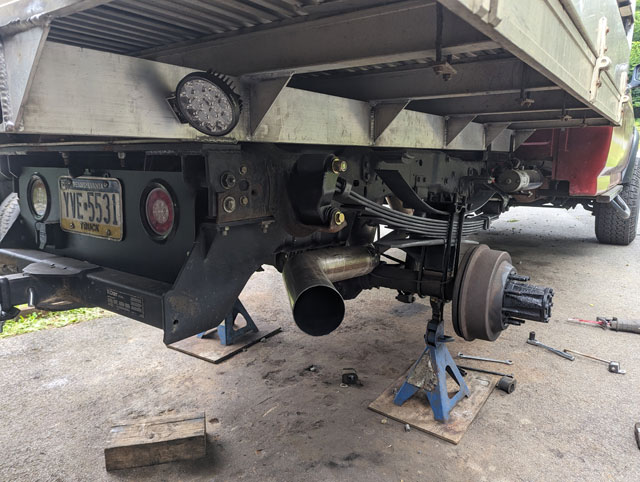
Somehow the parking brake lever got up on top of the rear shoe. Explains why the rear shoes were loose; theres no way the brakes would self-adjust like this. Since the linings are still in good shape i rolled the welder over and made a small weld on top of the shoe so the arm cant slip up there again. 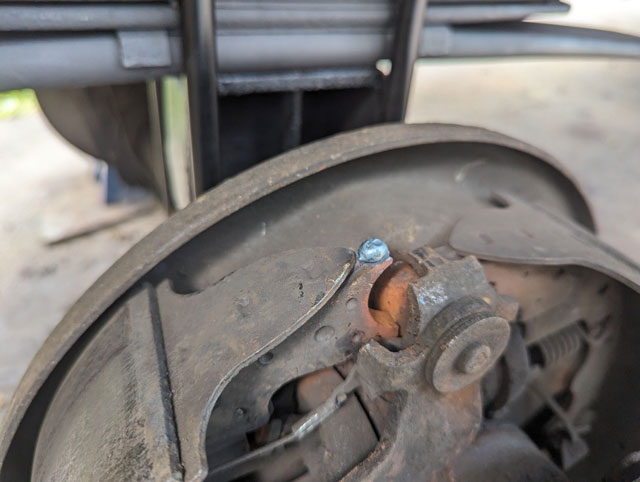 This will work for now,and ill replace the shoes & the lever arm sometime later in the summer. Moving on, the rear swaybar is now reinstalled... 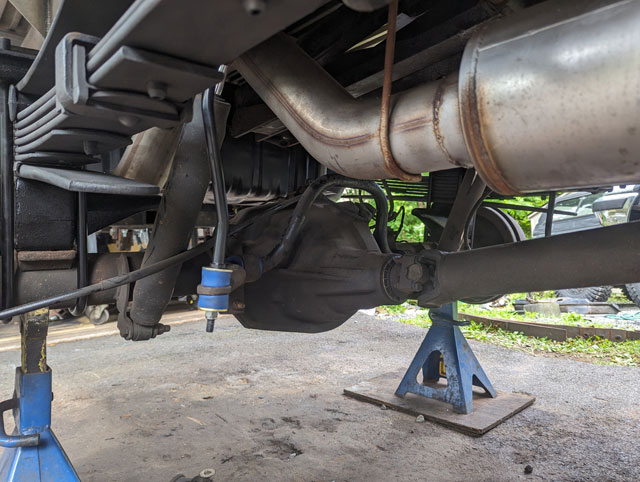 ...which means we can move on to the exhaust
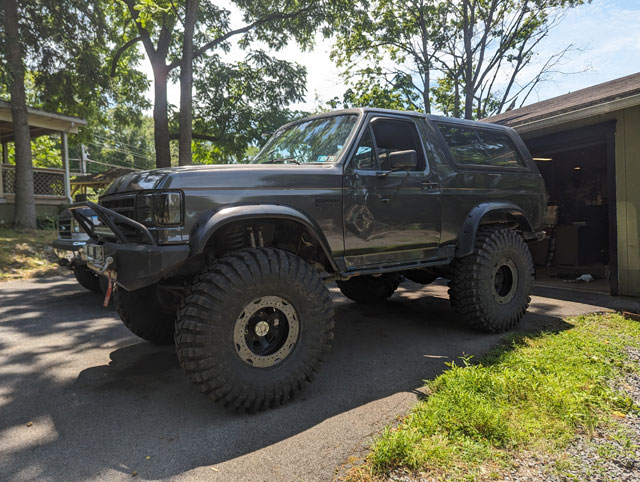
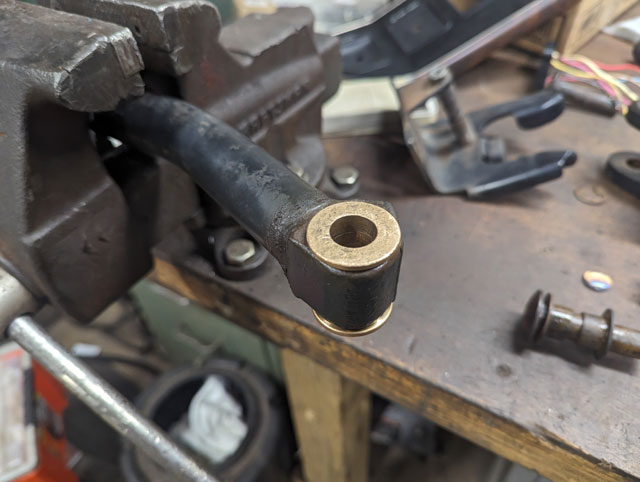
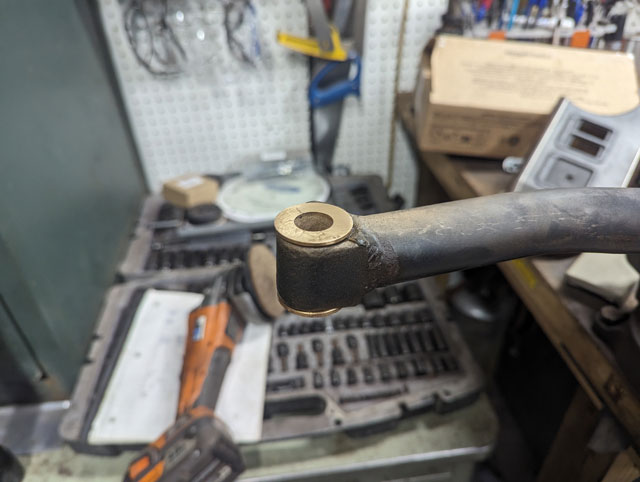
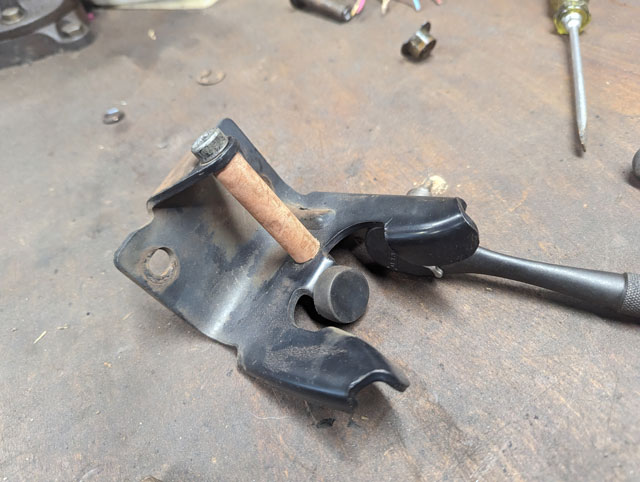
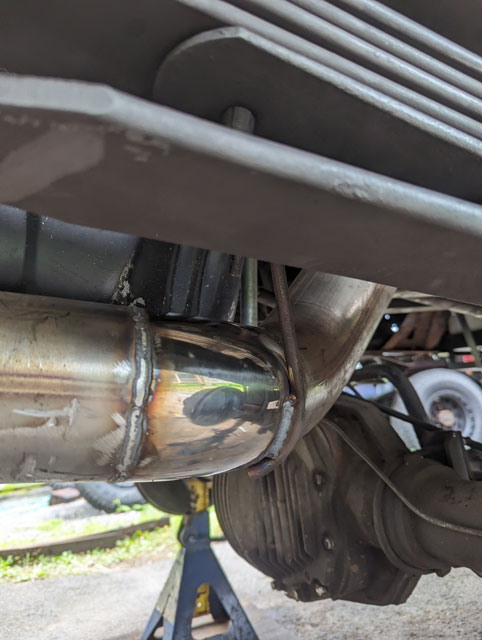 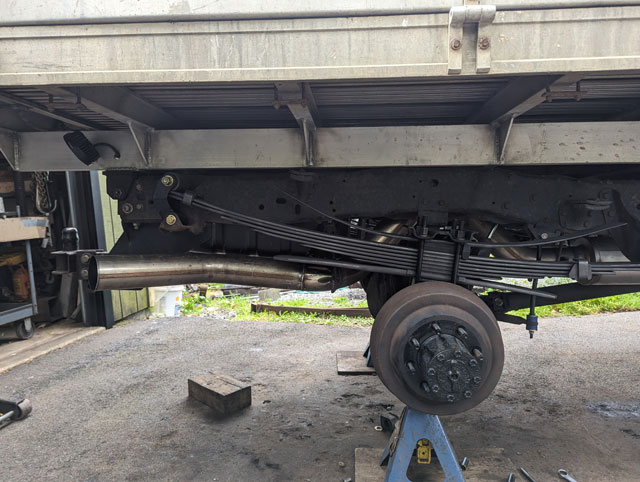 ...and with that done, there was nothing left to do, but put eh tires on, and set it back on all fours once more!    Took it for a test drive, and the ride is night & day better. Its amazing how much smoother it is now, it just soaks up the bumps on the highway. Theres still a few things to do (like get a new upper tracbar mount), and i need to get the tracbar adjusted and re-center the wheel, but thats about it. Got it done just in time for the East Coast Bronco Roundup next week! This is where we left off 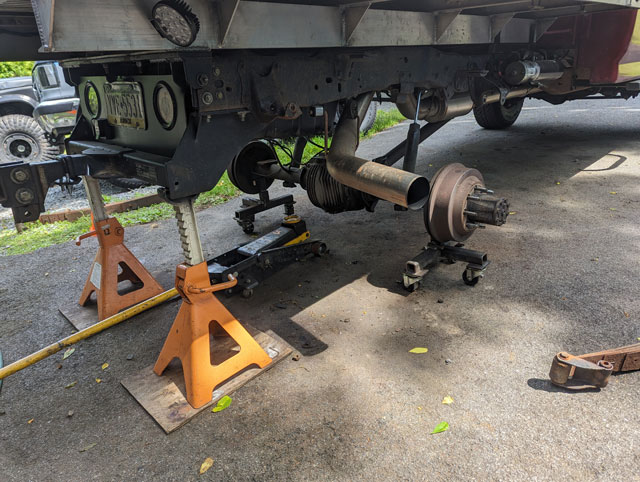 I went to put the passenger side spring in, but i have some clearance issues: 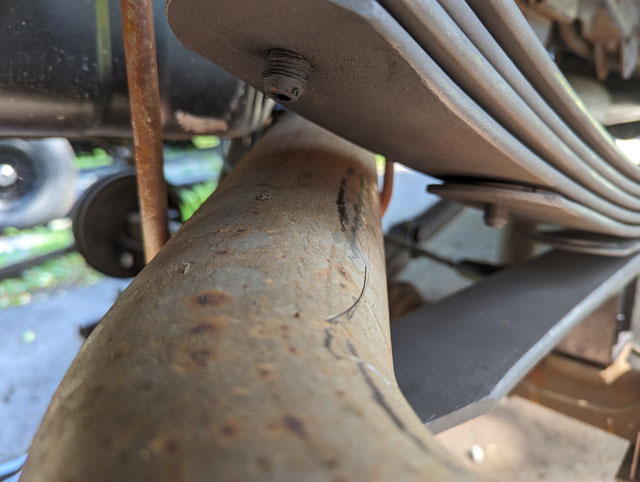 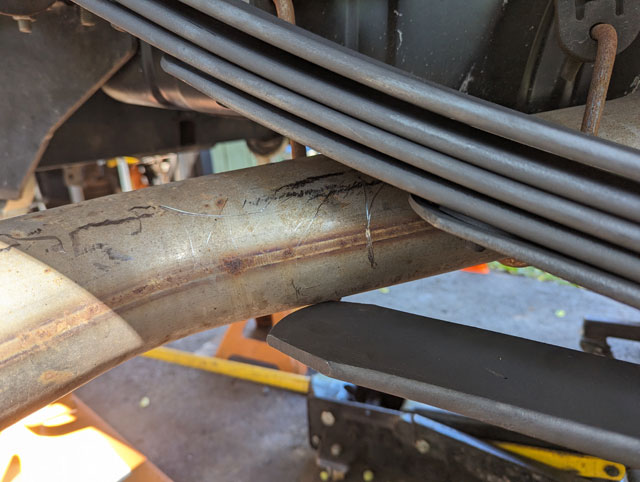 No time to delay, so i cut the tailpipe off and kept moving 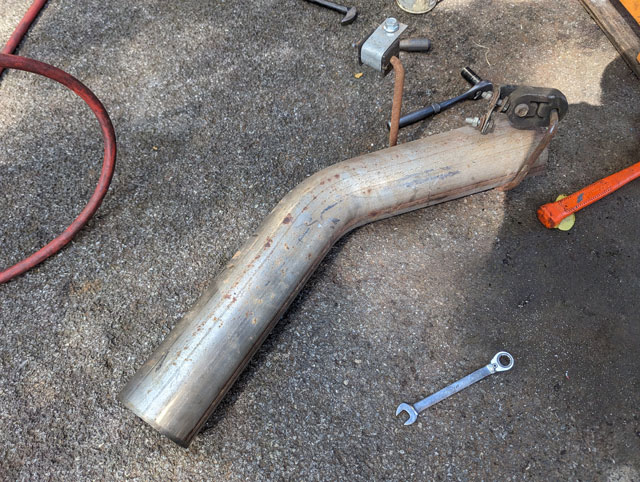 Lots of room now 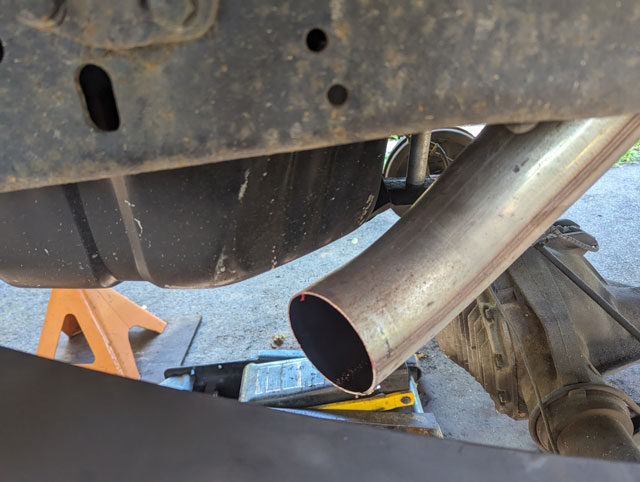 Driver side spring in 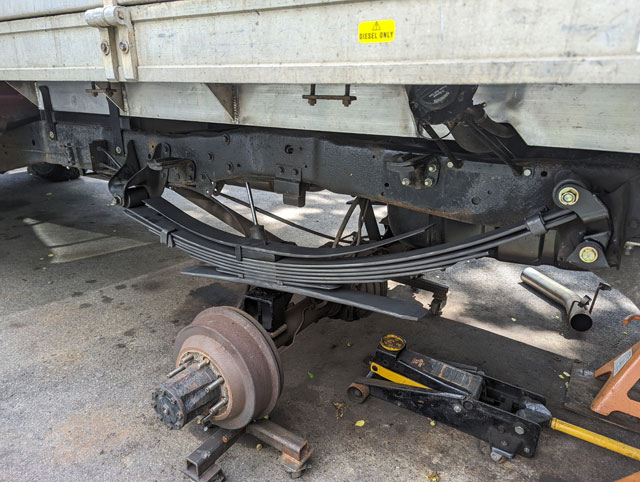 With both springs in, i moved the jackstands from the frame to the axle. The springs flatten out nicely, looks like im still going to need my 4" block to keep the rider height similar 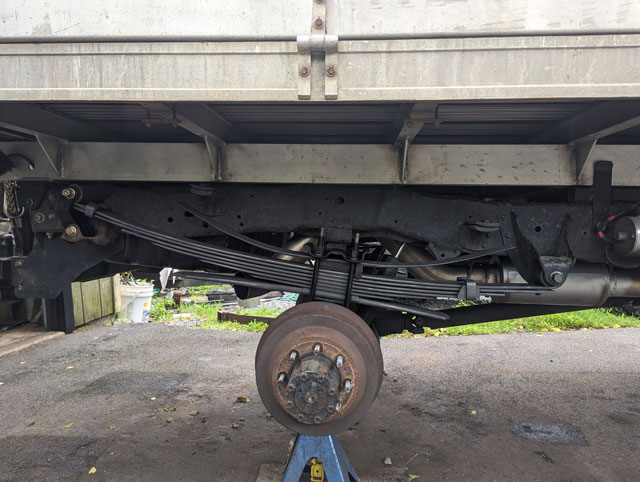 This pic reminds me i forgot to check the pinion angle, but from here it looks good! Today or tomorrow im going to adjust the brakes and them get some fresh paint on the hubs, that way monday i can put my rear sway bar on (bushings slated to arrive today). I also ordered some stainless 45º elbows so i can hopefully get the tailpipe rerouted to clear the springs. We'll see how that goes Monday/Tuesday. Getting close! Cant help myself. Love the new stance! 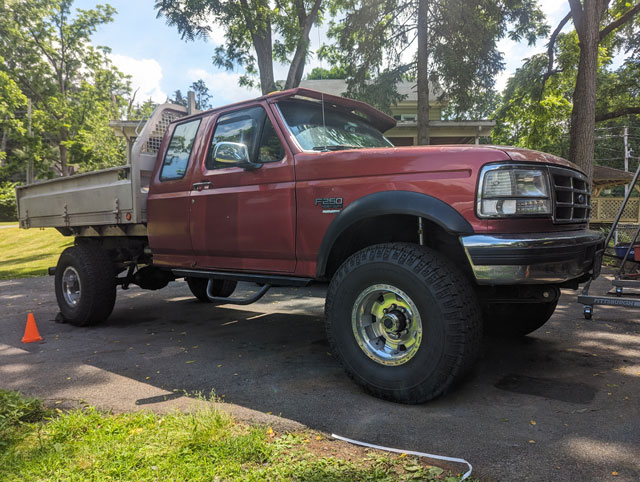 Still running my drop tracbar bracket from my 20 something year old 6" lift kit. The bar angle looks good... 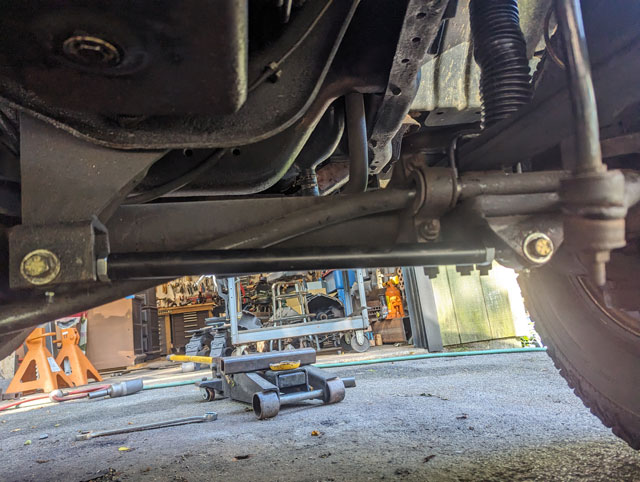 ...but theres a problem. The truck is now so low that the tracbar bracket is hitting the sway bar!  Not much i can do, but to remove the sway bar for now 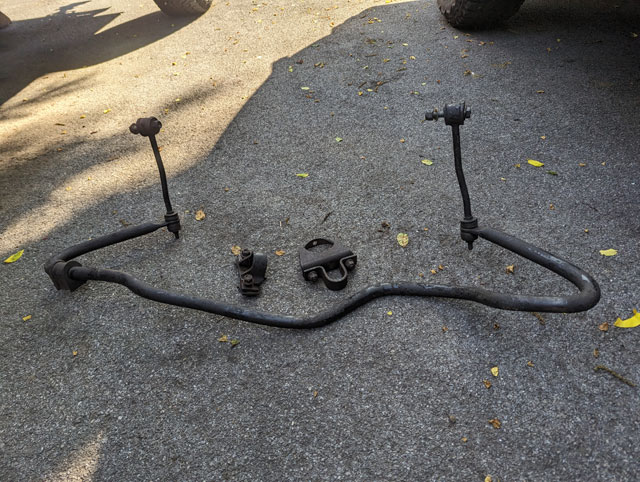 Im going to have to source a stock tracbar bracket, but i doubt theres time to find one before we leave for the East Coast Bronco Roundup in two weeks, so for now the sway bar will have to stay off. ...And since i had to turn the truck around, i went for a quick spin around the block. All i can say is wow! What a difference in how it rides compared to before. Cant wait to see how it handles once the rear springs and swaybars are back on. So, nothing left to do now, but start tearing into the rear! 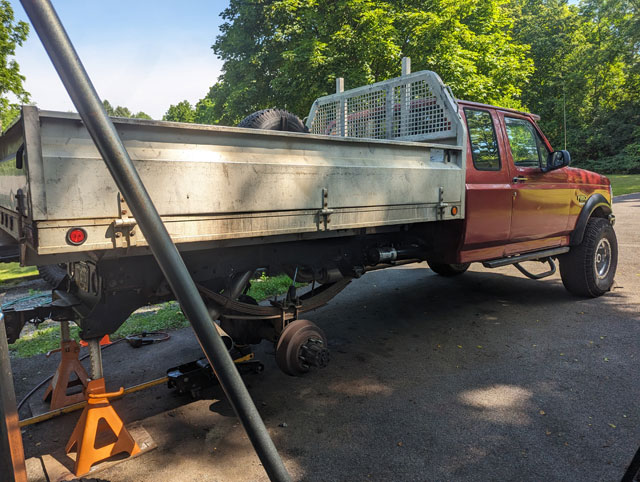 Rear swaybar has joined the front 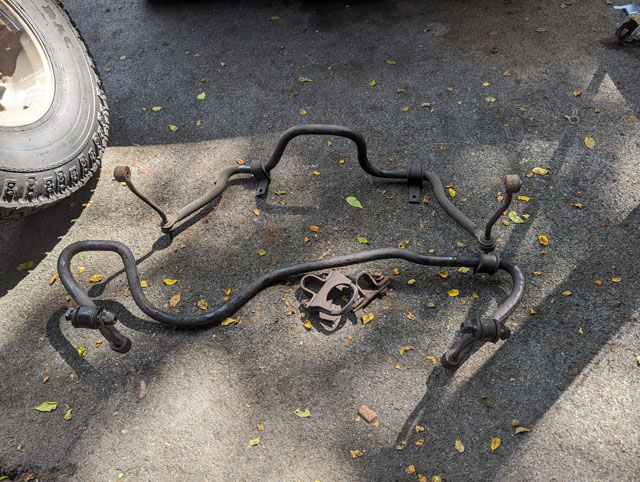 Dont worry, the rear bar will be going right back on, with all new bushings. Axle unbolted, 4" blocks removed: 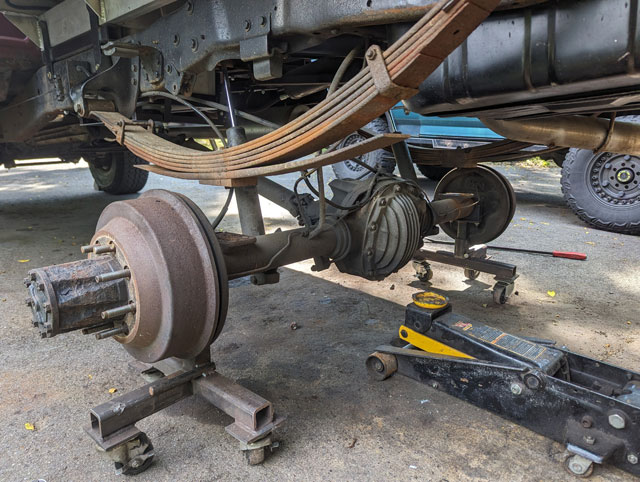 ...and the springs are coming out! Thankfully i had replaced all 4 hangars a few years back, so none of the bolts were seized yet 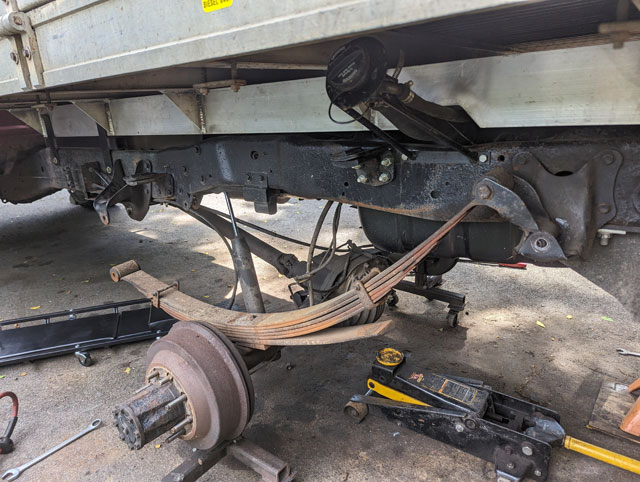 Thought this was interesting. The arch between both packs is similar, but its pretty obvious the new ones are a wee bit heavier! 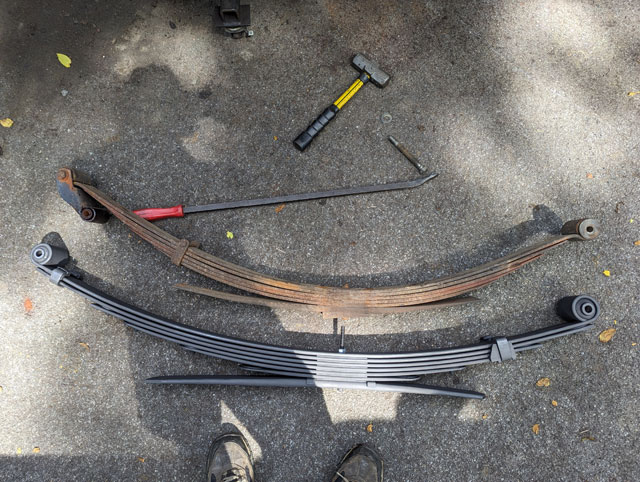 ...and where we're at for the day.  Calling it here for the day. The next move is to drill out the front hangars (the SD springs use an 18mm bolt as opposed to the older trucks' 5/8" bolt). From there it should be as simple as just bolting it all together. We'll see soon enough! My shackles came, and that means one thing....the front suspension can finally go back together! V codes getting installed:  One new set of Bilstein 5100s:  ...and done!  Going from X-code to V-code, the front end has gone down 1.25". Subtle, but i do like the look! Everything in the front end is still loose; tomorrow ill go back through and torque everything down, and then we can turn it around and start on the rear suspension! Got my shackles for the diesel. Already painted and hanging up to dry. Had some free time while hanging out with the little dude, so we decided to test something: 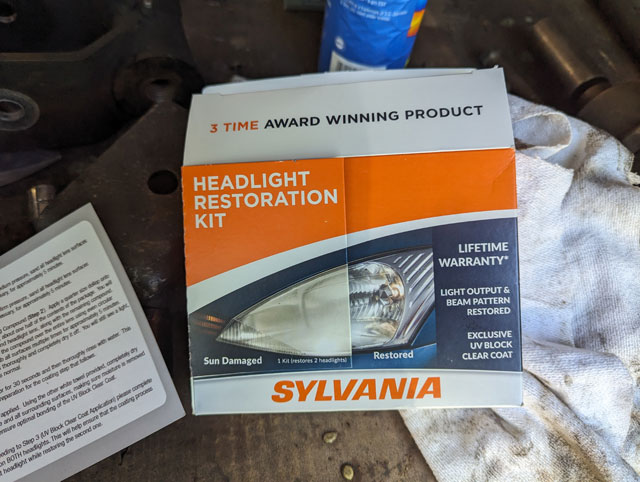 The headlights on the diesel are in really bad shape, figured it couldnt hurt to try 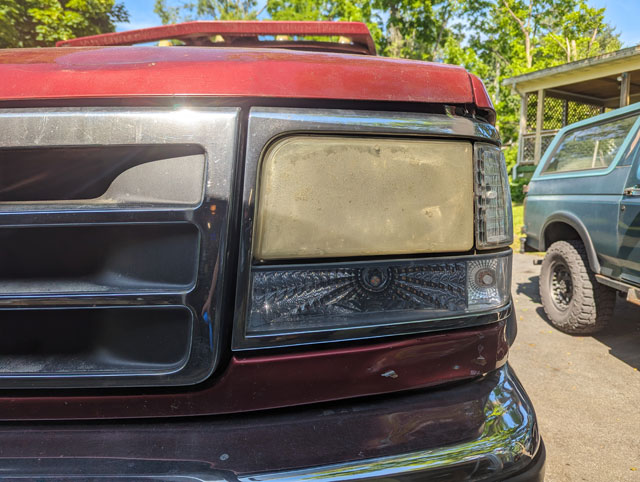 My helper 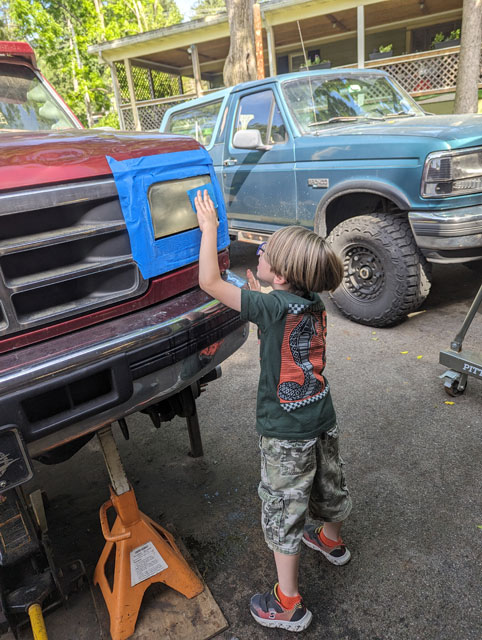 Finished product, actually came out pretty good! 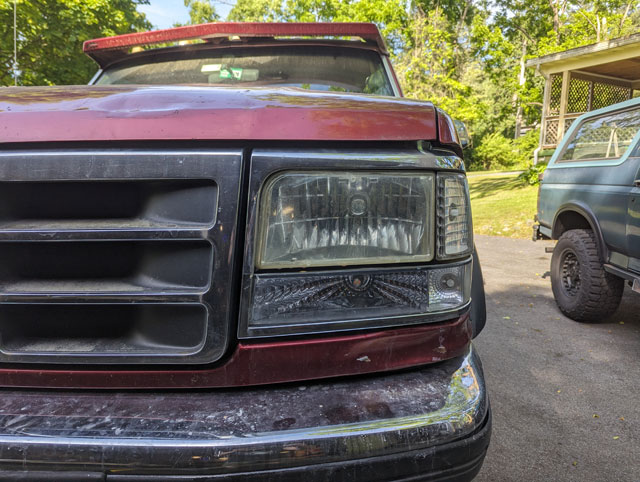 With the fender repaired, its time to fix the bronco's tire carrier. Took a couple days, but parts have been sourced! First thing we need to deal with is these very shot hinges 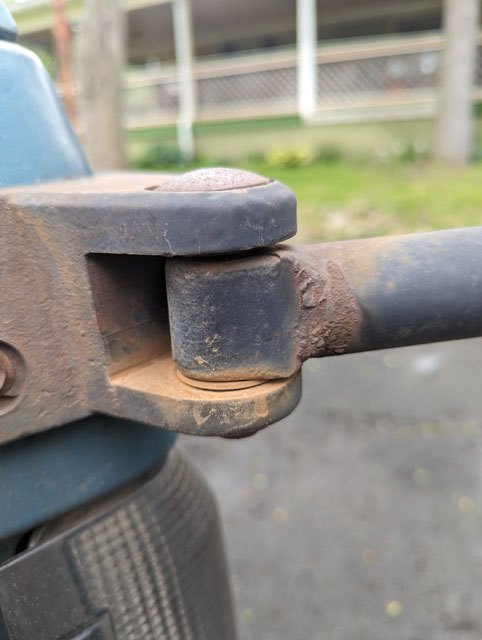 They may not look or feel loose, but once the carrier is off the truck, both hinges were quite sloppy. Pulling the pins out revealed some very loose plastic bushings 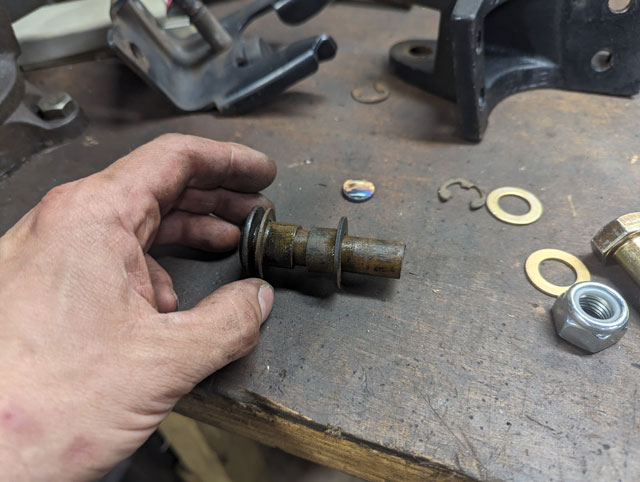 Fortunately, Bronco Graveyard sells a hinge repair kit, which includes new Gr8 bolts, and oil impregnated brass bushings 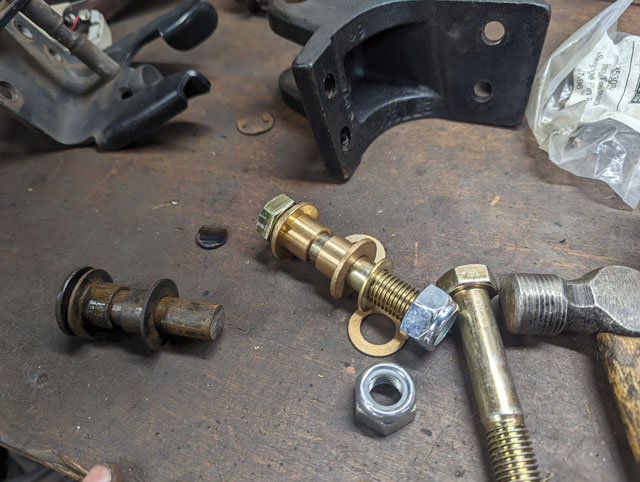 New bushings getting installed
They fit the swing arm perfectly, and were easy to install. The next problem is with the latch striker on the tailgate: 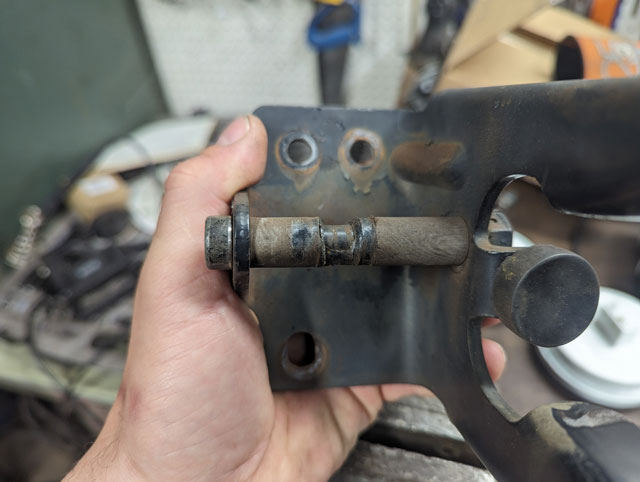 Nobody sells a replacement striker bushing. Bronco Graveyard seels an entire replacement striker plate, but its not cheap, and i cant see buying it when we only need a bushing. So i did some digging around online, and found some garolite tubing which, as it turns out, is already the perfect size, and cheap 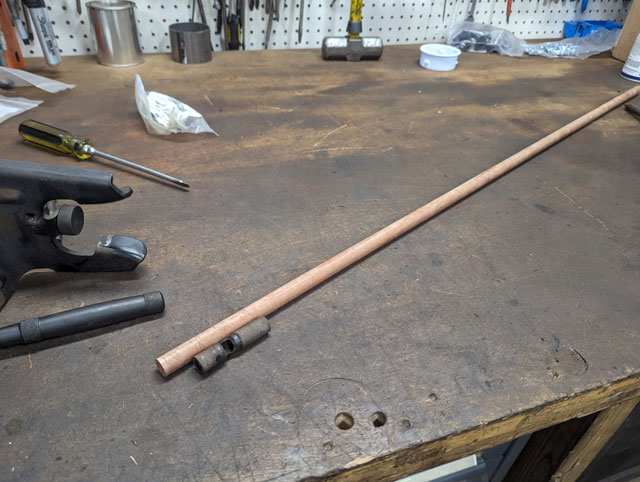 One small piece cut off the end  ...and done!
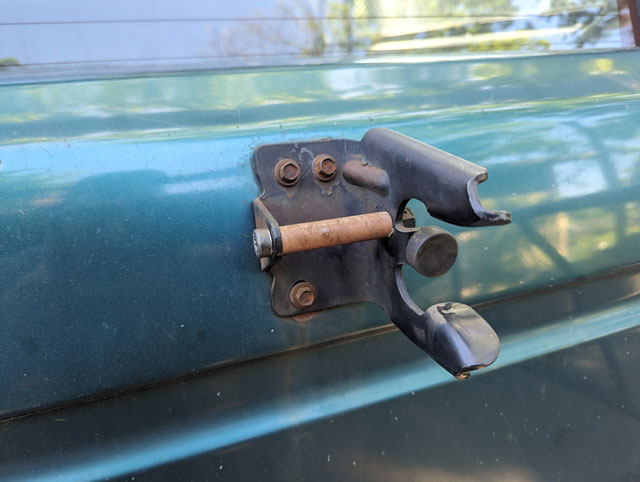
With that installed, all that was left to do was simply reinstall the tire carrier
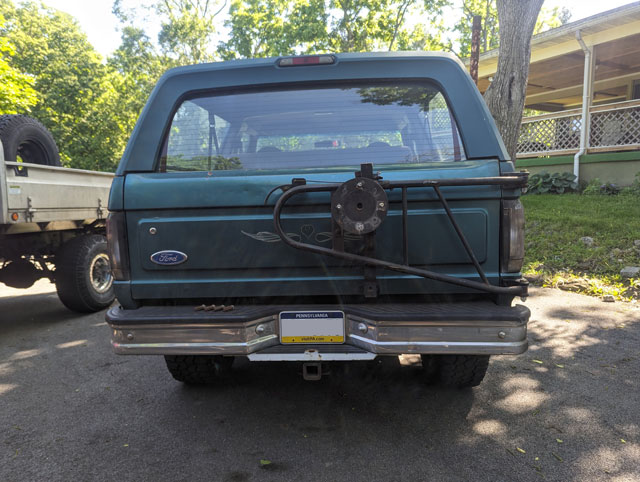
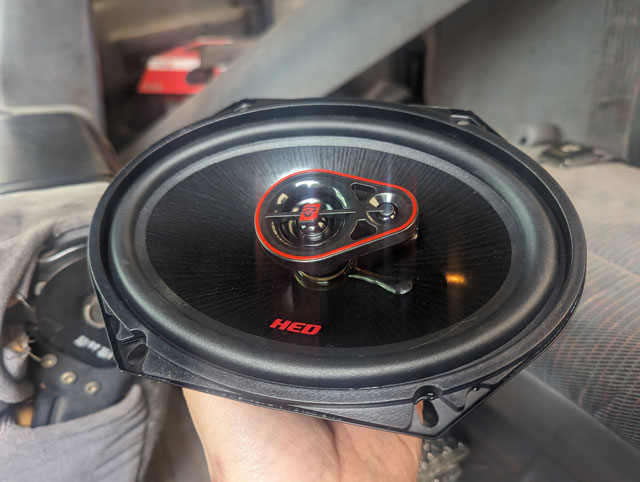
Job complete! The new bushings have tightened it up quite nicely. It moves nice and smooth now, and the garolite seems to be holding up ok as a striker bushing, altho its only been a few days. As it turns out, the phantom squeak ive had coming from the rear corner seems to be gone now too! Last time... 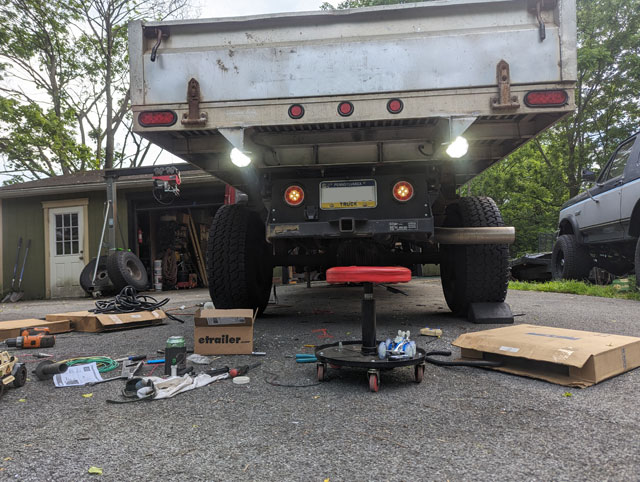 Got a chance to mess with them, on a night where it wasnt raining 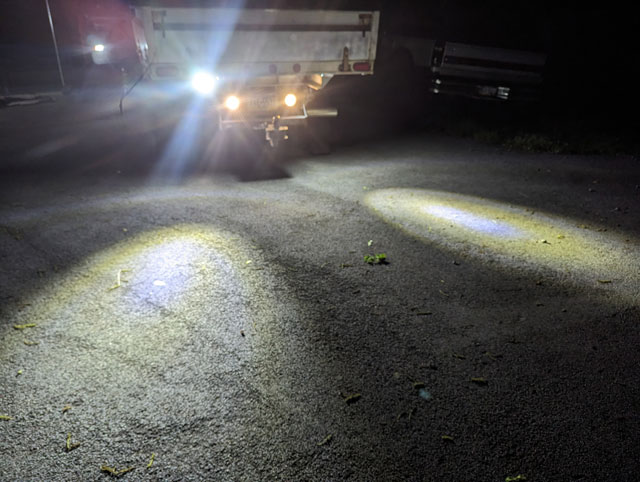 They hotspot a bit (i guess theyre more of spotlights than flood lights), but they still do a good job of lighting up behind the truck. The driveway isnt flat, so theyll probably nee4d some minor adjusting once i get it back on the road. But, thats good enough for now, lets move to the interior, shall we? After almost 30 years, i guess its time to replace the OEM paper core speakers. Oh and maybe switch to a double din headunit while im in there? 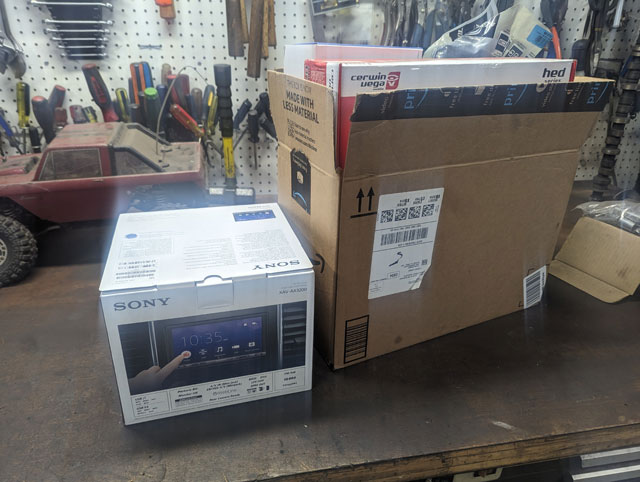 Out with the old... 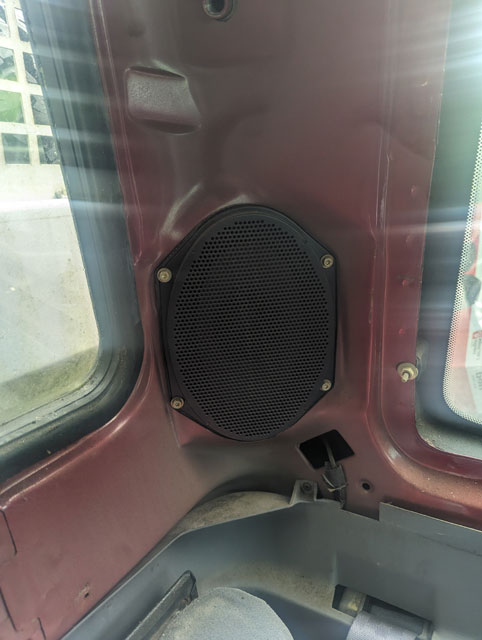 ...and in with the new!
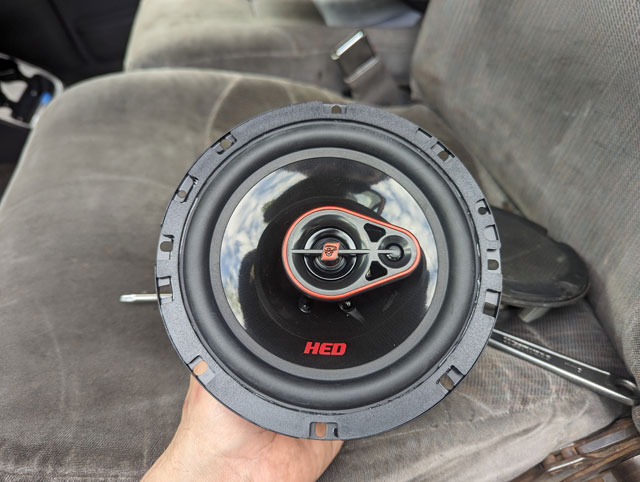
Had to buy a set of 1/4" spacers, because the bigger magnets didnt fit inside the C-pillar 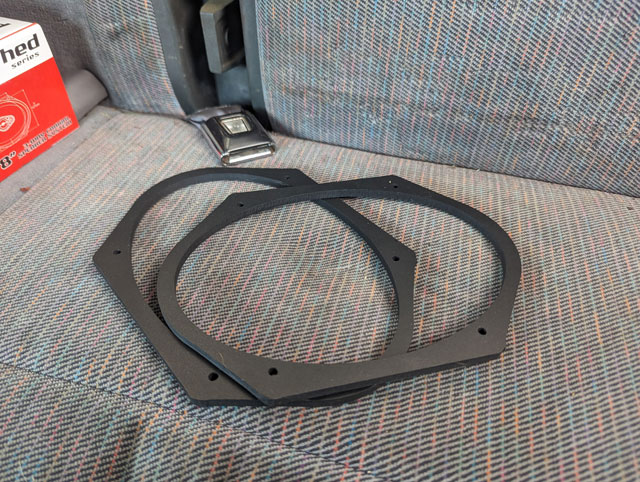 Much better. 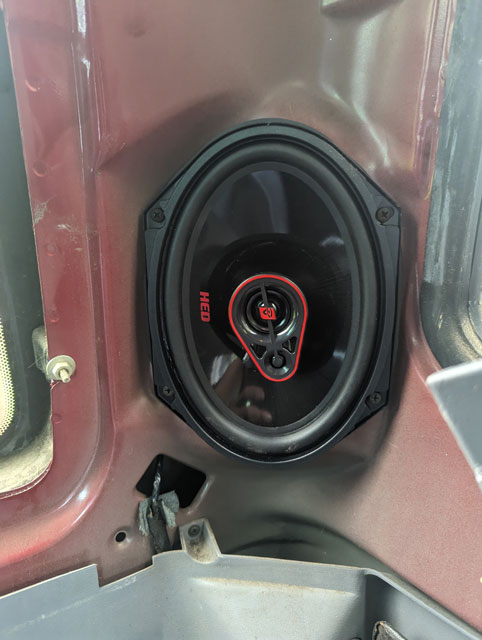 Moving on to the doors...
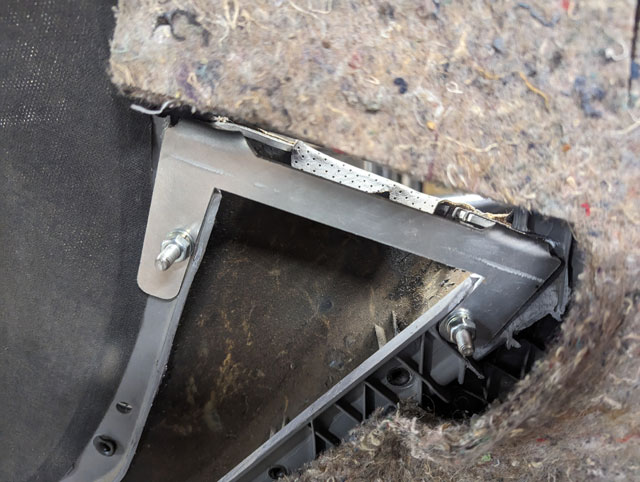
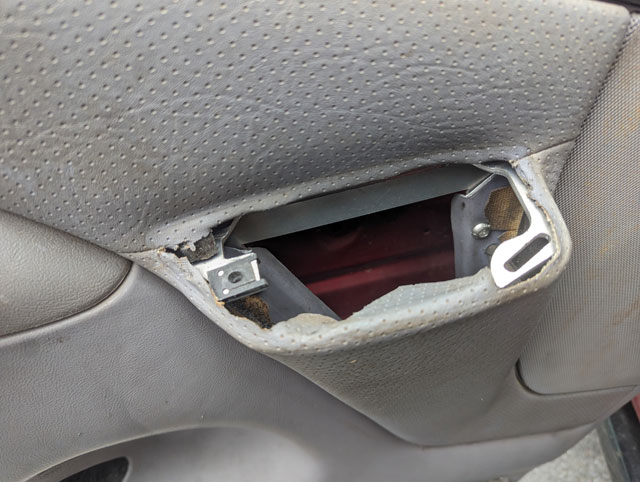
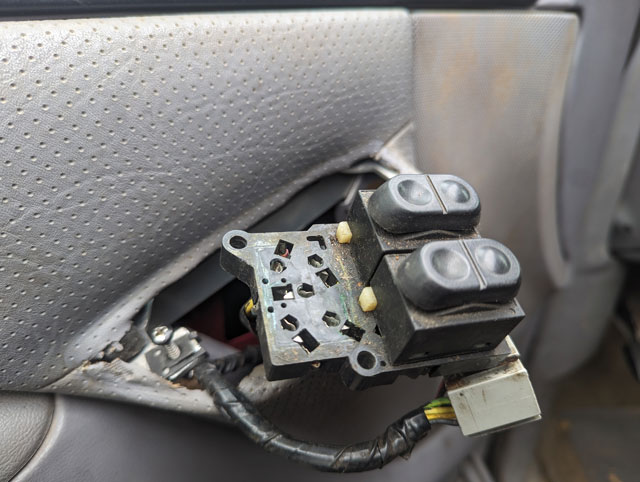
While i was in there, and since i had some extra laying around, i decided to add some sound deadener to the doors: 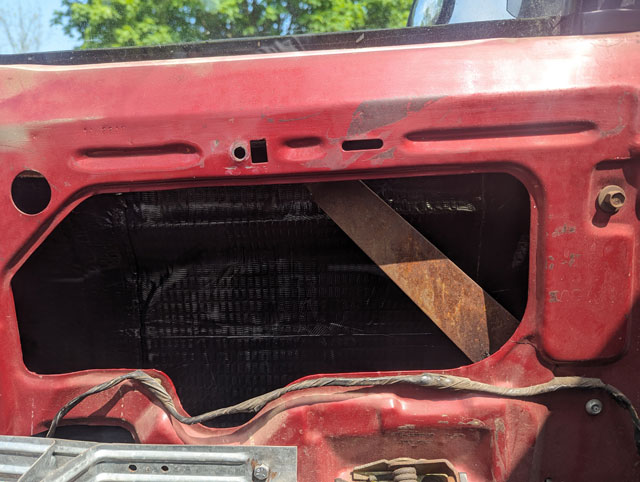 ...and done! 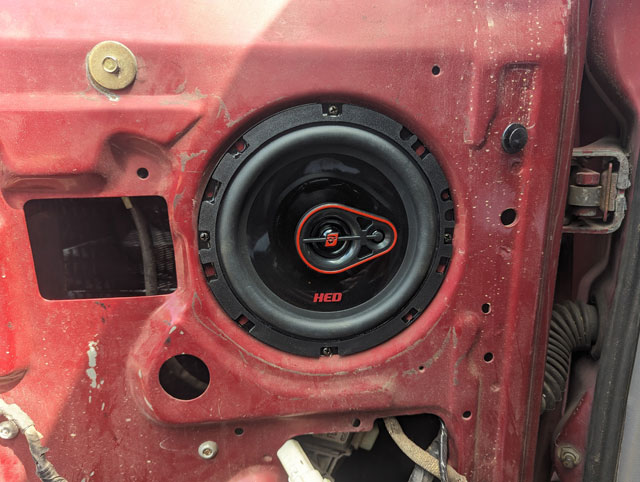 For reference, the one-touch window module i spliced into the down circuit for the driver window. The module is from, IIRC, a Taurus. Theyre in lots of mid 90s Ford cars. 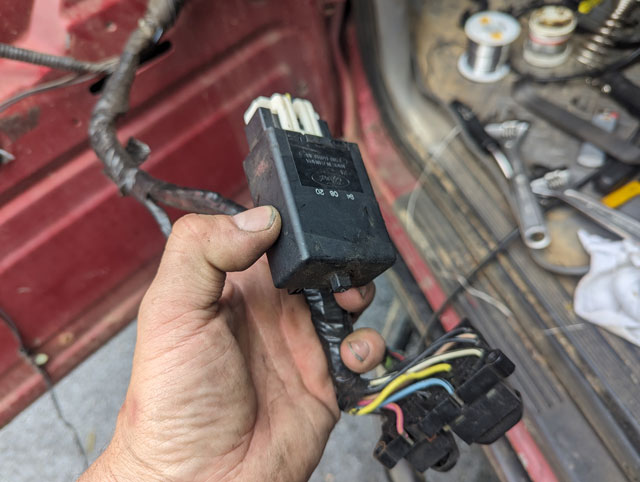 Since the door panel was off, i took the time to install a repair bracket in the door from Complete Performance:
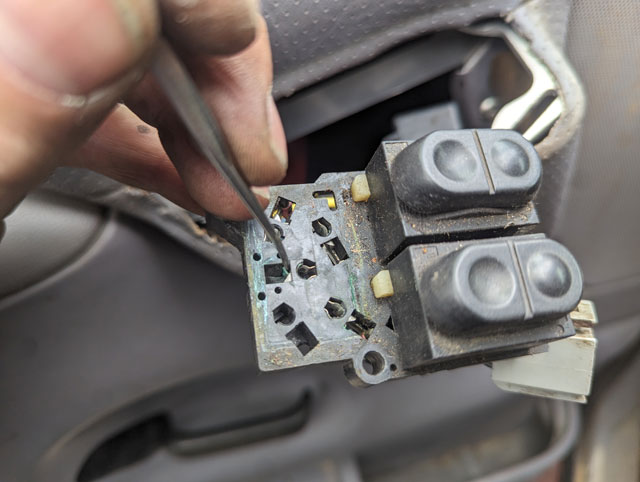
While i was in there, i managed to break not one but two pins in the socket for the door switches, rendering my door locks unusable. Guess we're gonna fix that too! 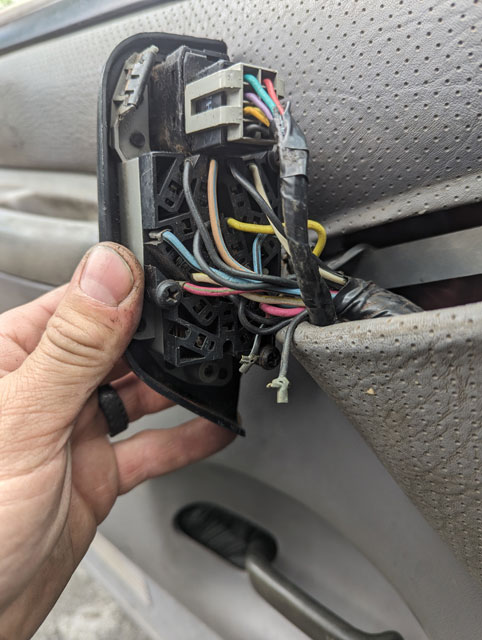 Theres a locking tab you can push in on, here, that will release whats left of the pin
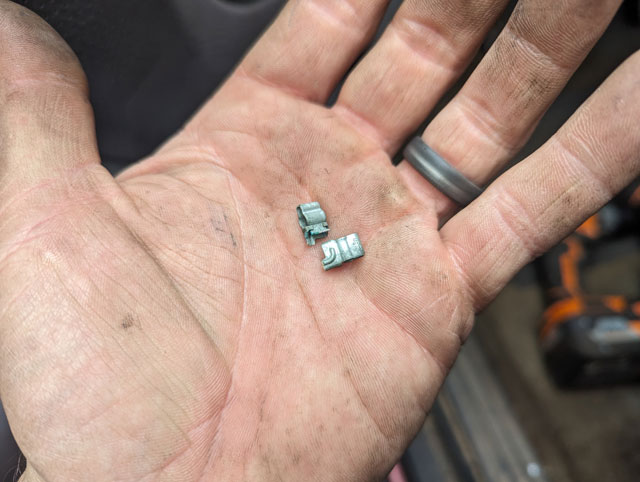
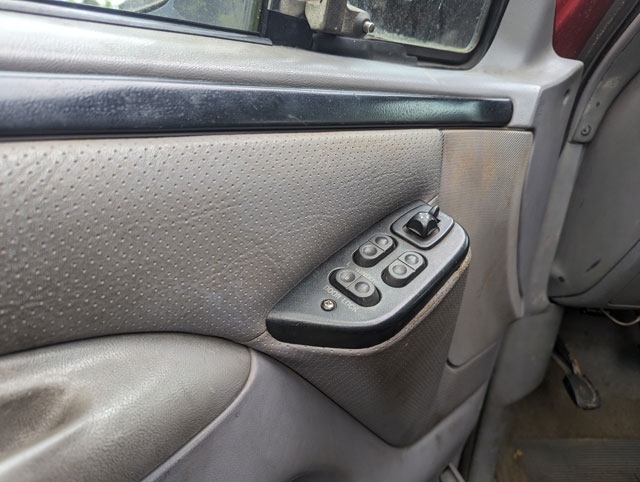
I suppose you could cut the socket out of a junkyard truck, remove the pin w/ pigtail and splice it into your harness, but then the color wouldnt match! I very carefully removed a good pin from a junkyard socket, and then carefully recrimped it onto my original wire, because i like doing things the hard way: 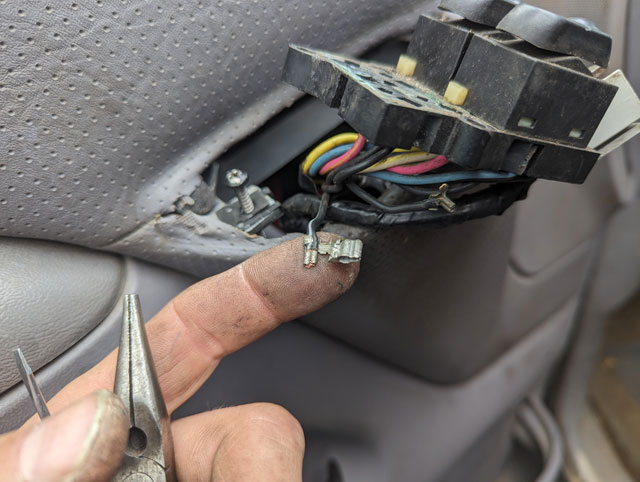 With both wires now fixed i could finally finish up with the doors...
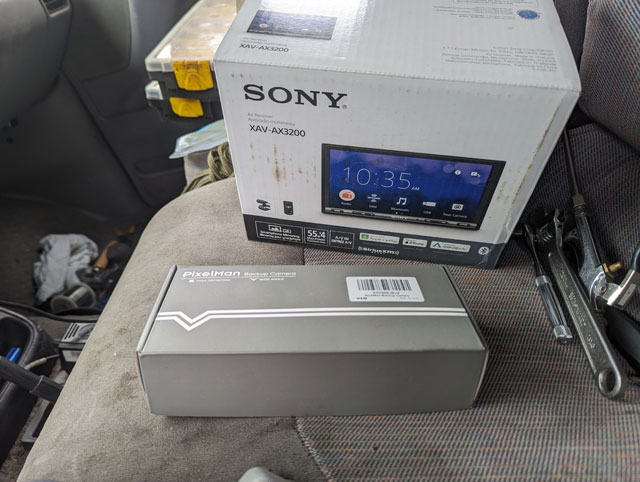
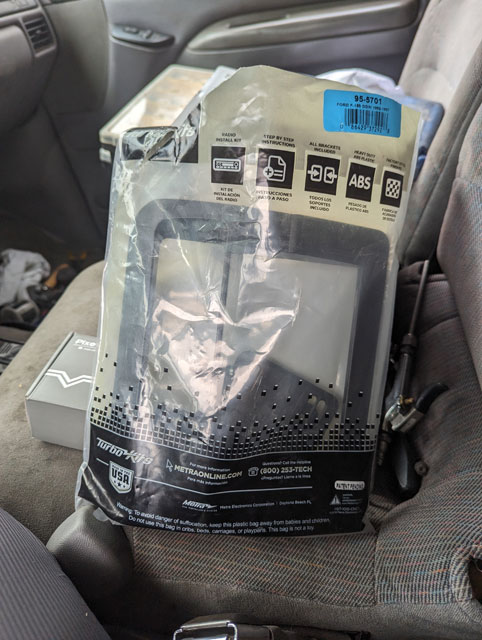
...and turn my attention to the dash. So, our nes headunit. A Sony XAV-AX3200, with backup camera, and an install kit from Metro
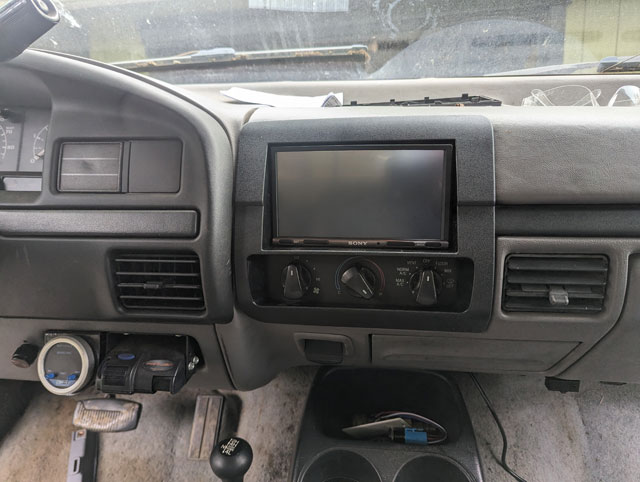
The first cut in the dash. No going back now!  While possible, it is not easy to get this bracket out of the dash. In my case, it was in the way of the radio, and had to go.  My dash was basically crumbling around the heater controls, and was going to need some work  I picked up this clever dash repair bracket from OBS Interiors. It fits in behind the dash, to clamp the heater controls against the dash. I also epoxied most of the pieces back into the dash, just to have a bit more to clamp against (you can see ive just started that, in this pic)  Cutting the trim... 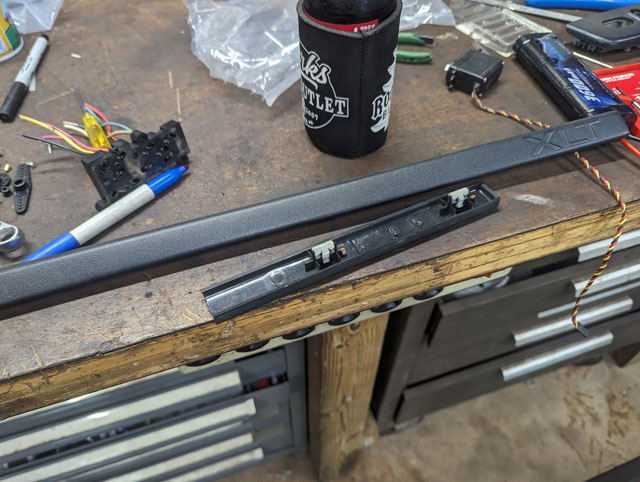 ...and done!
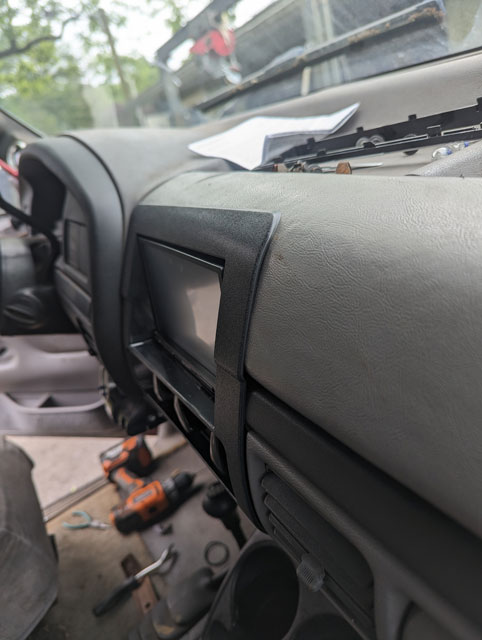
The Metra kit fits the dash quite well! This is the most important part though...the backup camera! 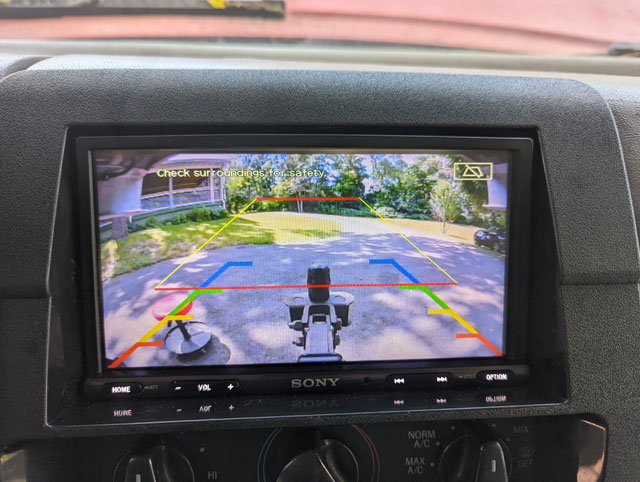 I set the camera angle so the edge of the receiver is just in view at the very bottom, i figure thatll help me keep my perspective when backing up. Also, puts the hitch in a great spot in the view! ALso, my rear lights seem to work well, looks like backing up in the dark is going to be a piece of cake now: 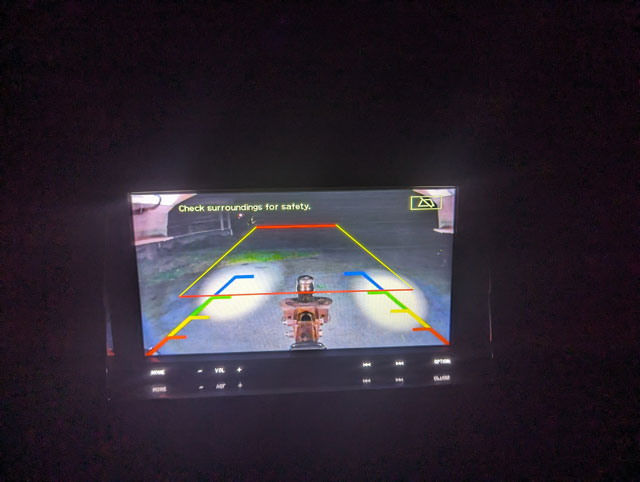 This is going to be a game changer! Now i just need my shackles, and i can finish the SD spring swap! |