|
So my original setup after doing the aluminum bed, i put a set of large reverse lights right in the back  While they do work, the problem is the light isnt very usable, as you cant see that area from the driver seat. Also, i discovered that if i needed to haul something with the tailgate down, that the gate blocks the lights in the bed frame. While its unlikely ill need to do so (it is a 9' bed afterall), it still seemed like a good idea to do something about it. So step one, was to replace the reverse lights with a set of combo STT/Reverse lights. This should solve my potential taillight issue, but also still cast a little bit of light back there for backing up at night.  So now i need proper reverse lights. So i picked up a set of 4" lights from Nilight:  Mounted here, still need to be aimed. Pretty sure these will cast enough light down & out that ill be able to see better in the dark.  Wires run:  ...and terminated with Deutsch connectors so i can still unplug the lights if necessary  I think this will do better  Those should cast plenty of light down & out so i can see, and the two in the middle should be just enough light shining on the trailer hitch in the dark. Also, if you noticed, theres now a backup camera mounted on the license plate. More to come on that soon... So the F250 has been sitting idle...  ...because i made a tragic error. The PMF shackle doesnt fit in Sky's shackle hangar!  It might look like its close, but its not. The upper bushing is too big, and it uses a 3/4" bolt instead of 5/8". Dont know how i missed that, but i did. So i ordered the stubby shackles from Sky since i know they will work, as thats how i did it on the 90 bronco. You can see how much different they are in size in this pic:  Not sure how i goofed on that one, but i did. Hopefully the shackles get here soon. In the meantime, ive turned my attention to the green bronco, and its cracked striker bolt:  When i removed the striker, the captured nut & plate fell from behind. Seems the cracks started at the spot welds 
I ended up cutting a pretty big hole in the sheetmetal to get all of the cracks removed  New patch panel made, with captured nut plate all cleaned up and ready to be reinstalled.  I dont have a pic of it apparently, but rather than spot weld it to the back of the patch panel in two places like ford did, i fully welded it. It also seems i was in the zone and didnt snap any pics during the process, so heres the finished product:
For now the tire carrier is off the truck. I have some other issues i have to deal with. #1, this shot striker bushing:  ...which caused some heavy wear on the latch jaws:  ...all of which was probably caused by this pin/bushing being shot:  ...so ive got a few more things to deal with. Parts on order, so we'll come back to this one at a later date. all 4 leaf springs are done being rebuilt again. This time fully coated in graphite paint, and the steel shims from the excursion leafs are in the rear pack now instead of the plastic ones i made  Brought the truck around, and snapped the very last pic before i rip the suspension apart again  It already has a PMF 2.25" Superduty Shackle Reversal kit on it. This time around im replacing the original spring hangar on the frame rail with Sky's low clearance one:  Yesterday i got the driver side bracket on the frame:  Today its raining, so maybe tomorrow i can get the passenger side bracket swapped. I thought this was interesting- shows the difference between the X code leafs im removing, and the V codes im installing   The X code has almost a full inch more arch to it, and both leafs are 1/8" thicker in the middle & 1/16" thicker at the ends. So this pretty much confirms what everyone on the internet says, that the front end should go down ~1" and the ride should be nice & soft. We'll find out soon enough. One of my front shocks is shot, so i ordered a pair of Bilsteins which should get here tomorrow. Hopefully the weatherman is wrong, and i get some dry days here so i can get the front-end done and get it turned around so i can tear into the rear. Just a couple weeks to go before the East Coast Bronco Roundup, so i gotta get this thing done! Oh yeah, this is cool too. I tossed the X codes into the rear of the DD bronco and brought em to work, because a coworker bought em off me. I had some issues closing the tailgate though. Check this out:  Gotta hurry up and get the red one done, because it looks like the green one needs some sheet metal repaired asap!
Any job worth doing, is worth doing twice! Or something like that. I bought a couple cans of Slip Plate (which is graphite paint), so i disassembled the springs and repainted them. Ive also decided to use the steel shims from the Excursion packs, so they got painted too:
If i have time this weekend im going to start assembling them. I also have to get the 4th pack apart & painted. Going to try to get that done so i can hopefully start the front spring swap monday. Theres been lots of rain in the forecast, and theres more coming so we'll see how this all goes. So im starting the suspension upgrade. From top to bottom: rear Excursion (G code) rear Superduty (B code) front Superduty (V code)  ...and a set of the correct helper springs  I also bought a set of Sky's low clearance shackle hangars & their adjustable tracbar.  Springs coming apart:  ...and after some wire wheeling and paint
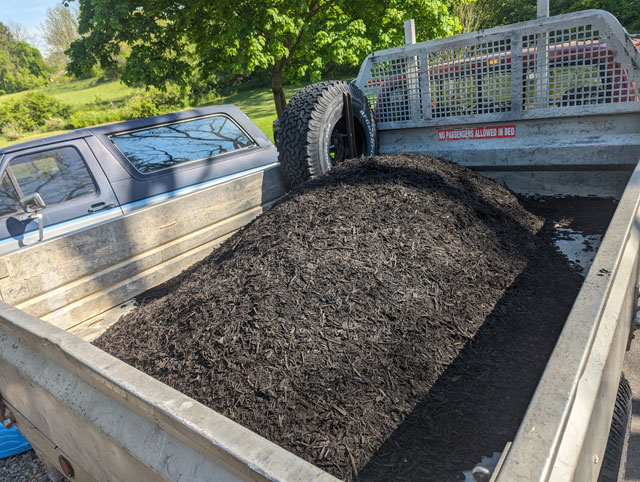
i bought a whole bunch of new anti-friction pads from Dorman, because most all of them were shot Amazon.com  Ford used these plastic shims between the leafs, but all of mine were broken except for one  Fortunately Speedway sells it in a roll, which i already had from rebuilding the leafs in the '90, so i made some new ones  ...and now ive got the rear springs all back together!  I added the 2 lower leafs from the Excursion pack to the B codes, hopefully itll work out well  I goofed on the front leafs, the new center pins i ordered have a shoulder thats too long for a 2-leaf pack. Also apparently the local spring shop closed their doors so i had to order another set online, which i wont get until probably Friday. So i guess its going to be another week until i can swap the front springs. Been working on a few projects around the house/garage. First up, we actually used the AL bed to haul a yard of mulch for the garden beds
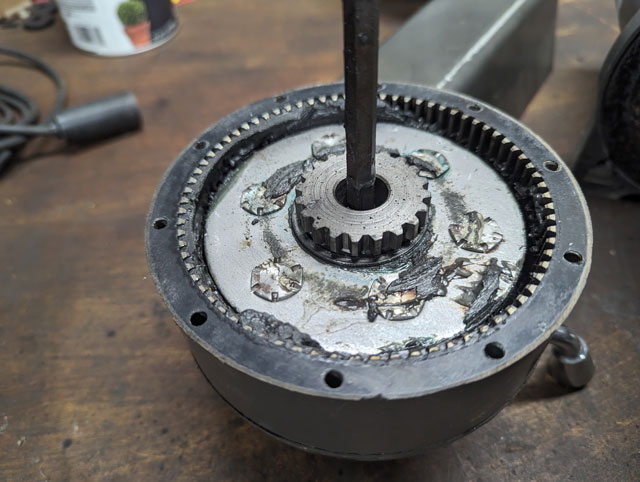
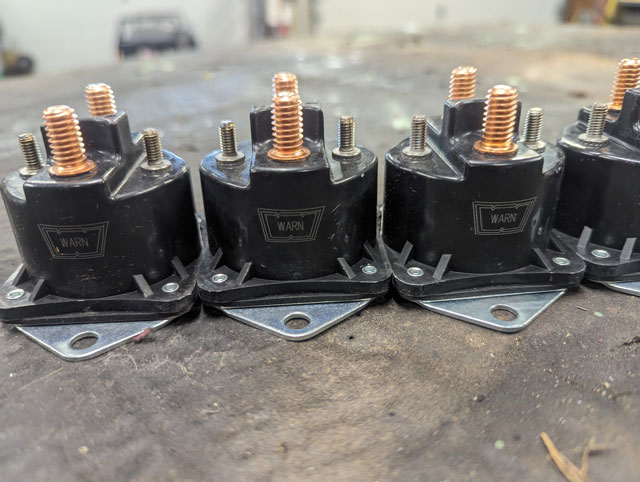
With how much bigger this bed is, 2 yards should fit in there just fine. Next up was to fix the remote mounted Warn x8000i. After 20 years the cable was sprung, and one of the solenoids was only intermittently working, so i opened it up and swapped them out. 
 ...and finally i also got 2 small projects done in the garage. #1 was adding a light to the drill press 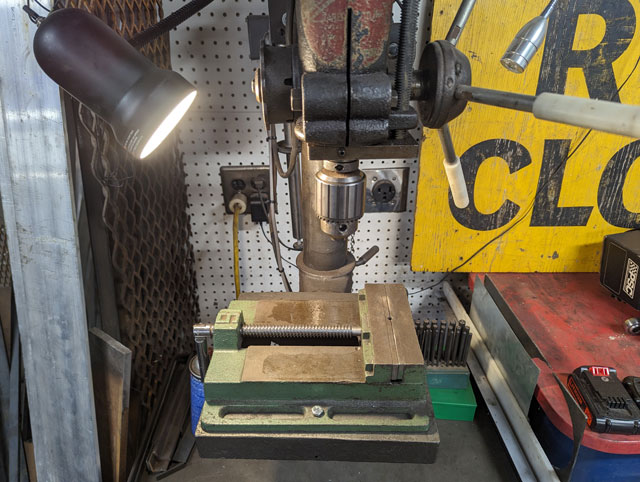 ...and the other was replacing the old bottle jack on the press, with this new pneumatic one 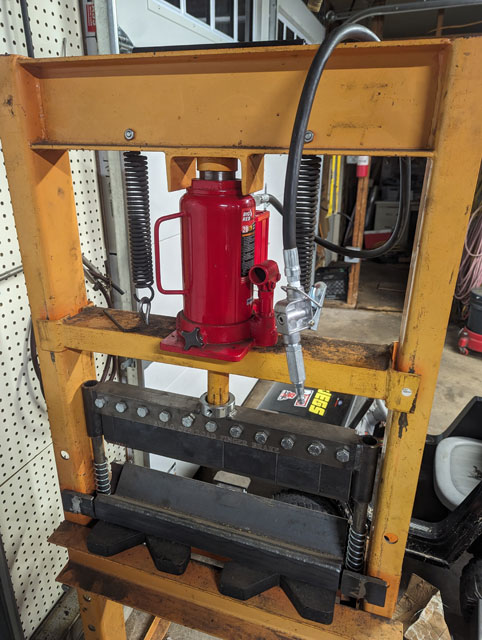 ...and with all that done, its time to start building some new leaf springs for the F250 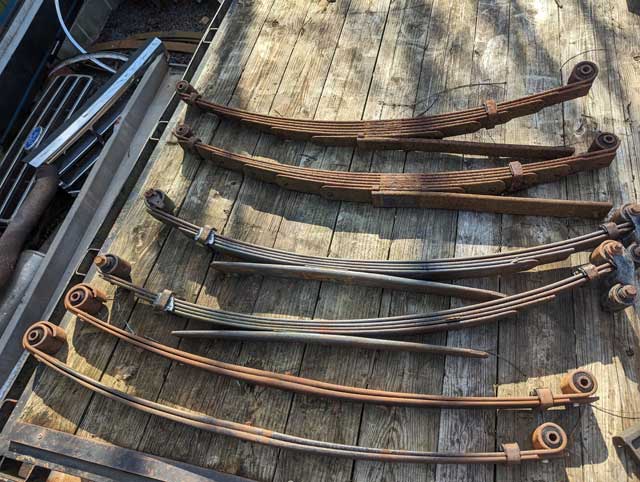 The tires on the diesel are beat:  Looks like we're staying with the 16.5s for another round, which means theyre overdue for a cleaning & polish. Lets gooo!  cleaning...  ...polishing...  ...and clean!  ...and looking good!
Thats all fine and dandy, but the tires are beat. So its time for new rubber!
 ...and installed!
Predictably, the one vehicle youre not working on gets jealous and decides to break. In this case it was the turn signal switch in the column of the '90 Bronco. The book says the column has to come and be disassembled to do this job, but i had another idea. First up, lower it to make some room  Turns out if you de-pin the connector on the end and remove it, you can pull the switch right out of the column
After de-pinning & removing the connector on the new switch, i was able to fish the new one down thru the column, and get it installed  ...putting the connector back together...  ...and done! Column repaired.  Used the new aluminum bed a few times now to haul stuff, and im already tired of the spare tire being loose back there. Not that it moves around, just that its big and always in the way. So i took the time to remount the original tire carrier that was in the bed  Simple and effective.
So i studied my wiring diagrams for a bit  ...and then came up with a plan to improve my old wiring, while also simplifying it. Step one involved moving the wiring for the pump away from the water tank since the pump is now on the frame rail  From there i was able to break down my old sloppy wiring harness, and make a nice clean one to take its place. My old wiring harness:  ...and the new one:  So with that done i replaced the float in the tank since one of the wires was frayed  put the nozzle back in the intake...  ...and powered the system back up!  water-methanol injection V.20 is now complete! Now to just drive the truck and get it tuned! |